You are using an out of date browser. It may not display this or other websites correctly.
You should upgrade or use an alternative browser.
You should upgrade or use an alternative browser.
my 90g braceless/framless tank!! 36x24x24"
- Thread starter tigerarmy90
- Start date
tigerarmy90
Member
with this design I can actually go either way, and I was thinking that when I drew it up. I could do what you guys have laready figured out and have a larger return section for any misshaps that may arise or I could go with the bottom left being the skimmer and main input with the top left being the fuge with its own feed line and have the right section be the return that way the fuge feeds in before the bubble trap and stops any bubbles from getting through! wich do you guys think will be more effective?
tigerarmy90
Member
Which compartment is which? Is the top/right compartment where the water comes into it and is also the skimmer compartment? And then the bottom/left compartment is a fuge? And the top/left is the return?
I guess I could have labled the sections, lol
In any event, I would think you would want the teeth more towards the outside edge so the water had a little more dwell time, wouldn't you?
Is that a Euro brace around the top edge? Will that give you enough room to still allow you to get the skimmer into it?
the euro bracing is something Im looking at doing away with, I dont really know if its going to make too much of a difference on such a compact deisgn.
That's very true. I totally missed the Euro-bracing. Maybe instead or eliminating it totally just reducing it. I have noticed acrylic sagging over time with constant water pressure on it over a span of say 16"+ and the euro bracing would help that. Also like Terry said, move the teeth section further away from the actual bubble traps to allow more dwell time and increase the systems efficiency.

tigerarmy90
Member
thanks al, so what do you think of hte fuge feeding directly into the return section? I thought about doing this so that any eneficial like that goes over the top doesnt have to deal with the skimmer at all and instead heads straight up to the tank....any thoughts?
I even considered a bulkhead with a strainer instead fo the teeth then I could run a 90* to some pvc and run it down to the bottom of the return section so it doesnt cause any bubbles...
I even considered a bulkhead with a strainer instead fo the teeth then I could run a 90* to some pvc and run it down to the bottom of the return section so it doesnt cause any bubbles...
thats the way i had my sump done... the skimmer on one side and the fuge on the other side. Returns in the middle
http://www.reefsanctuary.com/forums/general-reef-aquarium-discussion/23608-day-shop.html
http://www.reefsanctuary.com/forums/general-reef-aquarium-discussion/23608-day-shop.html
tigerarmy90
Member
wow! nice work, I widh I had that kind of know how ")
tigerarmy90
Member
t5 goodies should be here in a day or two!!! cant wait
tigerarmy90
Member
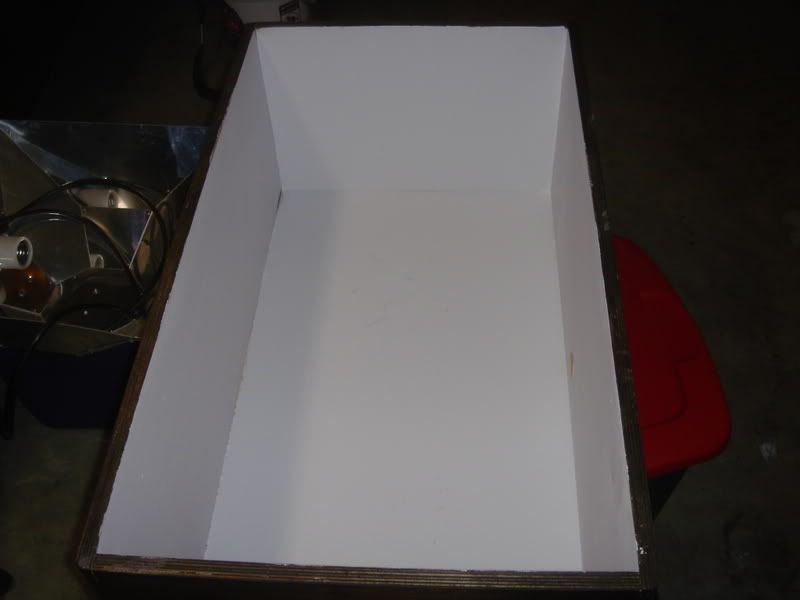
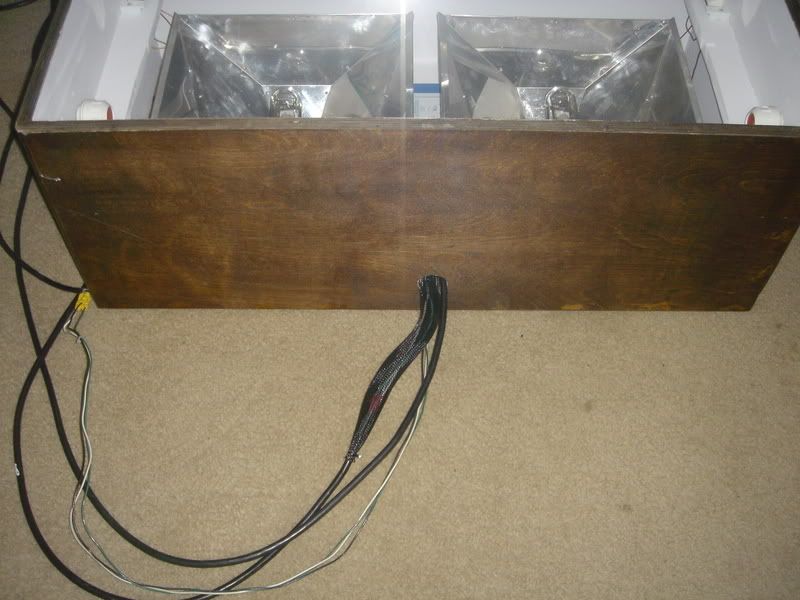
here are some pics of my most recent projects and how they are coming along! I decided to go ahead and paint the inside of my "pendant" the wood grain just wasnt doing it for me. Im really happy with the way it looks, so much so that I think I will be doing the inside of the stand next.
drilled a 1 1/4" hole in upper back side of the hood to run power cables out of, Ill be adding a gromit to keep the cleen look
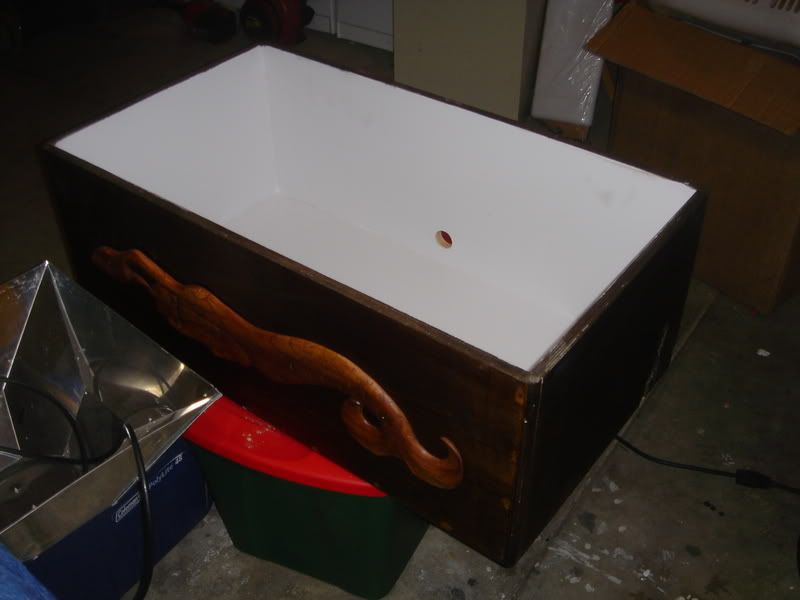
drilled a 1 1/4" hole in upper back side of the hood to run power cables out of, Ill be adding a gromit to keep the cleen look
tigerarmy90
Member
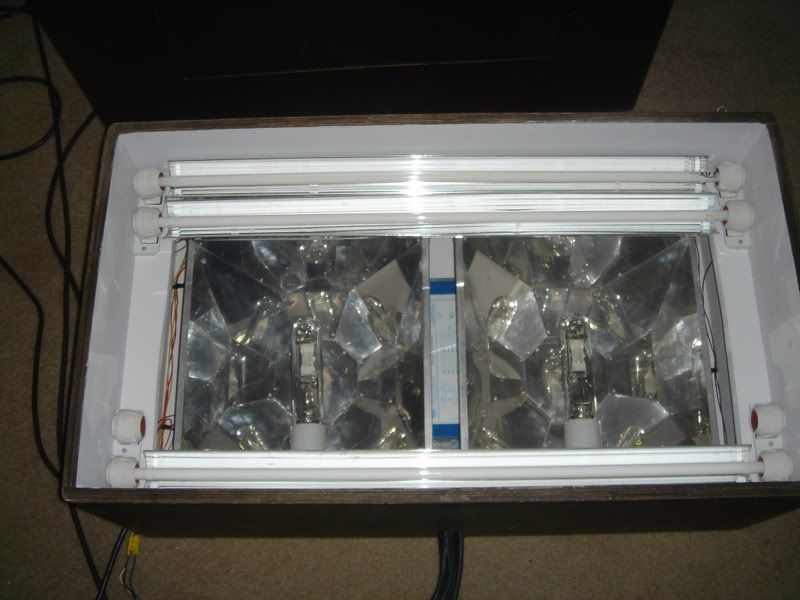
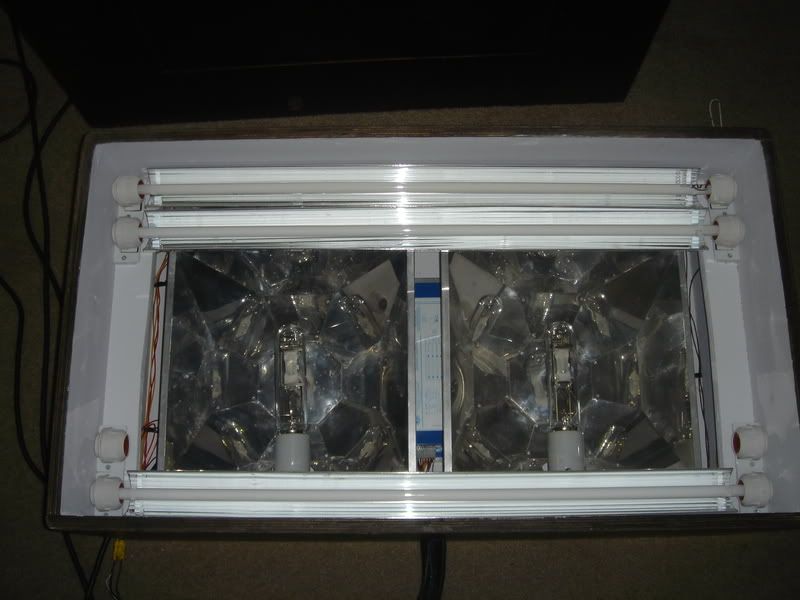
so here are the t5's all powered up! Now I just need to mount all the lighting and insatll my fans I was sent the wrong bulbs so it looks bluer then it was supposed to. two aquablues should have been super actinics
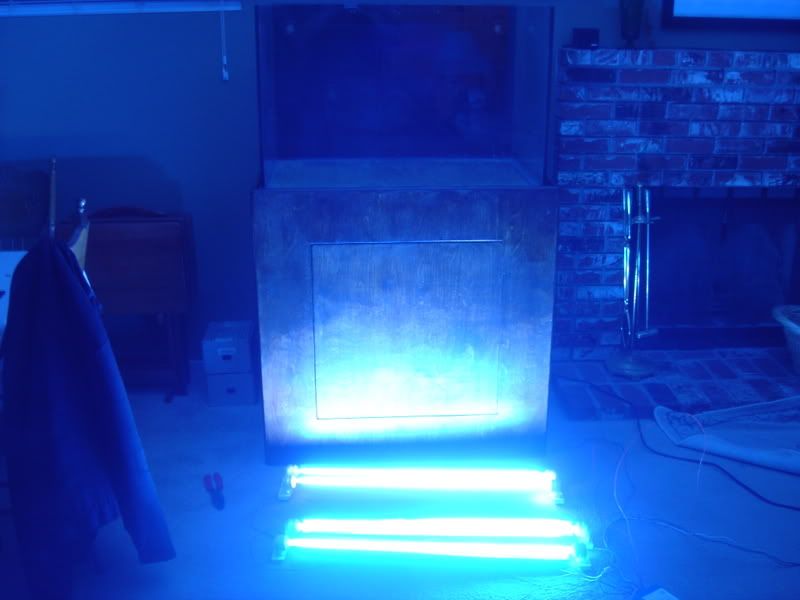

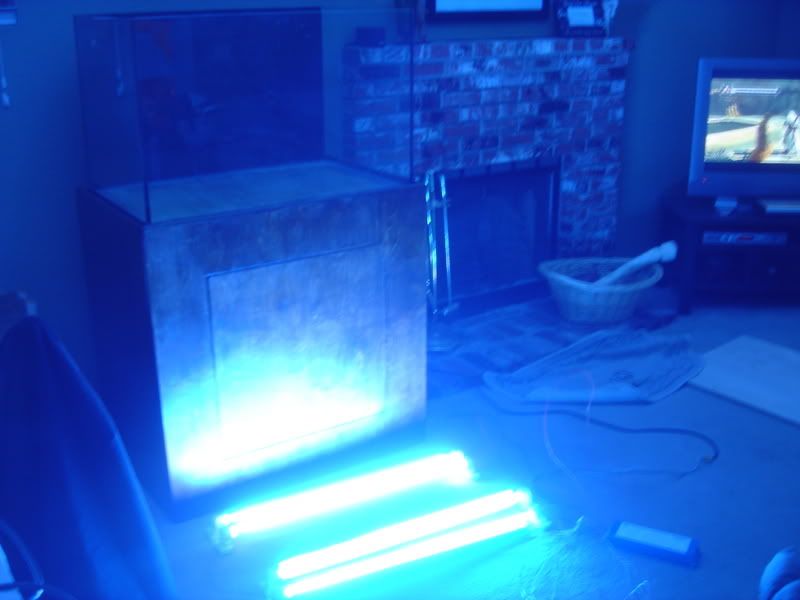
man these lights are bright!!! Im really happy with how they look on the icecap ballast...not sure I even need halides...lol
I was sent the wrong bulbs so it looks bluer then it was supposed to. two aquablues should have been super actinics
man these lights are bright!!! Im really happy with how they look on the icecap ballast...not sure I even need halides...lol
tigerarmy90
Member
yeah I have been wearing my welding helmt all day just trying to see my way through the house today I started mounting the wood mounts that the endcaps will sit on so I can get everything in the hood and in its permanent home, now I have to peint them so they match
today I started mounting the wood mounts that the endcaps will sit on so I can get everything in the hood and in its permanent home, now I have to peint them so they matchtigerarmy90
Member
Finally have a small update! hood is complete (with the exception of fans) and lights are all mounted! Startted by cutting the braces that the t5's would be mounting to and installed them and painted them to match! I mounted my 660 in the hood and ran all the wiring internally with zip ties to keep it tight and professional looking. Then I drilled the holes for the t5 standoffs and wires and mounted it all up! Finally I added a couple l3 mini's and ran the power cords through the hole that was drilled for them. OK, Ill shut up and add pics already!
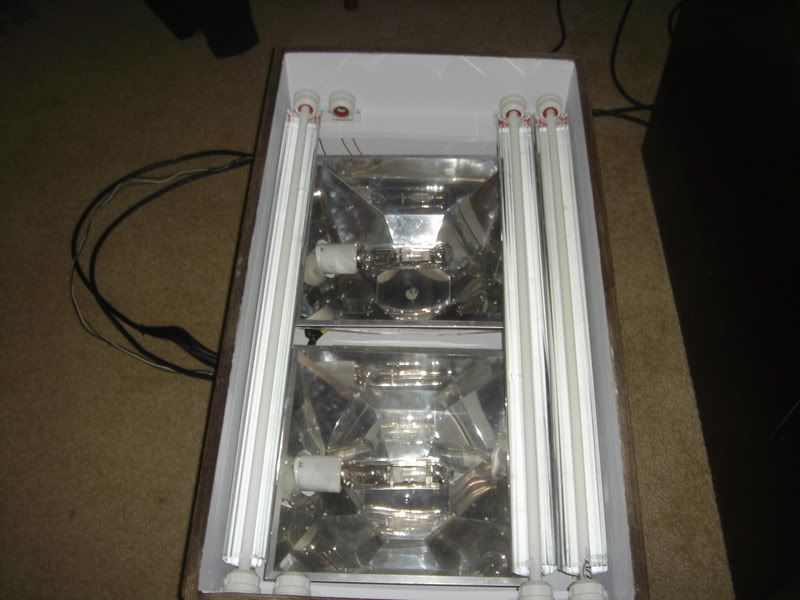
top down shot so you can see the 660
still waiting on one more bulb!
top down shot so you can see the 660
still waiting on one more bulb!
tigerarmy90
Member
Im hoping not, I ran it all together for a while and it wasnt too bad as is! I still will be adding fans that will run across the t5's and reflectors so that should take care of any problems with heat...
tigerarmy90
Member
wow, I just realized how long its been since I have updated this thing! still no water in it (not suprising the way I tend to lag on things) but I have worked on the sump issues I was having! I decided to go with a DIY acrylic sump similar to the one I posted on page 2 (?). I thought parcticing on some scrap acrylic from a local plastics store would be a good start. So I broke out the old router and got to cuttin
I wanted to start by trying some overflow teeth since I would be incorporating them into the sump deign! heres what I ended up with on the first go round
ugly, I know!
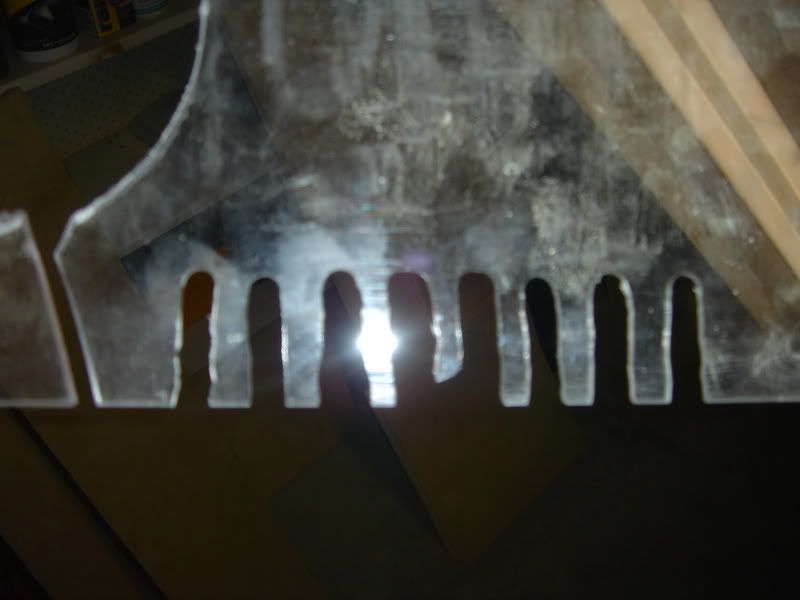
second attempt, better but not good enough
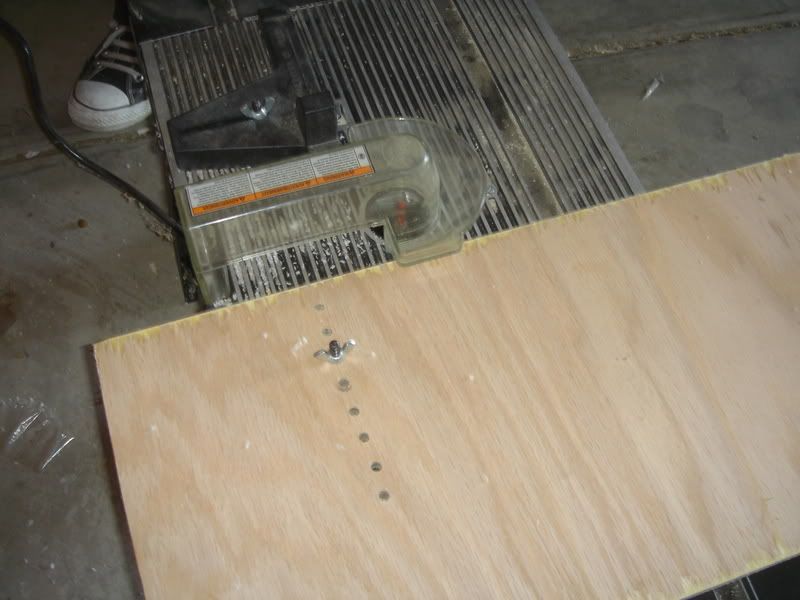
Obliously I was going to need a guide, so my nephew and I came up with the idea of drilling a board at about 3/4" aprt and then using it to keep the teeth evenly spread
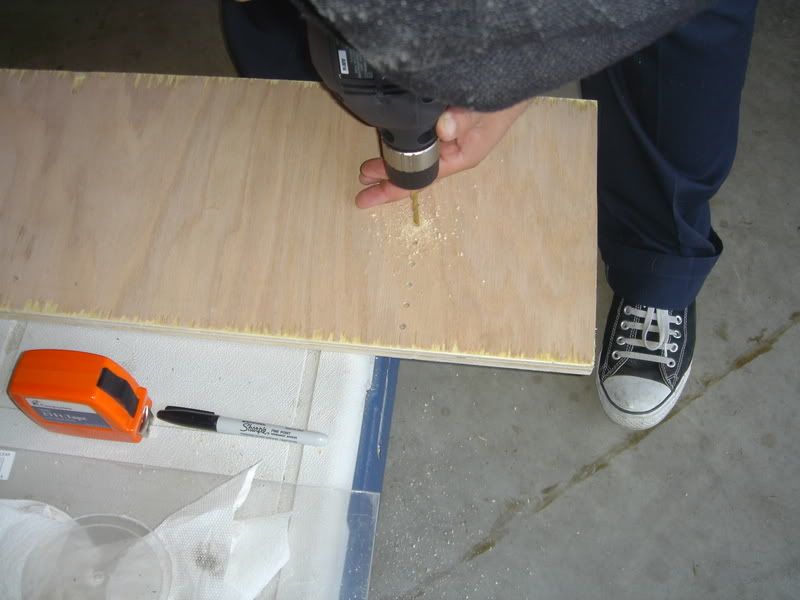
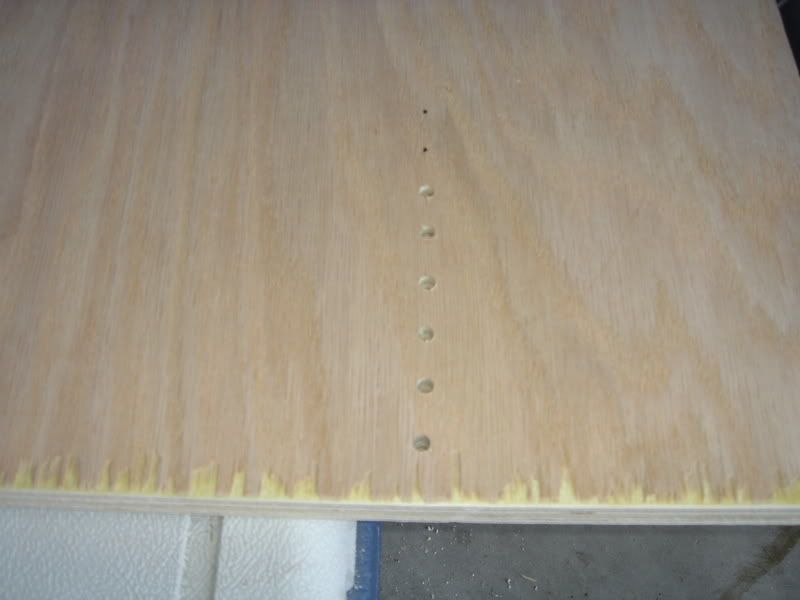
after every tooth was cut we could just move it out another notch to keep them even and straight
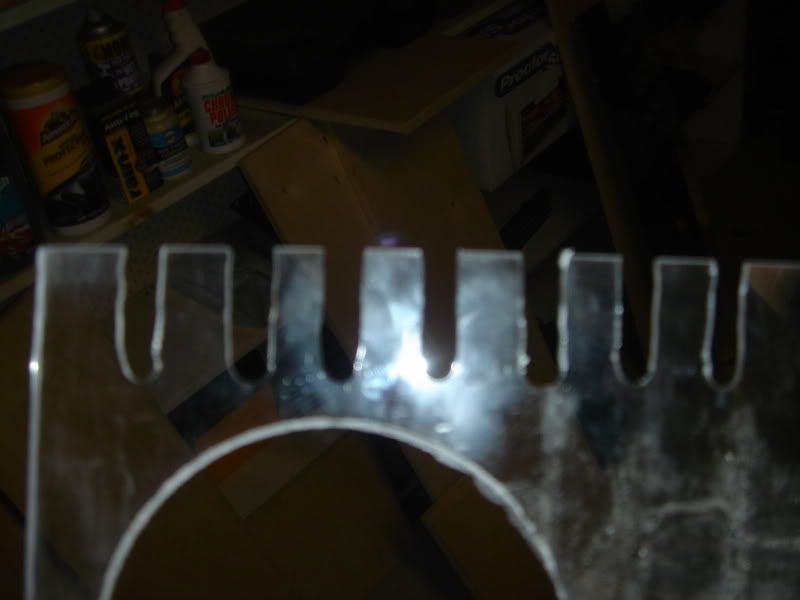
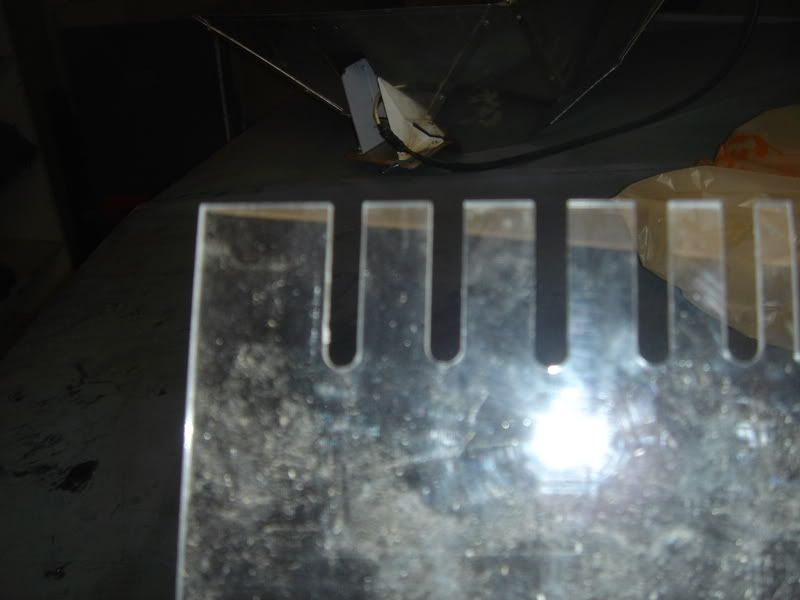
heres the final product after we got it down pact!!!
I wanted to start by trying some overflow teeth since I would be incorporating them into the sump deign! heres what I ended up with on the first go round
ugly, I know!
second attempt, better but not good enough
Obliously I was going to need a guide, so my nephew and I came up with the idea of drilling a board at about 3/4" aprt and then using it to keep the teeth evenly spread
after every tooth was cut we could just move it out another notch to keep them even and straight
heres the final product after we got it down pact!!!
tigerarmy90
Member
hello...hello..hello (echo)!!!