You are using an out of date browser. It may not display this or other websites correctly.
You should upgrade or use an alternative browser.
You should upgrade or use an alternative browser.
my 90g braceless/framless tank!! 36x24x24"
- Thread starter tigerarmy90
- Start date
tigerarmy90
Member
thnkas guys, I have been such a hige lagger on this tank! I had a little trouble deciding on wether or not I would keep my skimmer and struggle with my sump or get a new skimmer with a smaller footprint and have it easy ") I decied to keep my skimmer and design the sump around it and its coming right along now. All I really have to do is hang my lights and plumb it up and Im ready for water!!! (finally)
I decied to keep my skimmer and design the sump around it and its coming right along now. All I really have to do is hang my lights and plumb it up and Im ready for water!!! (finally)
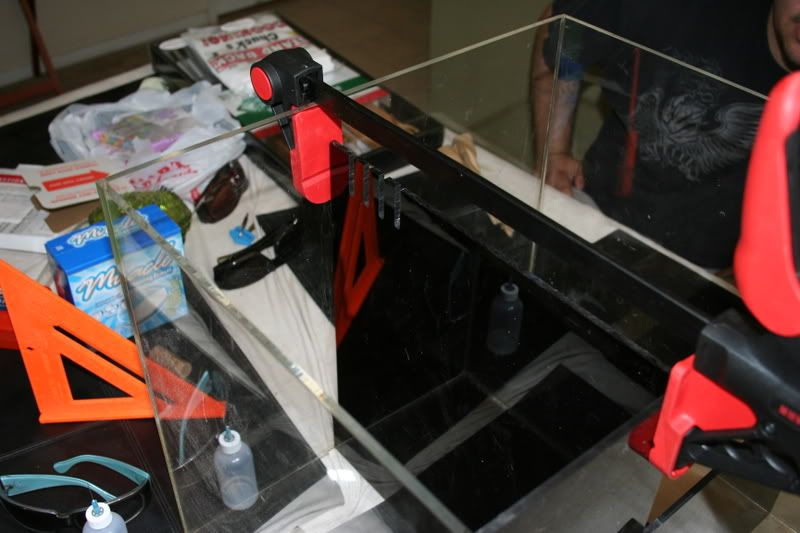
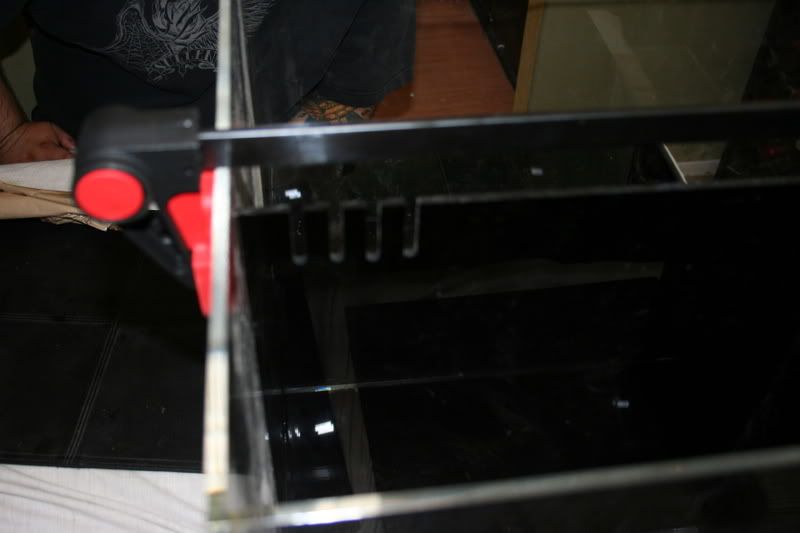
heres some more diy acrylic! I wanted lots of practice before trying my sump...
horizontal overflow for a nano
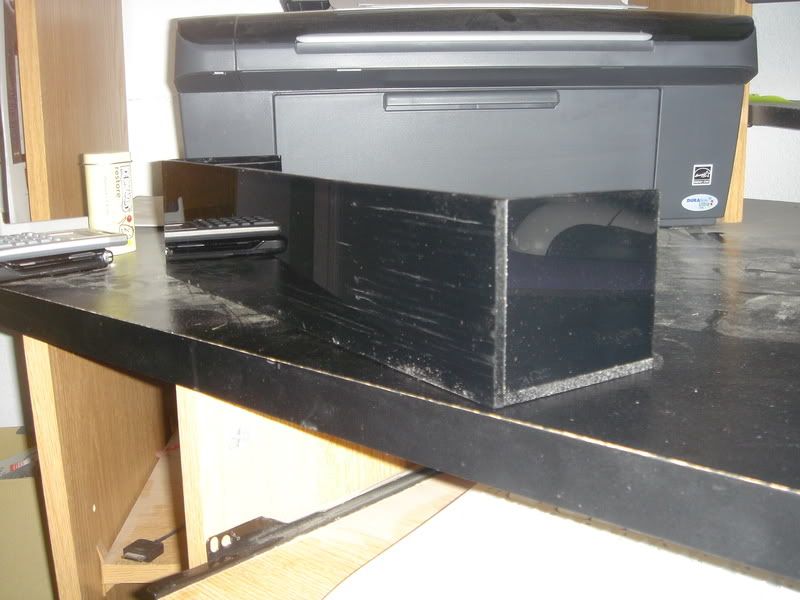
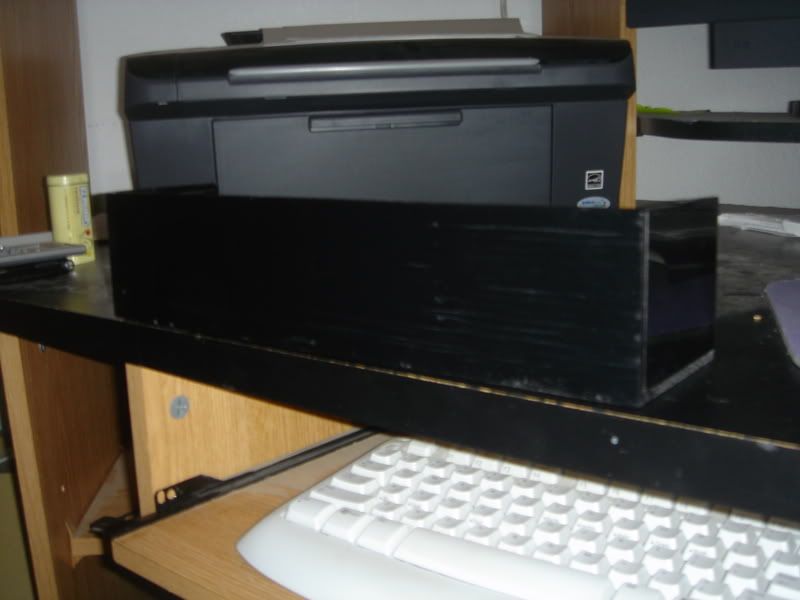
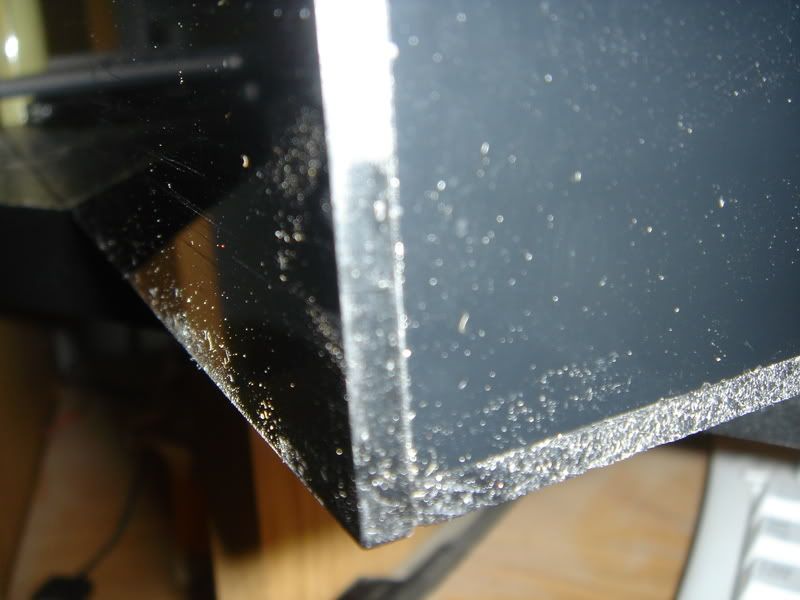
attempted flame polished edges
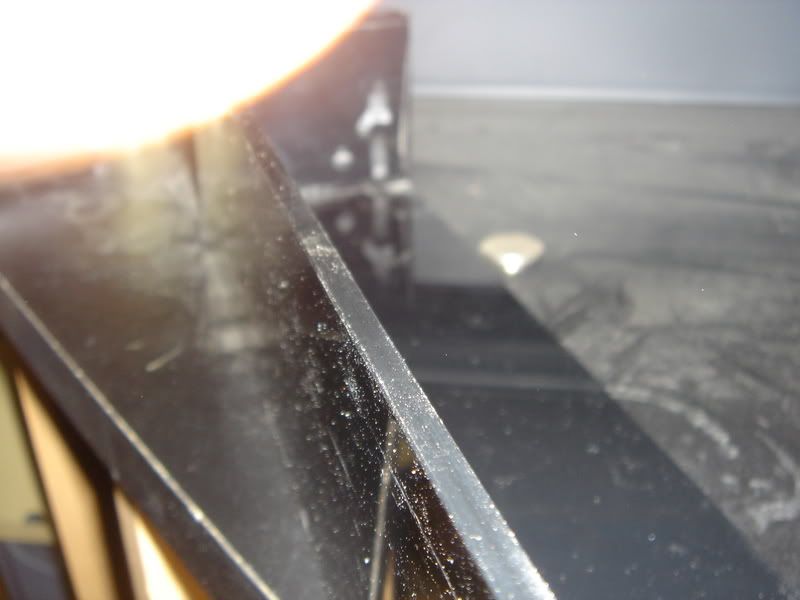
dont mind my dusty desk
I decied to keep my skimmer and design the sump around it and its coming right along now. All I really have to do is hang my lights and plumb it up and Im ready for water!!! (finally)heres some more diy acrylic! I wanted lots of practice before trying my sump...
horizontal overflow for a nano
attempted flame polished edges
dont mind my dusty desk
tigerarmy90
Member
thanks lynn! It took some practice but they are def coming out alot nicer! The only problem Im running into now is on my router table the screw that mounts the router to the table is not flush so it leaves small scratches in the acrylic!!!! that means more work trying to buff them out
nikkipigtails
Well-Known Member
I just saw your thread. The tank will look awesome once it's got stuff in it. The teeth for the sump look like a professional did them. Good job!
tigerarmy90
Member
why thank you mamm
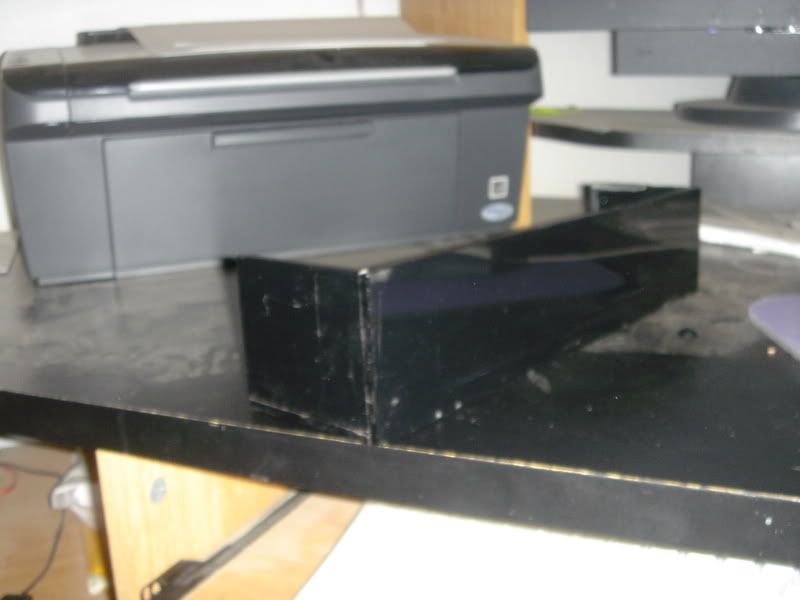
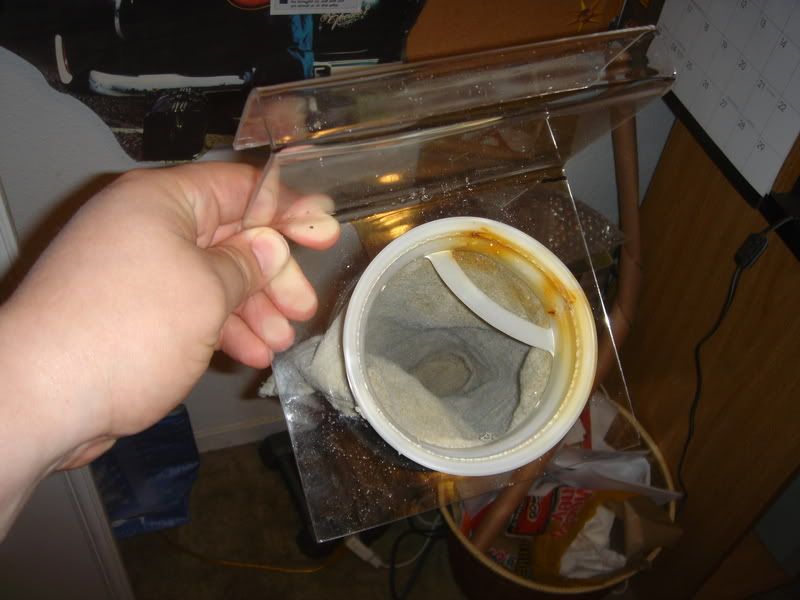
Im trying to put up the pics in chronilogical order so that I dont miss anything here...oh yeah, we also made some DIY filter sock holders with torch!!! For these we used a 3/4" peice of ply for the bends and just heated and bent them slowly. Then we used a hole saw to make to opening for the saock!
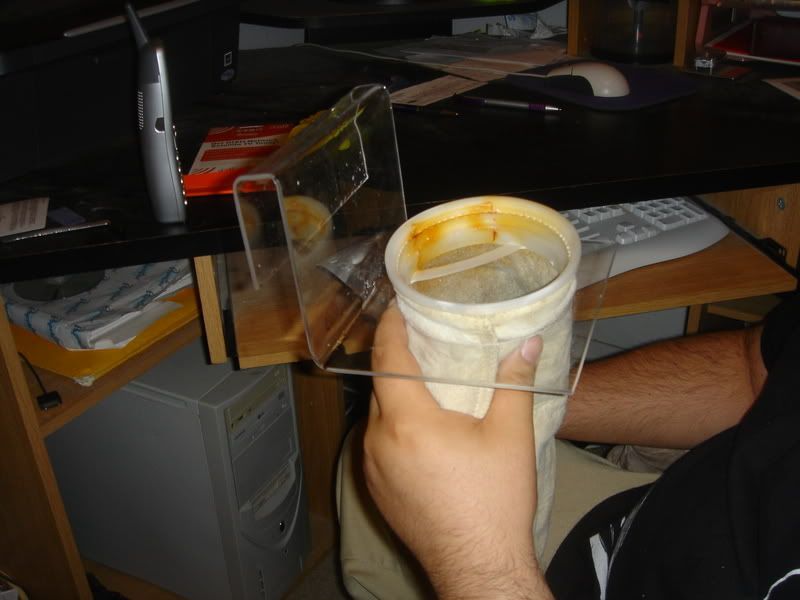

try not to look at the dirty sock
Im trying to put up the pics in chronilogical order so that I dont miss anything here...oh yeah, we also made some DIY filter sock holders with torch!!! For these we used a 3/4" peice of ply for the bends and just heated and bent them slowly. Then we used a hole saw to make to opening for the saock!
try not to look at the dirty sock
tigerarmy90
Member
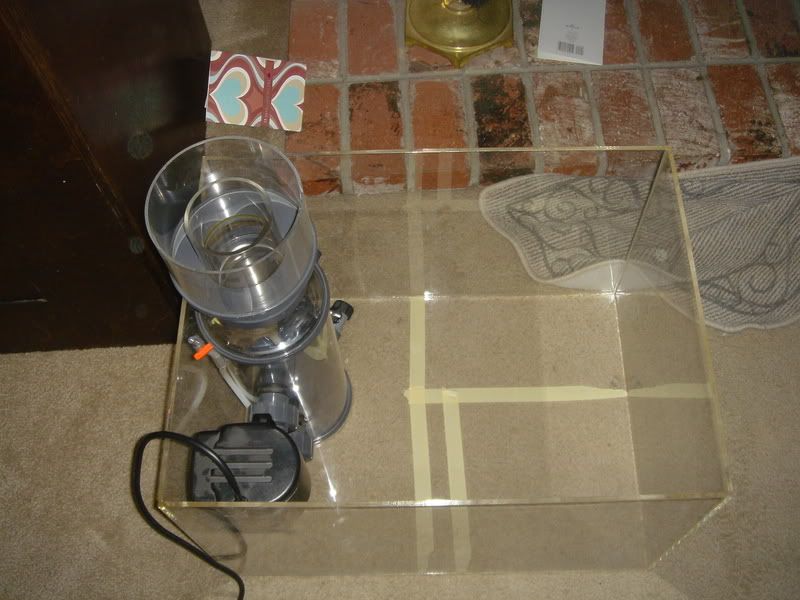
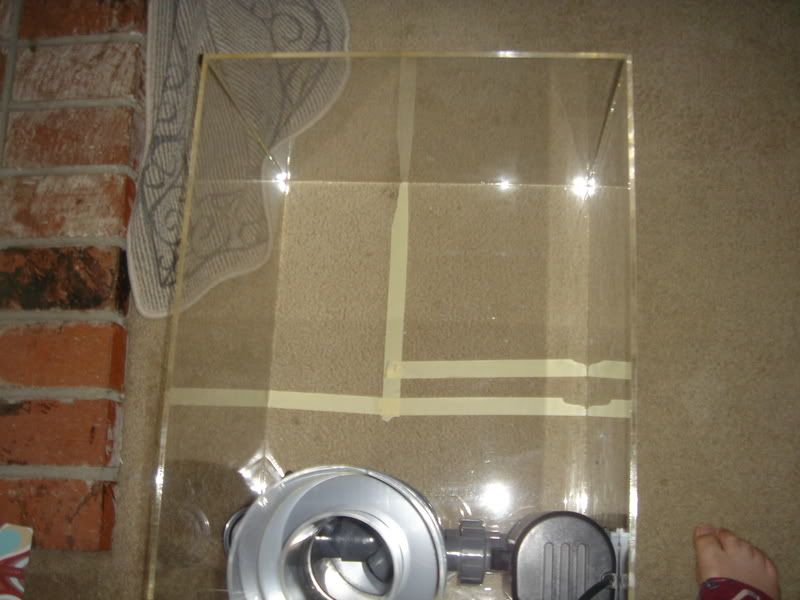
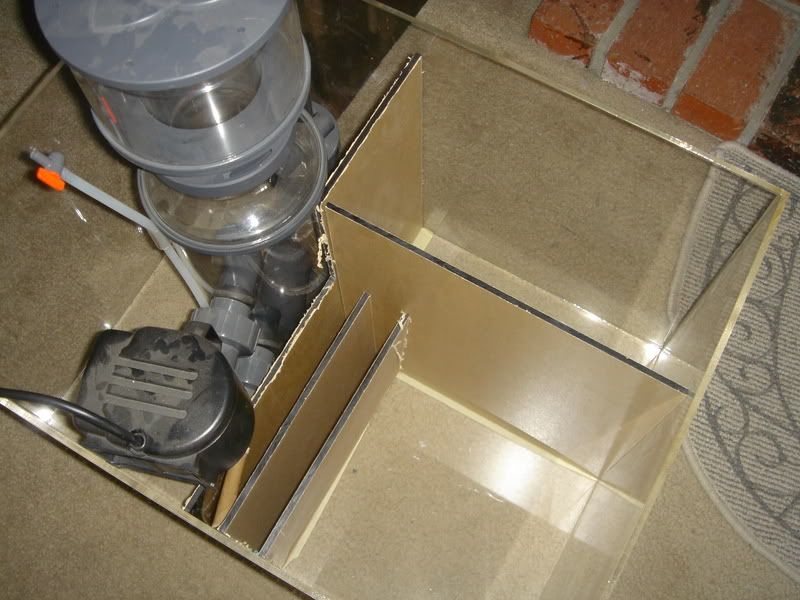
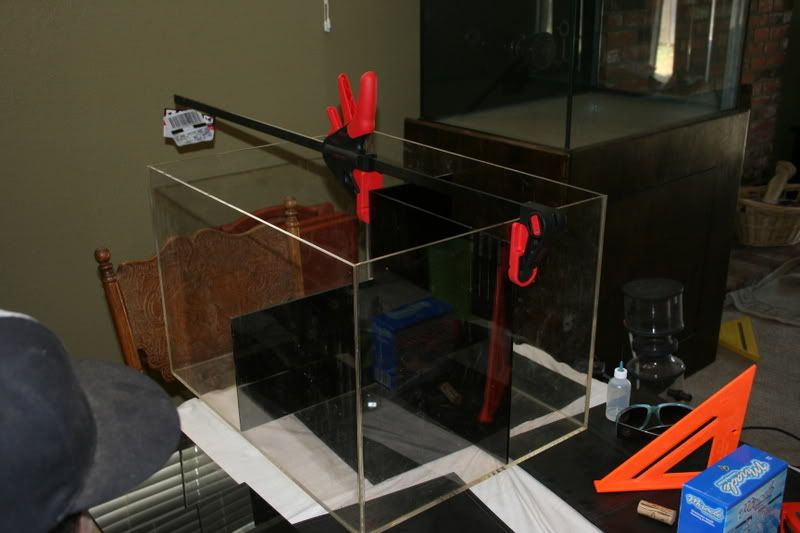
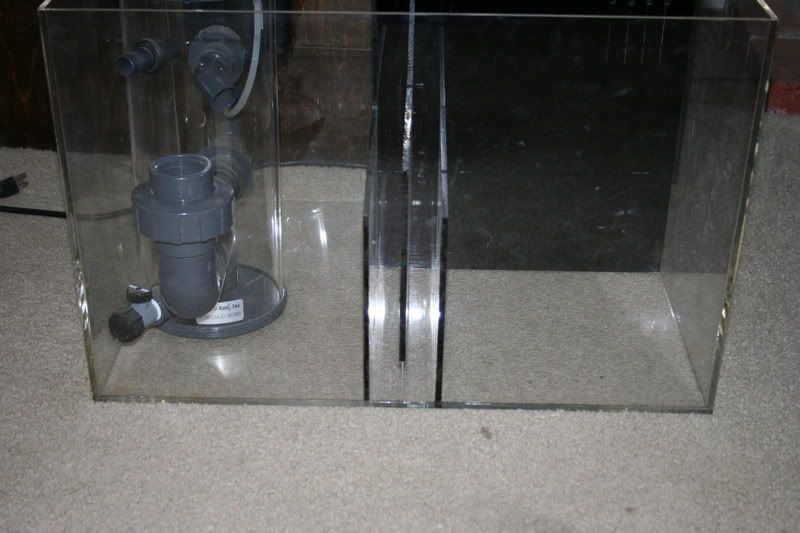
After knocking out a few different poejects with acrylic I was feeling pretty comfortable with my DIY skills so I decided to tackle the sump build! I was looking at 250-350 dollars to have it built proffesionally, so I checked with this local palstics company and found that I could get all my supplies for about half that! started with precut acrylic and some weld on 4 with the needle aplicator.
heres the pic of the box, before the baffles were added (dont mind the crooked tape)
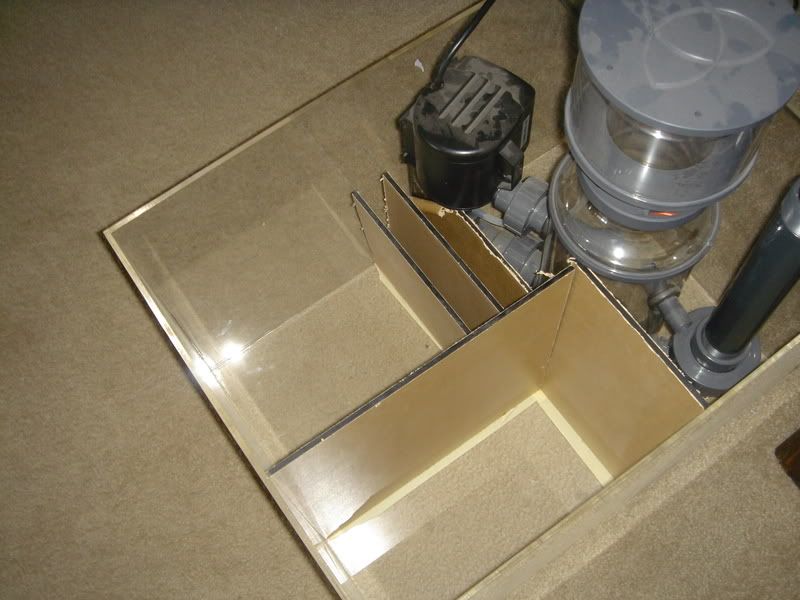
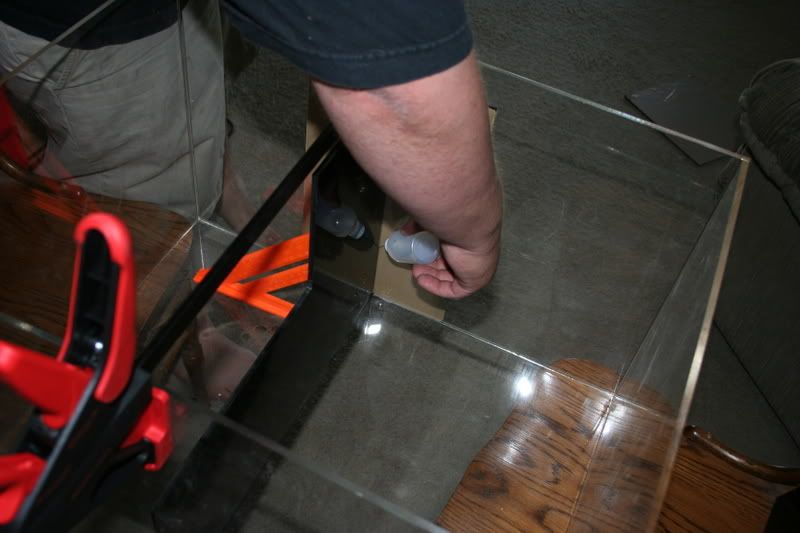
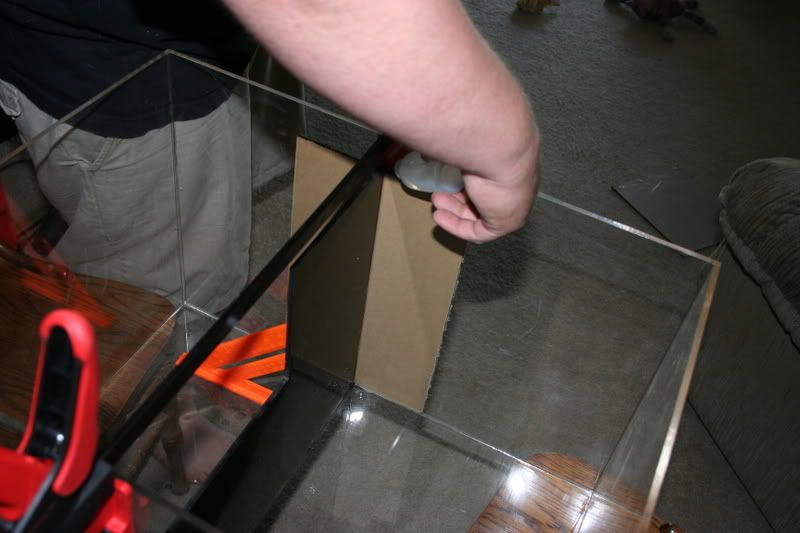
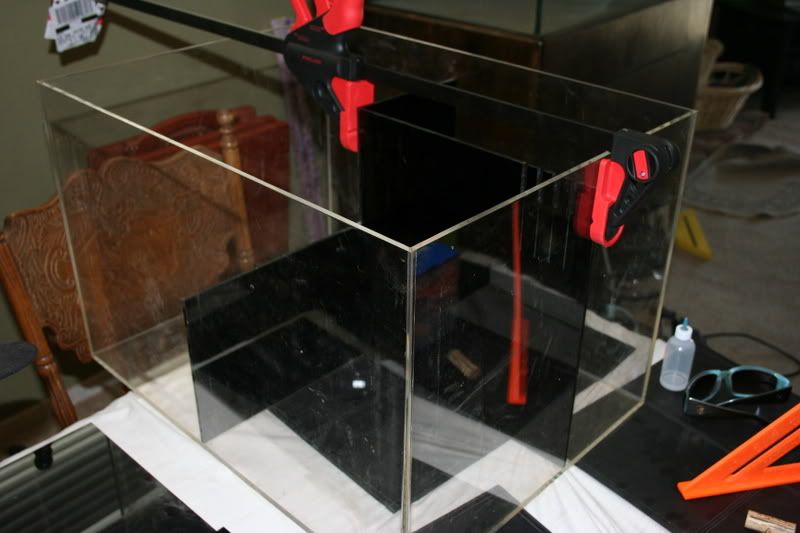
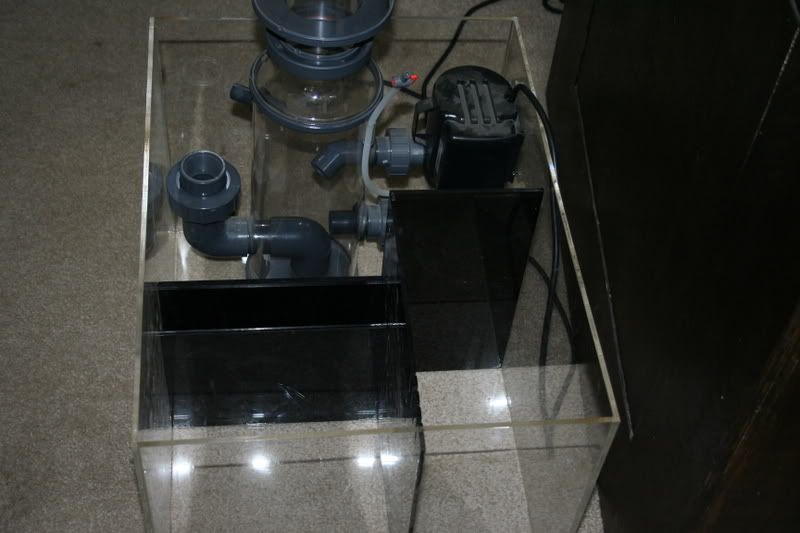
then I had the baffles cut and placed them in to see how it would look with the skimmer in it
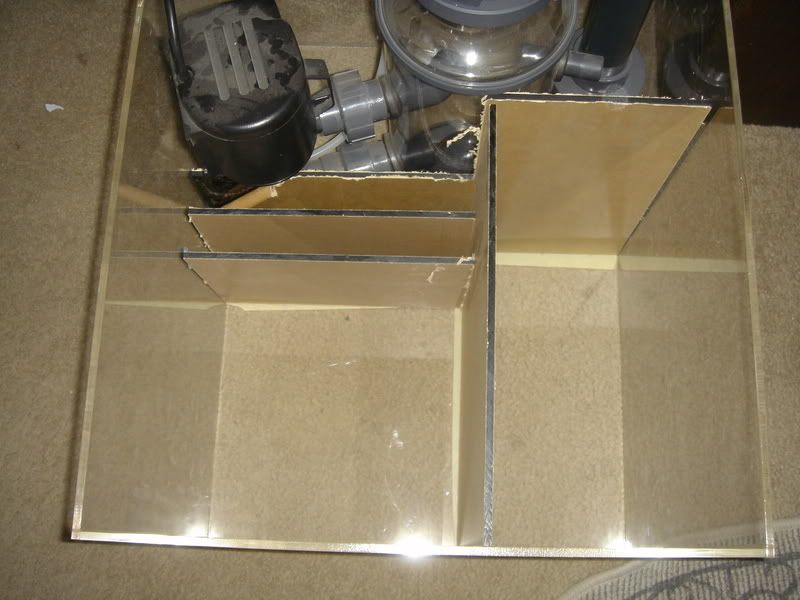
all that was left for me to di is put the overflow teeth in the fuge so that the water would return directly to the return section to fht esump and then weld it all together more pics to come!!! so tell me what you guys think of the deisgn? Im a little worried about the size of the return section...def going to need a ato...
heres the pic of the box, before the baffles were added (dont mind the crooked tape)
then I had the baffles cut and placed them in to see how it would look with the skimmer in it
all that was left for me to di is put the overflow teeth in the fuge so that the water would return directly to the return section to fht esump and then weld it all together
more pics to come!!! so tell me what you guys think of the deisgn? Im a little worried about the size of the return section...def going to need a ato...tigerarmy90
Member
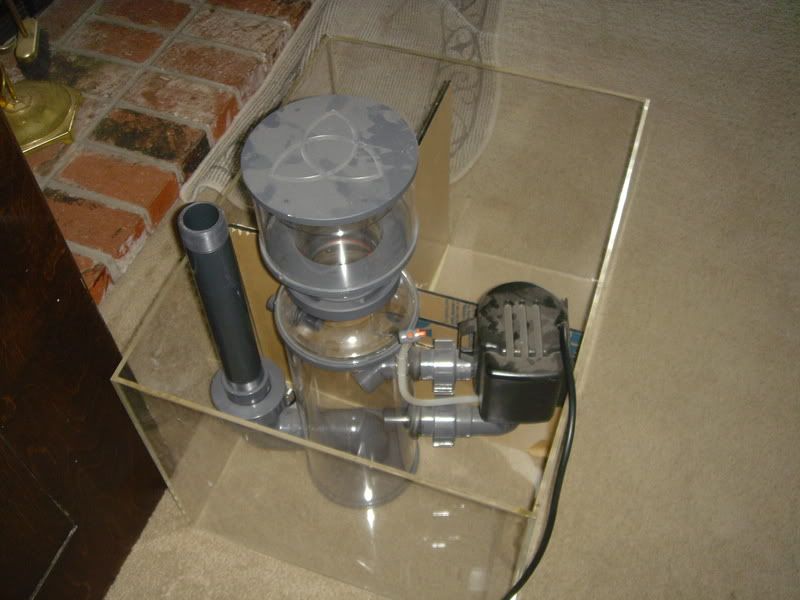
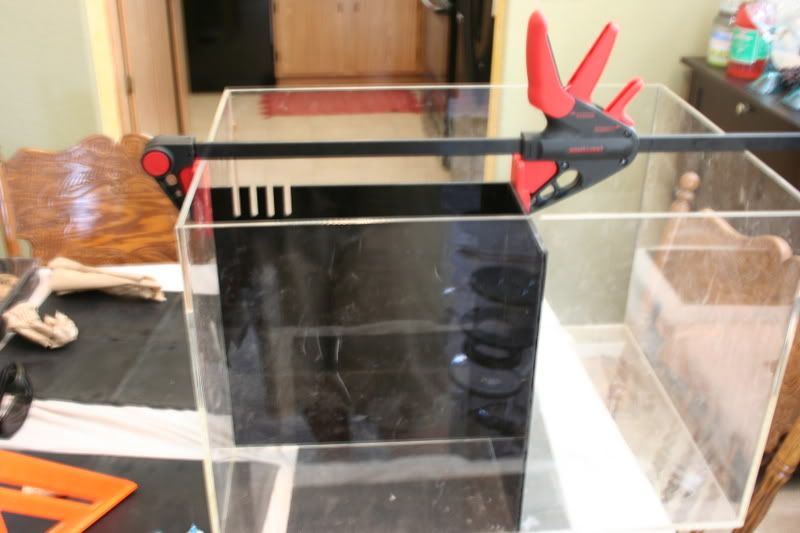
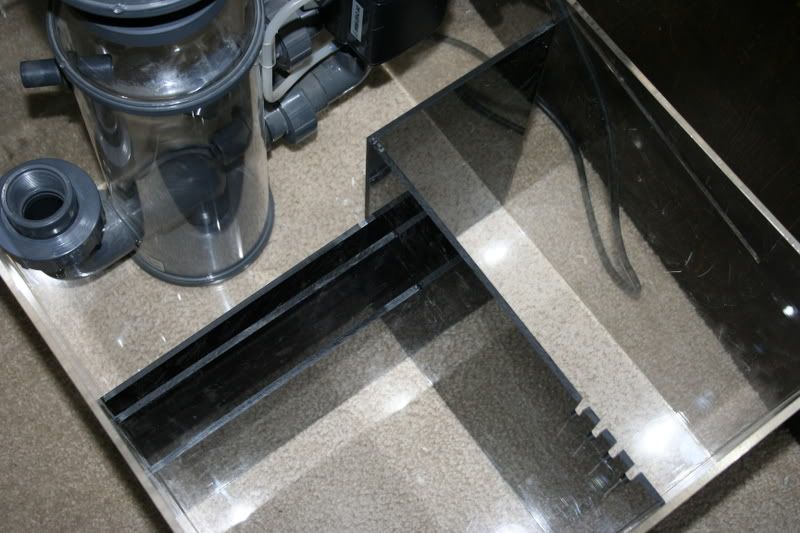
thanks jack! heres more pics


fuge with overflow
fuge with overflow
tigerarmy90
Member
I know, I know...not exciting until there is water in it right...well hopefully that will be by the end of july to early august! in the mean time Ill keep adding ppics and you guys chime in when you get the chance...
heres the final product! just needs a little weldon 16 to seal it up tight

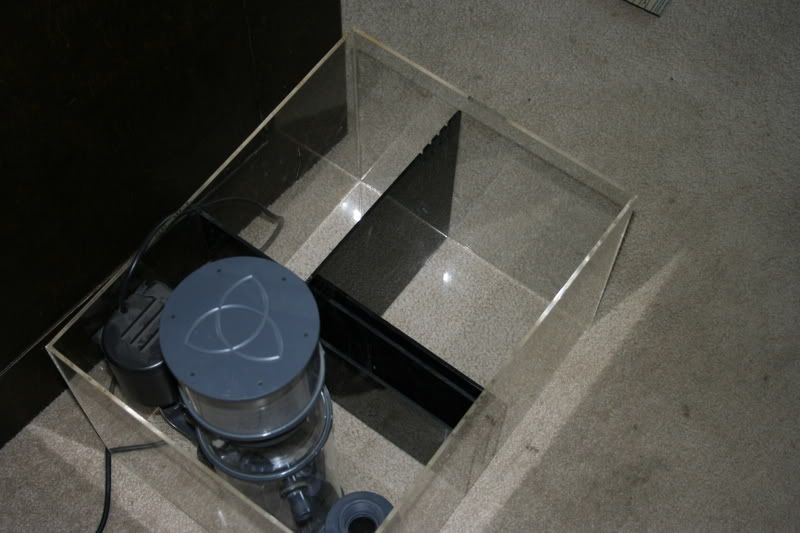

and you guys chime in when you get the chance...heres the final product! just needs a little weldon 16 to seal it up tight
BSully1850
New Member
I am very impressed with your entire build, good work!
nikkipigtails
Well-Known Member
It's early August...where's the water?
tigerarmy90
Member
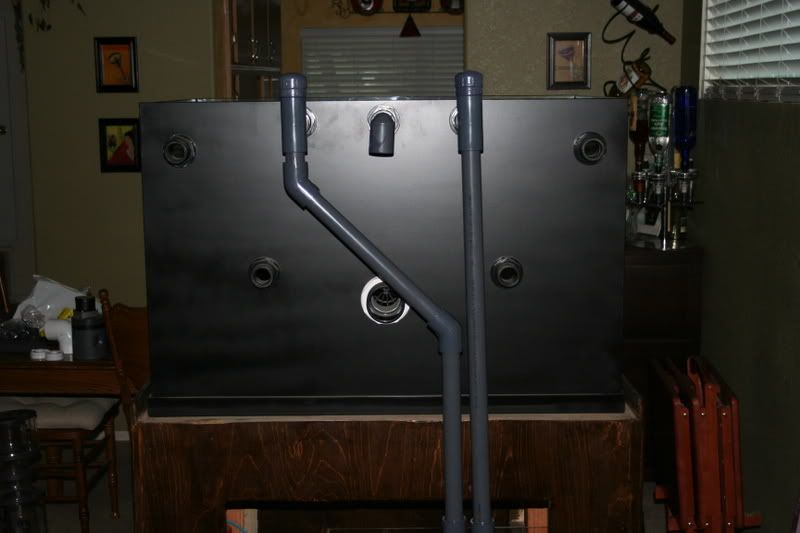
gosh, Im such a lagger, almost there I recieved my tracking number today for sch flex pvc, the last missing component before I put water in the tank and test out the plumbing. I am still working out some kinks on which drain will feed what and so on but I have a general idea...I did decide to paint the inside of the stand and it looks awesome! Im really glad I did it...I just wish I hadnt layed epoxy in the joints cause as you can see the paint didnt take that well in those areas
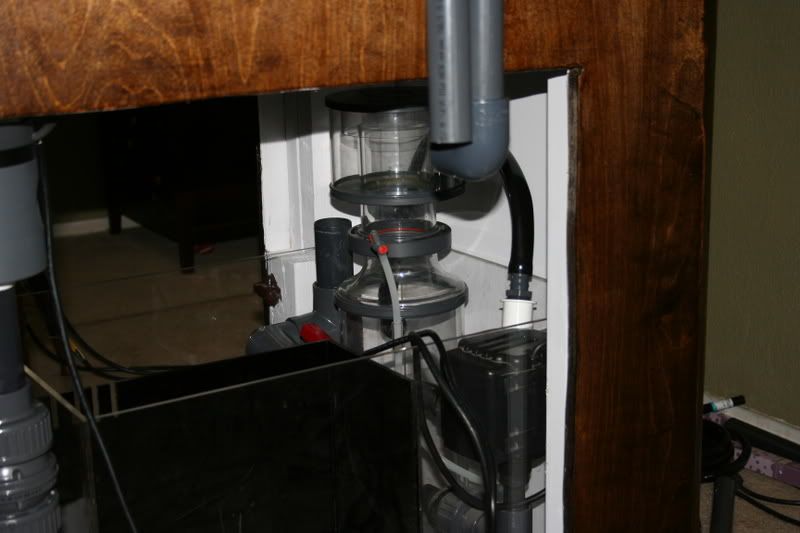
heres a few pics with most of the equipment in place
made room for 2" plumbing
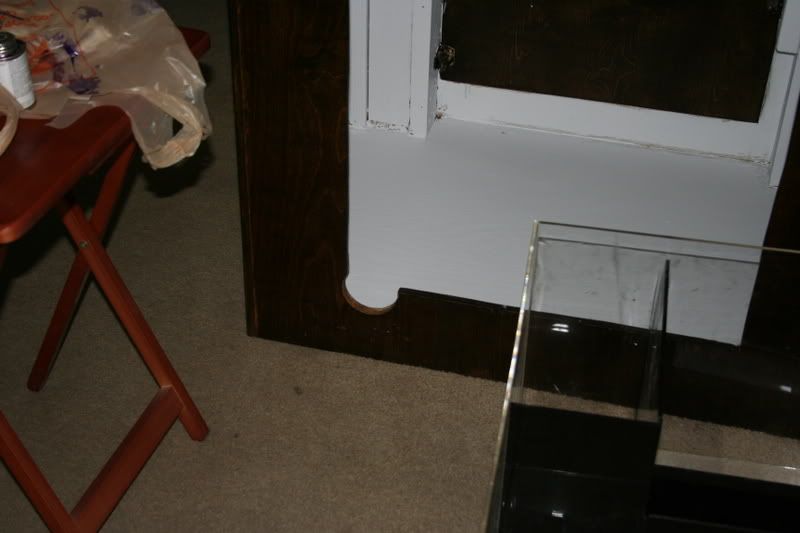
look at skimmer through back side of the stand
om and dart in place
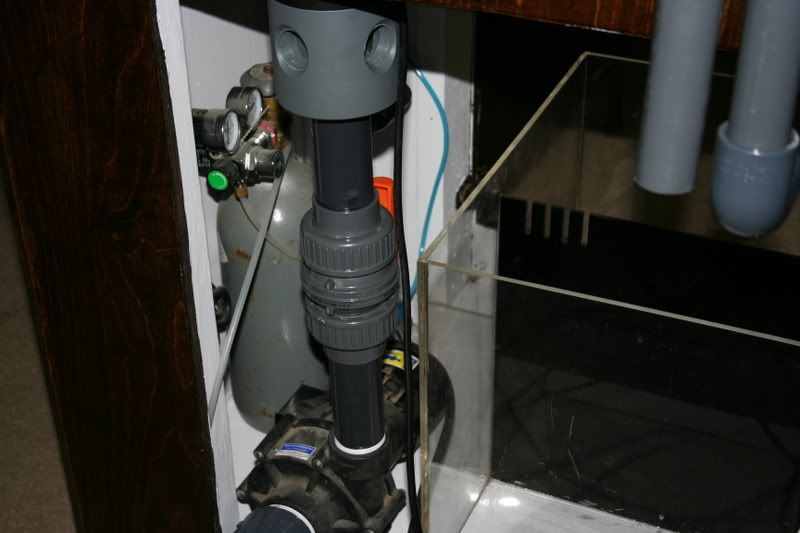
front side with return pump in

ca reactor and bottle in place
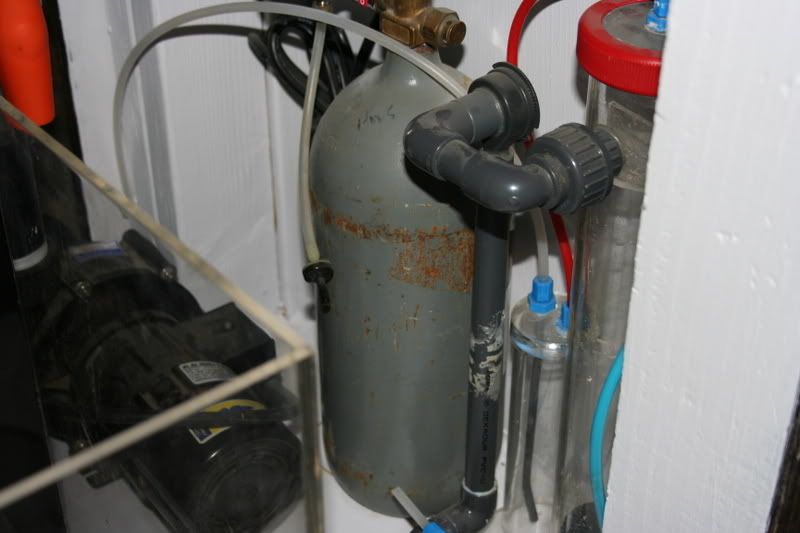
its kind of tight in there but not as bad as I thought it would be 8)
Now that it is on its way I wanted to ask your opinoins on how to run the flow through my closed loop. I really want to maximize the water movement through the tank and use the best application for making chaotic and random water movement but still try to get the wave affect. My ocean motion is a version two so it will run both 1 and 3 then 2 and 4 and repeat. So would you run both top returns then both bottom retuns or would you run both left (one top and one bottom) then both right? Or finally the option of running top left with bottom right and vise versa?
I recieved my tracking number today for sch flex pvc, the last missing component before I put water in the tank and test out the plumbing. I am still working out some kinks on which drain will feed what and so on but I have a general idea...I did decide to paint the inside of the stand and it looks awesome! Im really glad I did it...I just wish I hadnt layed epoxy in the joints cause as you can see the paint didnt take that well in those areasheres a few pics with most of the equipment in place
made room for 2" plumbing
look at skimmer through back side of the stand
om and dart in place
front side with return pump in
ca reactor and bottle in place
its kind of tight in there but not as bad as I thought it would be 8)
Now that it is on its way I wanted to ask your opinoins on how to run the flow through my closed loop. I really want to maximize the water movement through the tank and use the best application for making chaotic and random water movement but still try to get the wave affect. My ocean motion is a version two so it will run both 1 and 3 then 2 and 4 and repeat. So would you run both top returns then both bottom retuns or would you run both left (one top and one bottom) then both right? Or finally the option of running top left with bottom right and vise versa?
blue_eyes53813
Well-Known Member
Looking very nice... Im sorry I cant help with the flow questions.. Here is a bump for you... Somebody will jump in here soon...

nikkipigtails
Well-Known Member
Everything looks awesome. I can't help with the flow question either. I have two drains in the center of my tank then three returns at the bottom. Each return is T-d off pointed up and when I watch my corals flow, they flow all around, not in any one direction. But we don't have a wave maker, so I dunno what to suggest for you.
tigerarmy90
Member
thanks for the compliments guys...Im thinking that Im going to run the two top together and then the two bottom that way one side of the tank is not shut completely off while the other is pumping. Does that make sense?
or would it make more sense to run left to right? I would imagine the dart on a 36" tank will move water throught he entire thing no matter where it is pumping from? (so even if its just the left top and bottom returns the right side will see some flow?)
please someone show me the way lol
or would it make more sense to run left to right? I would imagine the dart on a 36" tank will move water throught he entire thing no matter where it is pumping from? (so even if its just the left top and bottom returns the right side will see some flow?)
please someone show me the way
loltigerarmy90
Member
to the top one more time for some possible opinions!?