RSM 130, 130D and 130C Mods

BigAl07

Administrator
RS STAFF
Anyone ever consider adding a rkl where the powercdnter is?

Dang Brando! You just gave my new idea away :LOL: Just kidding bud!

Actually that's exactly what I want to "Try" and do when I set my ProfiLux up in a few weeks (couple of months). The only problem with my application is that I think the "Power Strip" for my ProfiLux is too big to fit "As Is" into that compartment. I may have to either cut out the bottom or just move it all into the cabinet.
 
Last edited:

Brando457

Member
My thinking is a rkl pc4 would fit if I removed the existing strip and still maintain the sleek look.

I was going to do an apex jr, but I like that all in one look the tank has.

I can't wait until my ecotech radion comes in.
 

BigAl07

Administrator
RS STAFF
Sounds like a good idea Brando (I called you Brandon earlier LOL.. sorry). Do you have a RKL already or are you just looking for one?

I want to keep the "sleek" look as well. We'll have to figure a way to re-attach the cover plate for the power center because it snaps into the power center itself doesn't it?
 

Brando457

Member
Lol name is Brandon, it is fine and I do not currently own a RKl I did in the past.

I figure that it's not one piece, you could probably cutaway the existing one from that cover and mount it there.
 

Brando457

Member
I may have to upgrade sooner than I thought, I added 10 frags from a member selling them on here and teh tank is full already!
 

Mischko

Member
I just wanna come back the 'infamous' Tunze 9002 skimmer mod. Sorry, in my view it is rubbish! First of all you have to open the skimmer, then take out the original air tube/hose, replace it with a new one leading out of the skimmer case where it sooner or later bent, PVC will get hard and it will get stuck.
A way easier and simpler mod to achieve the same is the following and you don't have to open the skimmer at all.
Take out the blue screw for adjusting air flow. You have an opening on the opposite inside the skimmer. Close this with a drop of silica gel or anything handy. Best, something you can remove later easily in case you wanna sell the skimmer. After closing the hole, find a connecting piece/strap you can put into the hole where the original Tunze screw was in. On that put an aquarium hose/tube with an air valve.
That's it. It has a reason why the original tube/hose is made of silicon!
 

tommy123

New Member
Hi all,
I have done quite a few modifications to my red sea max. Although I haven't sumped it yet.

I have added the two eheim 600's, exactly as Brandon described earlier in this thread.

I haven't got the stock skimmer, or the tunze 9002, I have a bubble magus nac QQ!
IMG_8546.jpg

I had to add a bracket but that was it, by the way it is higher now as I set it at the wrong height:smack:

I have added a phosban 150 reactor.
IMG_8677.jpg

Sorry for the poor picture!

The main mod is to my cabinet:
IMG_8665.jpg

All of the shelves are on drawers including the tank, the only one that isn't is where the balling containers are.

In my cabinet is a doser - a marine magic three way.
IMG_8670.jpg


I have also added a top-up tank on a drawer:
IMG_8680.jpg


It's not really a mod, but I also have riffsystem in my tank(the picture was when it was first set-up):
IMG_8545.jpg


The next thing I want to do is add a HOB refugium to the back of my tank, I have thought it all through and it is possible. I am currently just researching as to whether I should add it, and if it would become beneficial.

Tom.
 

nanoreefing4fun

Well-Known Member
RS STAFF
welcomefish.gif

to ReefSanctuary and the RSM Club, a real Sanctuary of reef forums, with lots of very nice members
745.gif


Thanks for sharing - great mods & beautiful rock & rockscape !
 

Dusty

New Member
Hello Guys, Im new to this, and as this is the place to talk about Modifications to the RSM 130, I am guessing I am in the right place. (sorry if im not).
So here goes.... my problem is not new to RSM owners, but I am struggling to find a solution after reading through many many posts here. I suffer from microbubbles. I purchased my RSM 130 used as a second tank for my house. The tank has been up and running for 4 months now. For the first month I was running with no skimmer, but yet the tank was full of micro bubbles. The bubbles are being blasted out from my return pumps and I am getting very frustrated trying to work out where they are coming from. Its not the skimmer, my water level is at its max, there is no media in the third chamber and the only mechanical filtration I have is a sponge about 1 inch thick and a layer of filter floss.
If you have any ideas on where my micro bubbles could be coming from, please help!
 

Dusty

New Member
Thanks Tom, I have read this one before but im going to look over it again and see if there is anything else I can try.
Cheers
 

Rjohn5499

New Member
ATO question

I have grown tired of topping off my take every other day with a gallon jug of RO water. I purchased a JBJ ATO unit after researching the ATO units that are out there. I wanted to use a 5 gal carboy jug but it was hard to find one with an opening large enough to get a small pump in. I figured it wouldn't work if I couldn't get my hand in it. Now granted there are jugs or carboys out there, but I couldn't see paying $250.00 for a plastic jug.

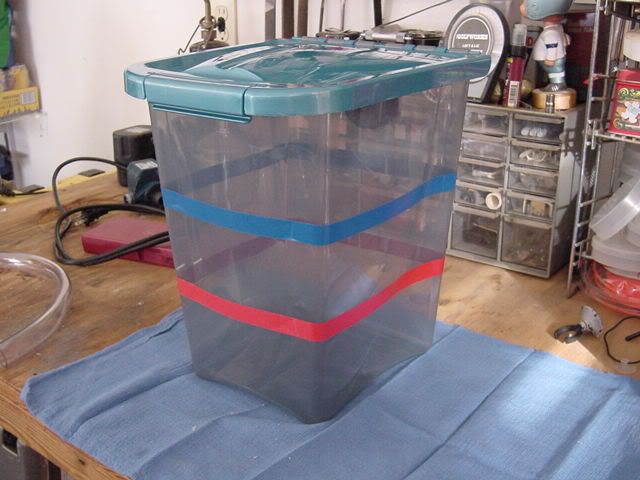
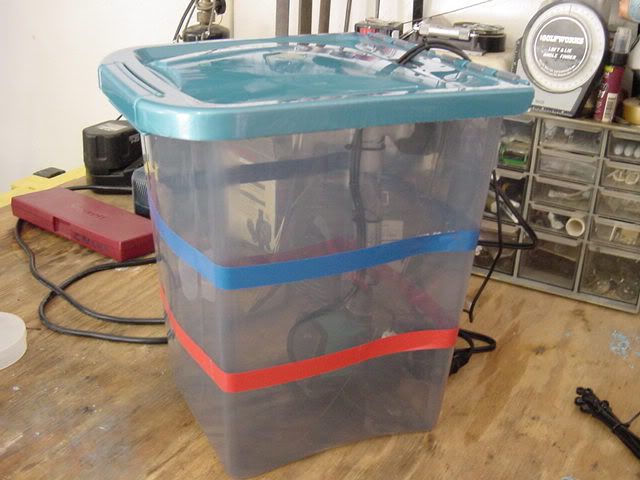
Anyway I found a suitable container at Target yesterday that I thought would work and still fit inside the 130 cabinet. I found it in the pet supply department and it was to be used as a pet food container. It has a rubber gasket around the lid and it can be snapped shut.

DSC00978.jpg


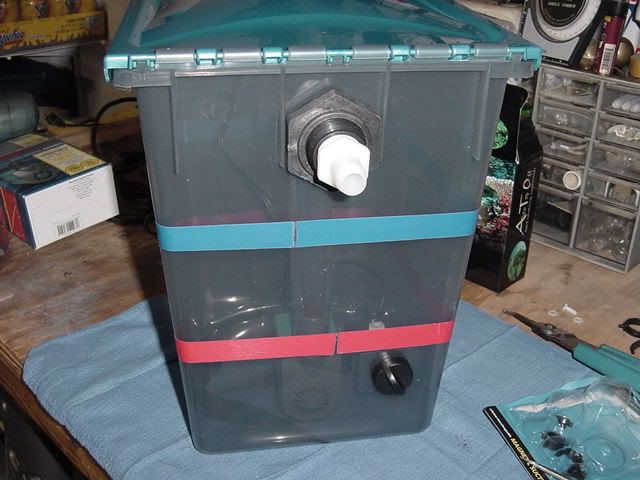
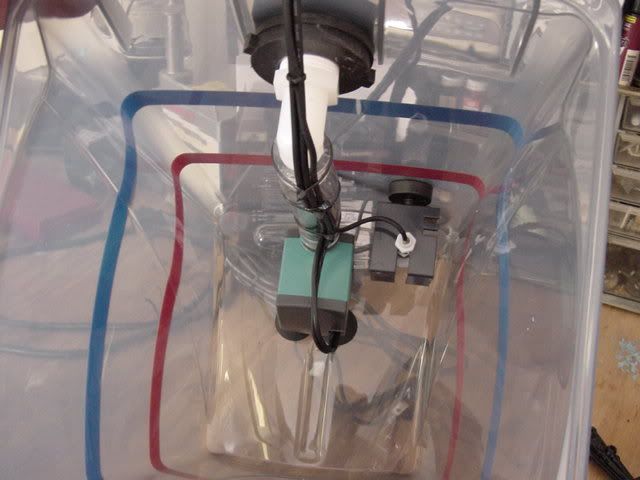
The red tape indicates one gallon and the blue line is for two gallon. I think it will hold three for sure.

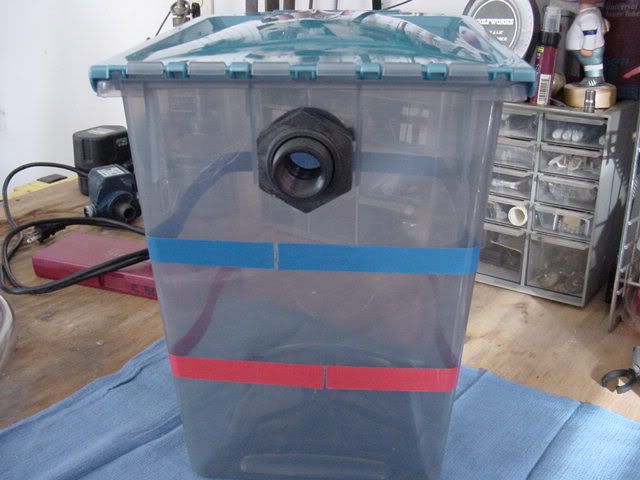
The next photo is of the bulkhead fitting that I installed in the rear of the container. It is a 3/4 inch fitting. I would have like to have used a 1/2 inch but could not find one.

DSC00979.jpg


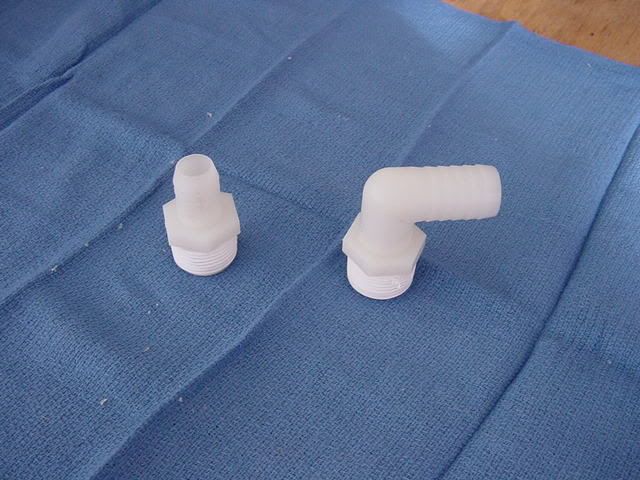
This is a photo of the fittings that I used to go in the bulkhead fitting. The 90 degree fitting goes on the inside of the container.

DSC00983.jpg


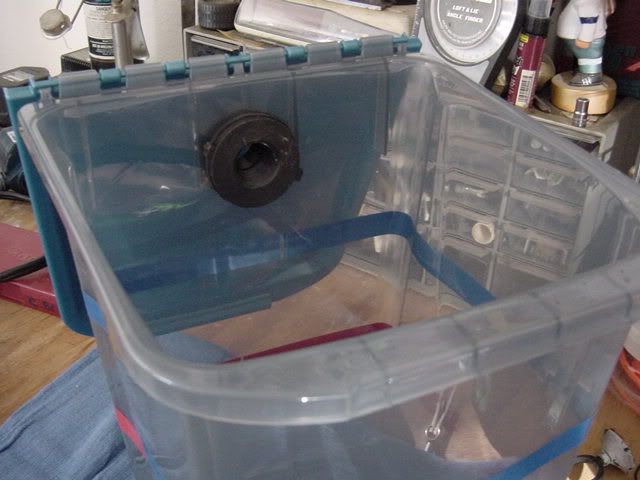
This next photo is from the front left corner of the container. You should be able to see the way the lid folds back.

DSC00980.jpg


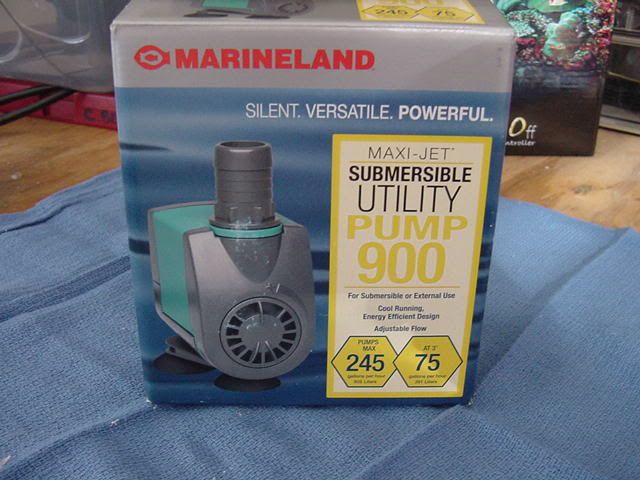
This is a photo of the pump box. This is a well know brand and I deemed to be reliable.

DSC00982.jpg


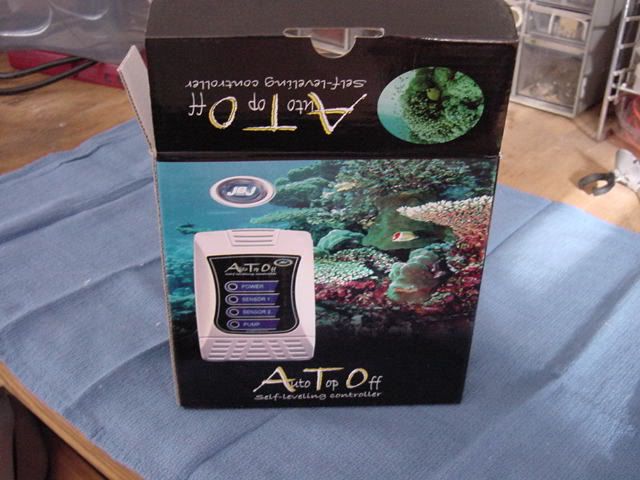
Also a photo of the ATO unit box.

DSC00981.jpg


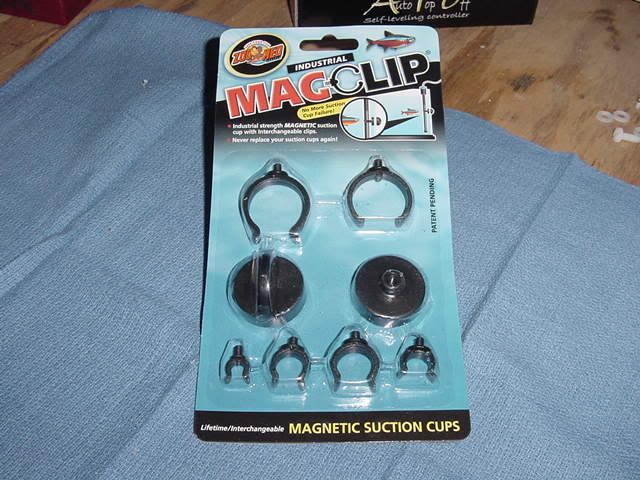
Now when I got the ATO unit and opened the box, I discovered many different types of mounting options for the float switches. None of them looked to adjustable to me. The suction cups were a plus but have you ever tried to microadjust a suction cup. The it hit me after cleaning out the skimmate cup on the Tunze 9002 Nano Skimmer. Magnets were the answer. So the search for magnets started and this is what I found.

DSC00986.jpg


After getting these I removed one of the various size clips that come in the package. They were threaded on the end and screw into the magnet. Brought various size nuts from work and found the right size. 8-32 threads. Now I need to find some nylon 8-32 bolts and washers.I found them at the local home improvement store, so on goes the project.

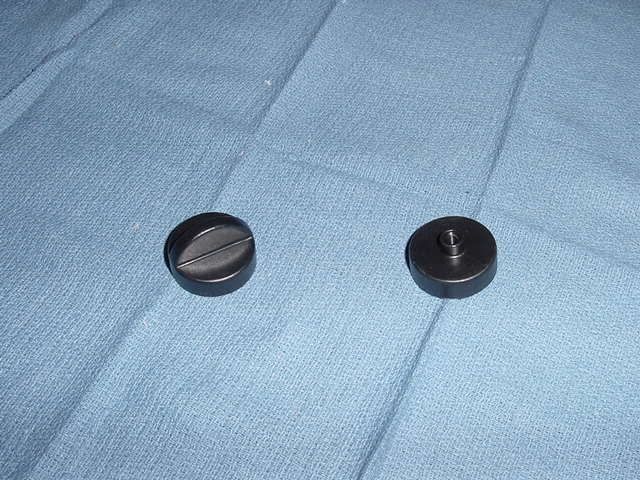
Photo of the 2 magnets out of the package, the right side is the magnet for holding the float switch.

DSC00987.jpg


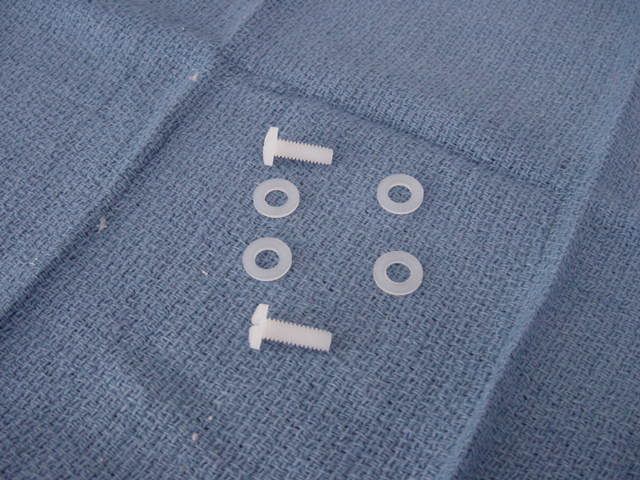
Photo of the nylon bolts and washers.

DSC00985.jpg


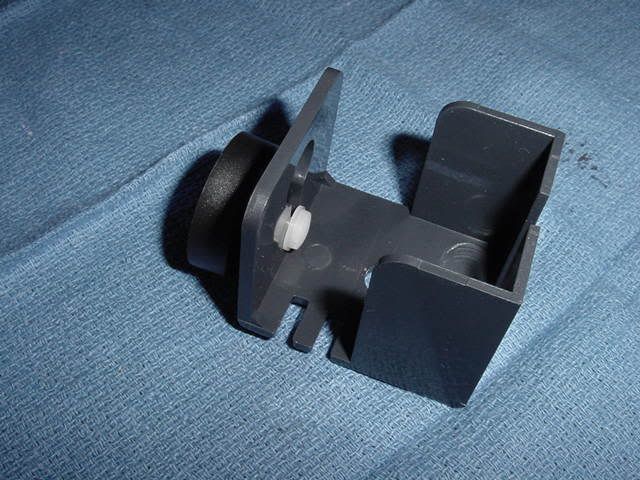
Now the bolts that I bought were 1/2 inches long and need to be cut to 5/16 of an inch long. You also need to run a tap in the magnet to clean out the threads. This is a photo of the magnet mounted on the float switch.

DSC00989.jpg


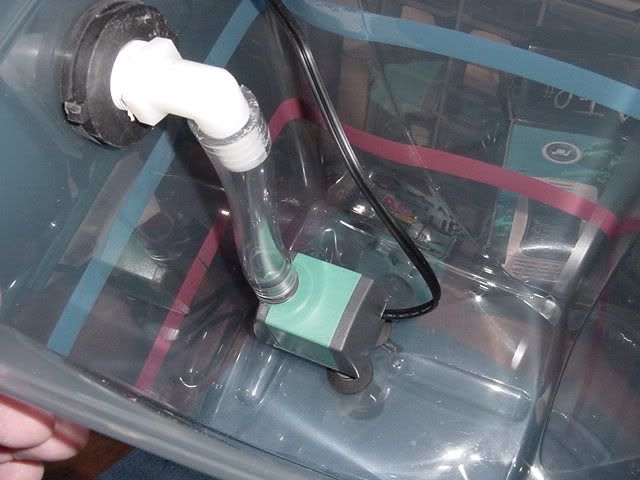
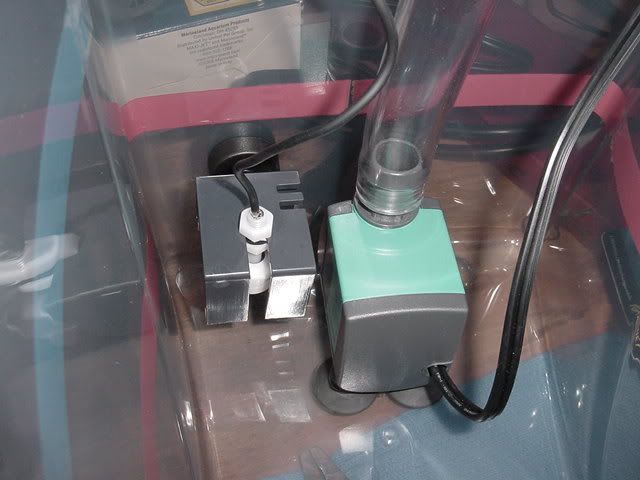
This is a photo of the pump mounted in the container with the hose attached.

DSC00988.jpg


This a photo of the fitting outside the container that will go up to the tank sump in the rear.

DSC00991.jpg


The next two photos show the float switch mounted in the container beside the pump. The second photo is after the cables were tied up.

DSC00990.jpg


DSC00993.jpg


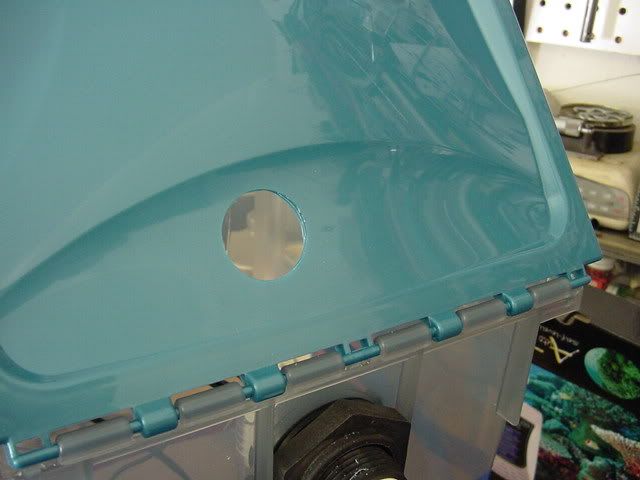
This a photo of the hole that I drilled in the lid to get the cables out.

DSC00992.jpg


The last shot is after it is all together and ready to install.

DSC00994.jpg


Hope this helps someone out there that may get tired of manual topoffs.If you have any questions or comments please let me know.

Thanks,
Chris B
 
Top