deaclauderdale
Well-Known Member
Looking sweet dude!
Sent from my SGH-T999 using Forum Runner
Hey Frankie how goes it my friend? Thanks for the compliment sir! Finding anytime to make a return to the arena yet??
Sent from my iPad using appendages!
Looking sweet dude!
Sent from my SGH-T999 using Forum Runner
Great work bud. This thing is coming right along nicely.
It's great you have a talented friend close by on builds like this. Thanks Brian")
Sas moved on
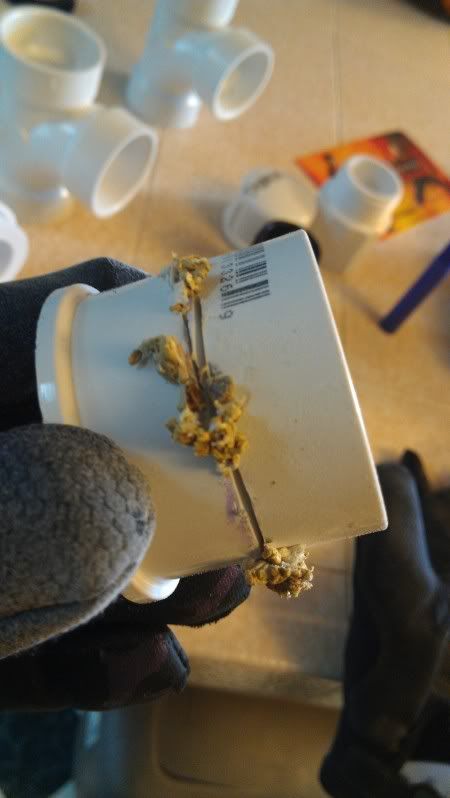
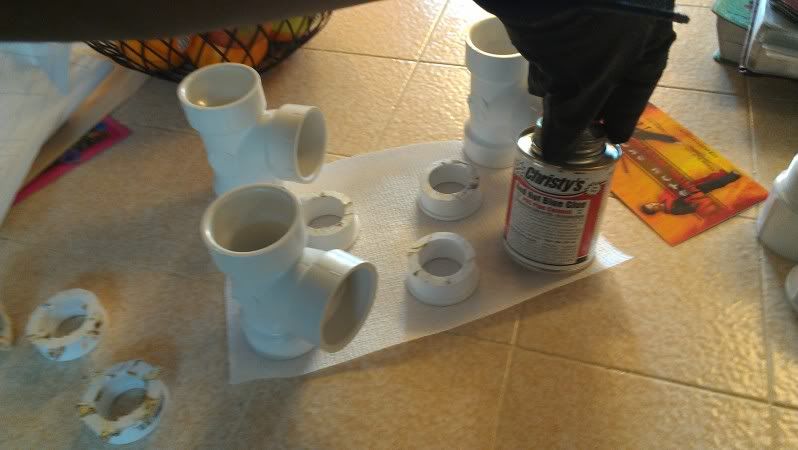
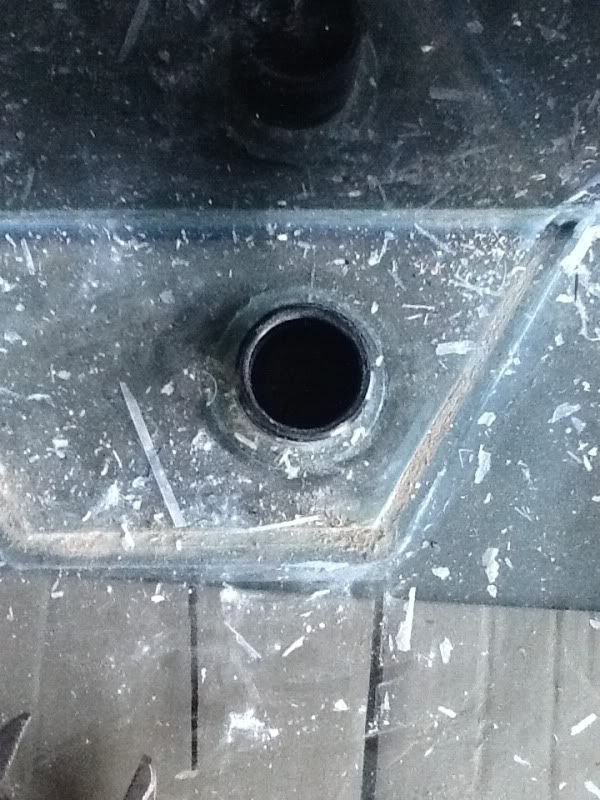
Slow hi speed will melt the plastic
Sent from my SGH-T999 using Forum Runner

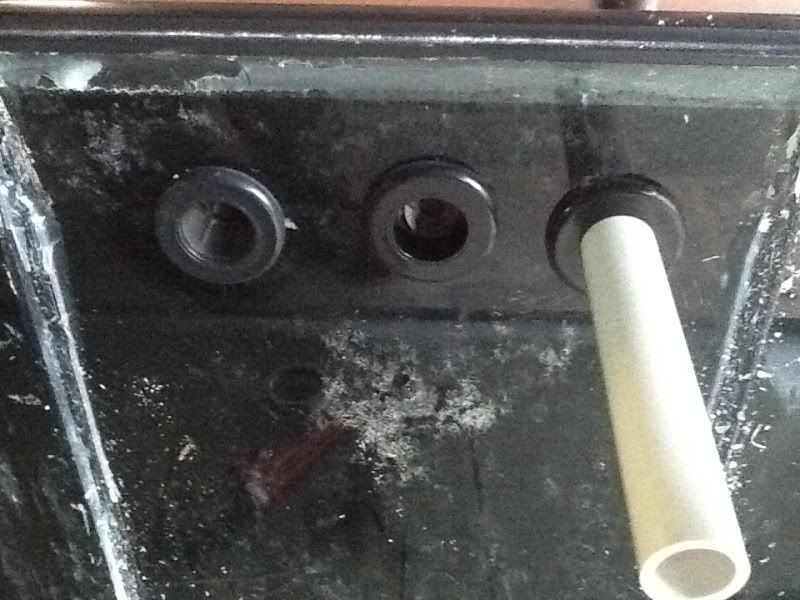
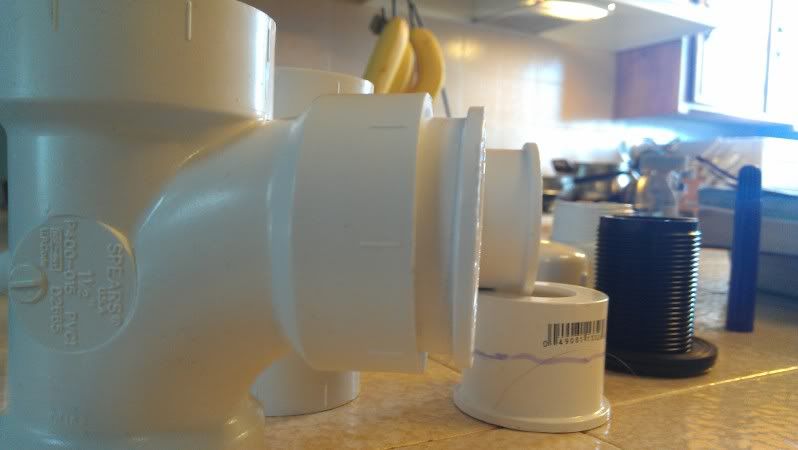
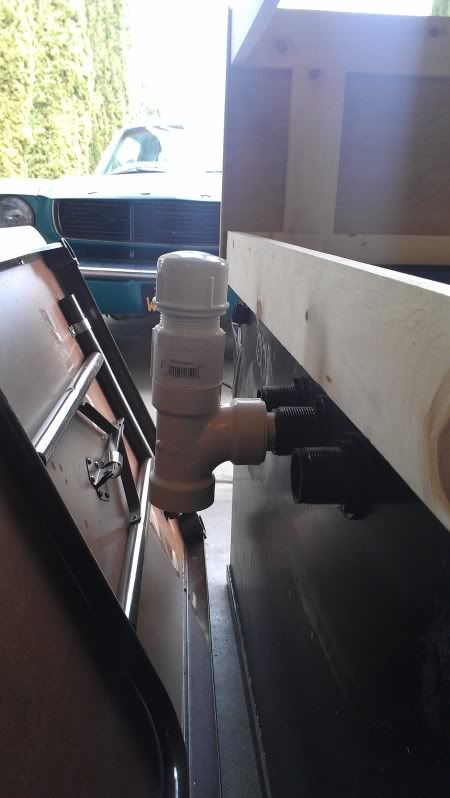
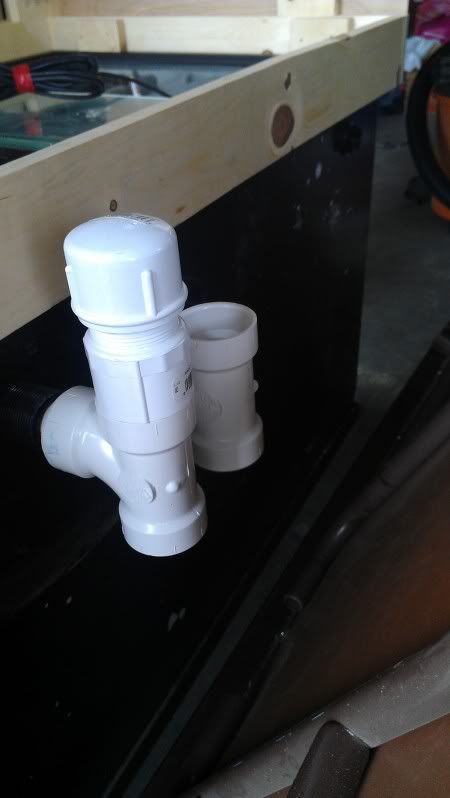
Do you ship to Florida?Jk.Great idea for the sump.I like its design.