You are using an out of date browser. It may not display this or other websites correctly.
You should upgrade or use an alternative browser.
You should upgrade or use an alternative browser.
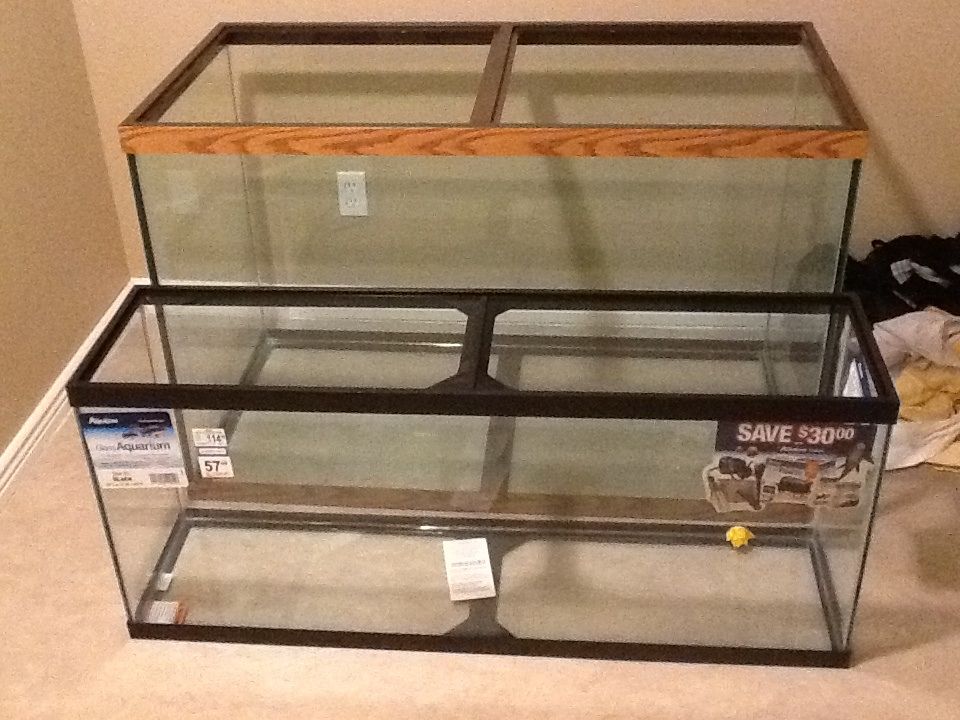
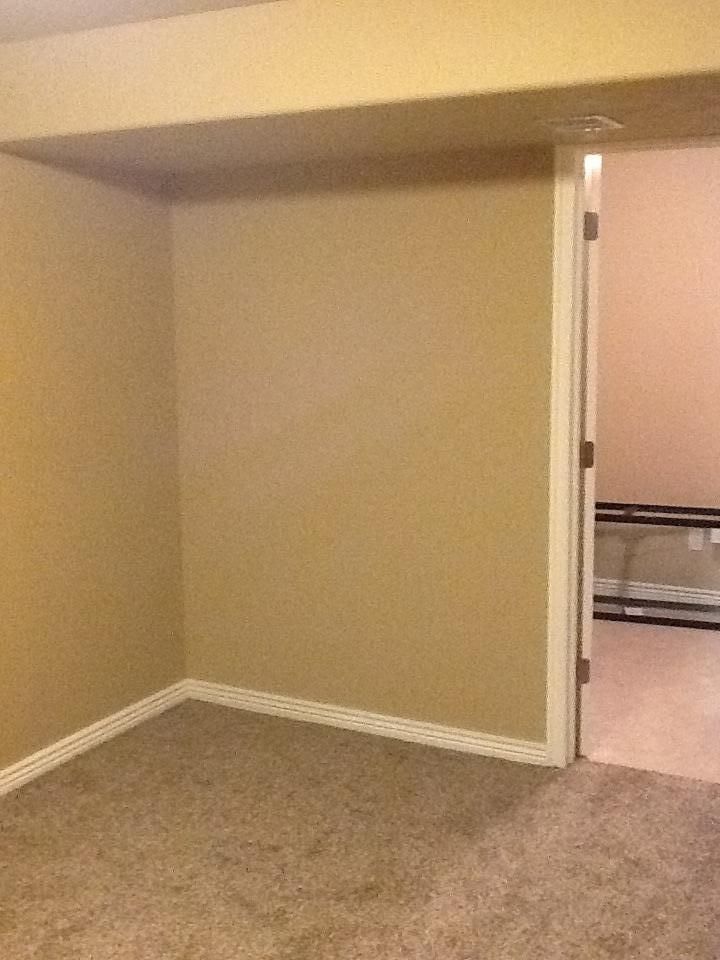
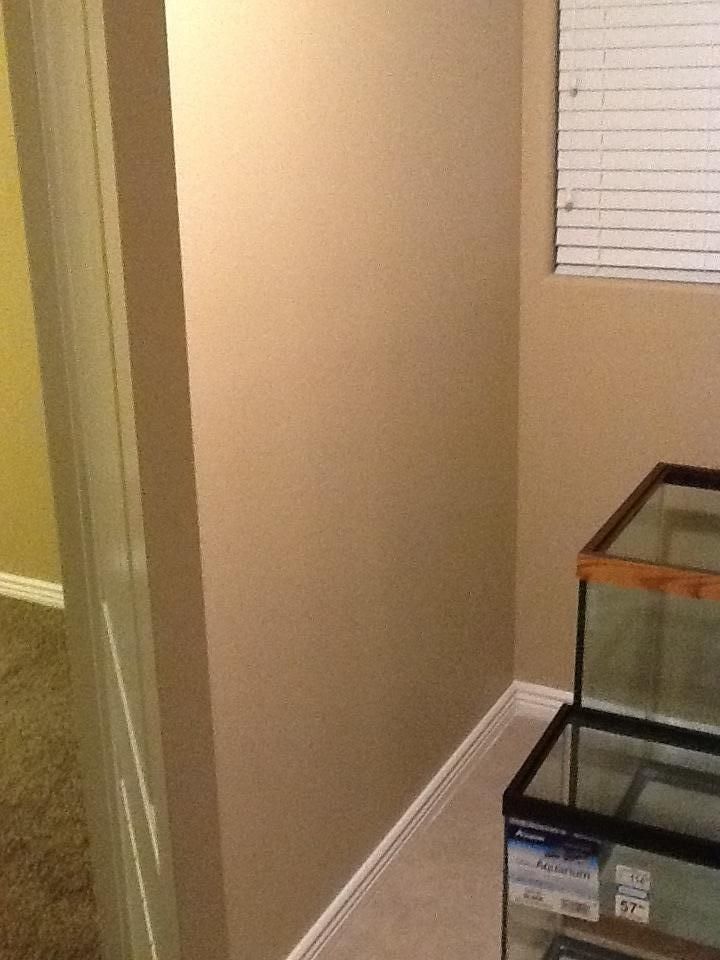
And it starts... 150g in-wall
- Thread starter JJB103
- Start date
sicksnoopy71
Member
Must be nice. 
slakker
Member
Yes. Now all I need is unlimited income... Haha
And unlimited time! :laughroll This is gonna be a fun thread to follow...
Looking forward to watching it come together. :lurk:
JJB103
Active Member
I will have 2 -40 gallon Rubbermaid containers. One for fresh and one for salt. Not sure about my plans for plumbing on a water change station yet. I will absolutely have an ATO. I ran without one for a while and I'm not disciplined enough to remember to top it off every day at the same time. My tank did so much better with an ATO.Sweet build! Looking forward to following.
Question, how are you going to do WC and are you going to set up an ato?
Sent using Tapatalk 2
jvelkgrove
Member
Nice looking set up! looking forward to following your build....
JJB103
Active Member
Some of you may have read my other thread
http://www.reefsanctuary.com/forums/general-reef-aquarium-discussion/85092-leak-test-gone-horribly-wrong.html
But I have replaced the glass myself. I had my brother help with the process. We cut the silicone under the bottom plastic frame and removed it. Once the glass piece was removed I spent a good hour scraping and cleaning the edges until perfectly clean. I put a bead of silicone around the entire bottom edge. We placed the piece of glass directly on top of the silicone then immediately installed the plastic frame. The silicone oozed out all edges and I will cut it off later. We flipped the tank over onto its bottom and while the silicone was still wet, I put another bead on all the inside edges. Then ran my finger down the edges and focused more silicone in the corners. The reason I did all this and flipped the tank while the silicone was wet is because I wanted the silicone to all be one continuous piece. Here are some pictures

Removing the bottom frame was easy, but removing the glass was not. I ended up having to shatter it into small pieces.


This is with the new glass bottom installed

http://www.reefsanctuary.com/forums/general-reef-aquarium-discussion/85092-leak-test-gone-horribly-wrong.html
But I have replaced the glass myself. I had my brother help with the process. We cut the silicone under the bottom plastic frame and removed it. Once the glass piece was removed I spent a good hour scraping and cleaning the edges until perfectly clean. I put a bead of silicone around the entire bottom edge. We placed the piece of glass directly on top of the silicone then immediately installed the plastic frame. The silicone oozed out all edges and I will cut it off later. We flipped the tank over onto its bottom and while the silicone was still wet, I put another bead on all the inside edges. Then ran my finger down the edges and focused more silicone in the corners. The reason I did all this and flipped the tank while the silicone was wet is because I wanted the silicone to all be one continuous piece. Here are some pictures

Removing the bottom frame was easy, but removing the glass was not. I ended up having to shatter it into small pieces.


This is with the new glass bottom installed

JJB103
Active Member
Today, after letting the tank cure for 2 days, I did a leak test. So far so good. No leaks and no breaks. Cross my fingers. I'm going to let it sit overnight in the garage. My wife said if I did another leak test while in the house she would divorce me . Here are some pics of it full of water and with the bulkheads in. There will be an internal overflow box around the bulkheads. On order from BRS.


Here is my stand now that I have reinforced it. I brought the tank back into the wall another 2 inches and re-leveled it. I added a half inch piece of styrofoam and a 3/4" piece of MDF to the top and a piece of MDF to the bottom. The styrofoam should offset any tiny imperfections in the stand.


Here is my stand now that I have reinforced it. I brought the tank back into the wall another 2 inches and re-leveled it. I added a half inch piece of styrofoam and a 3/4" piece of MDF to the top and a piece of MDF to the bottom. The styrofoam should offset any tiny imperfections in the stand.


JJB103
Active Member
Awesome diy skills! Thanks for sharing
Thank you. I get a great sense of pride by building things myself.
Looking great !


