38 Gallon Innovative Marine Nano Reef Project.

Pawlu

Member
AQUASCAPING TIME..

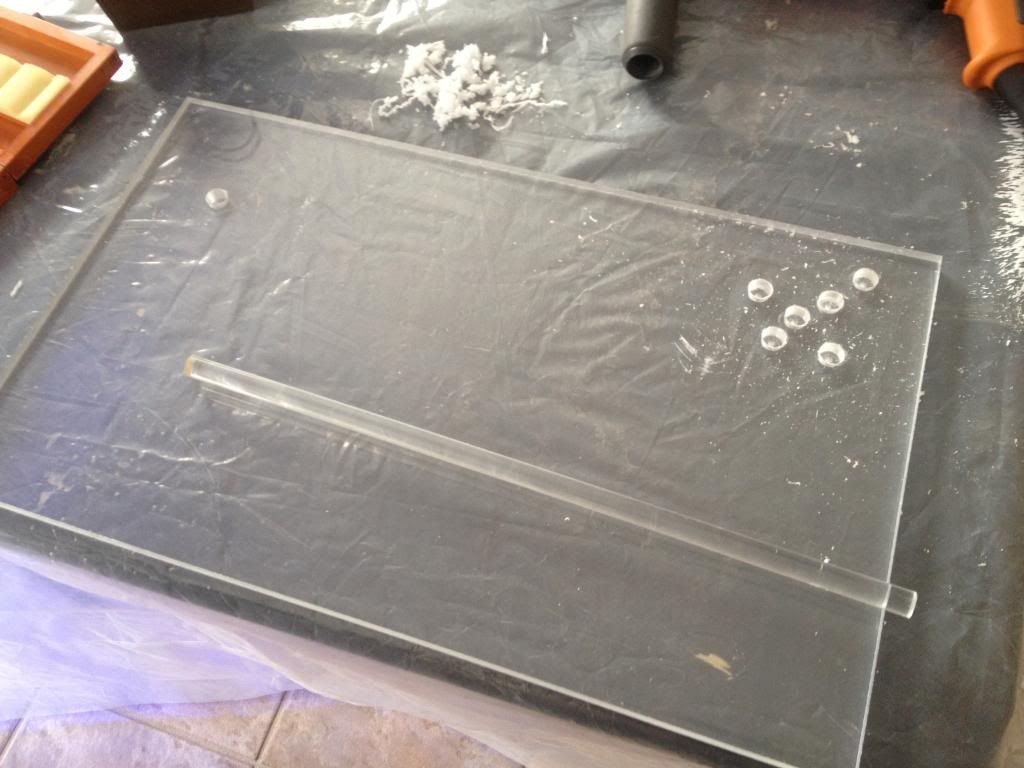
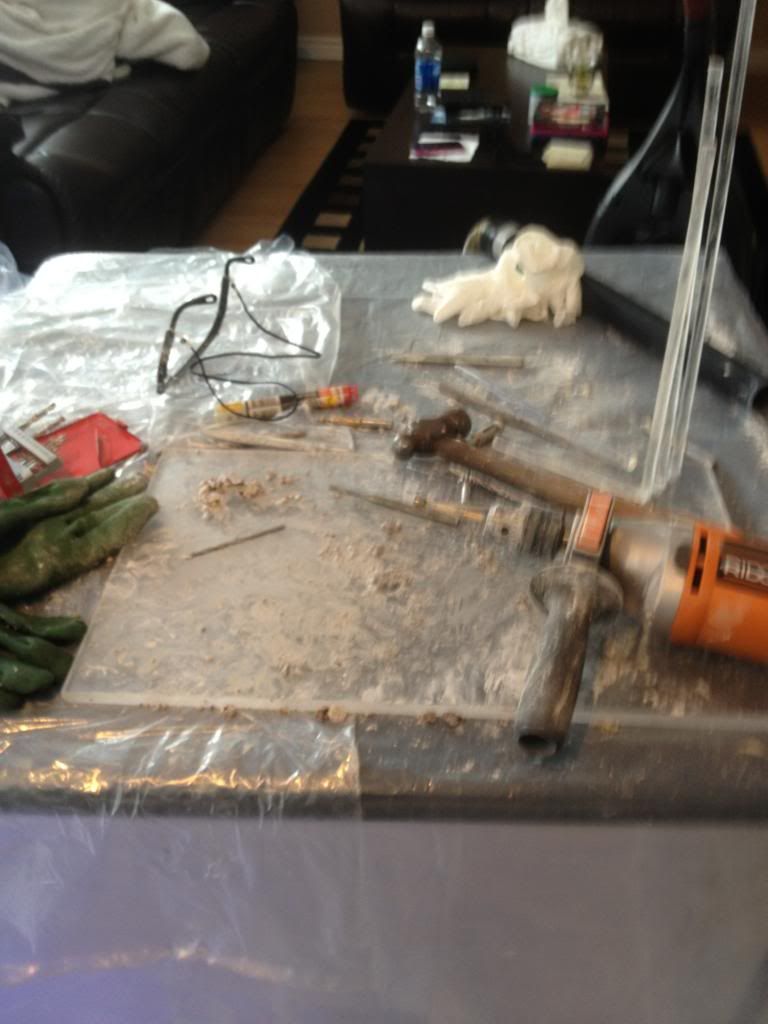
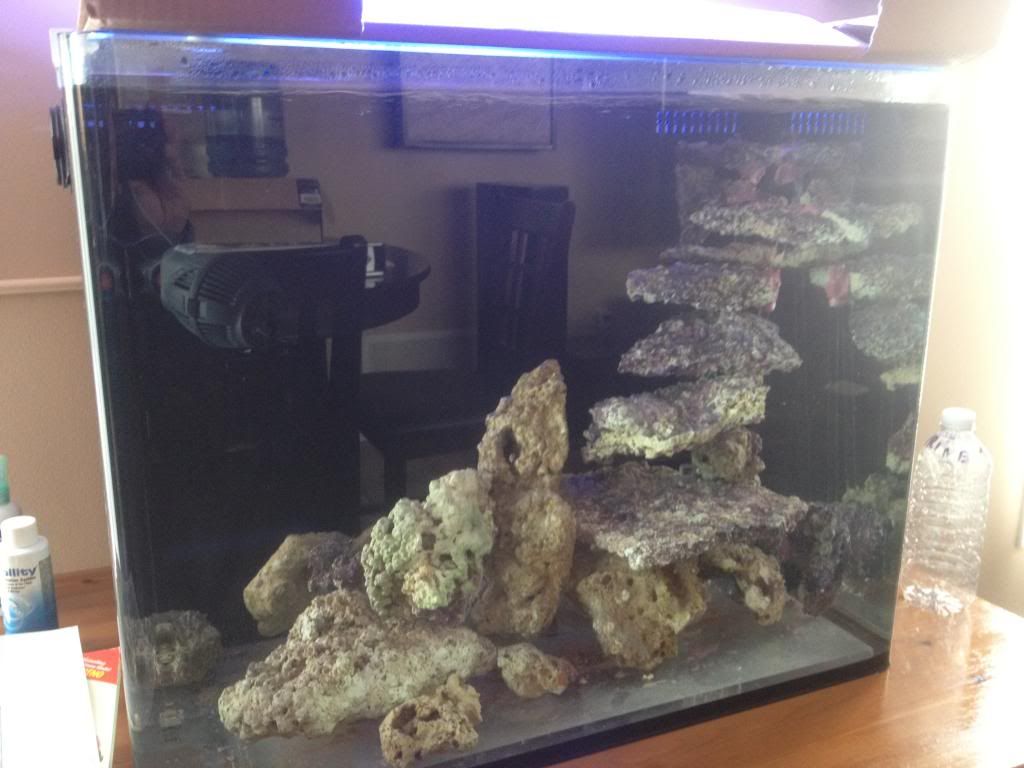
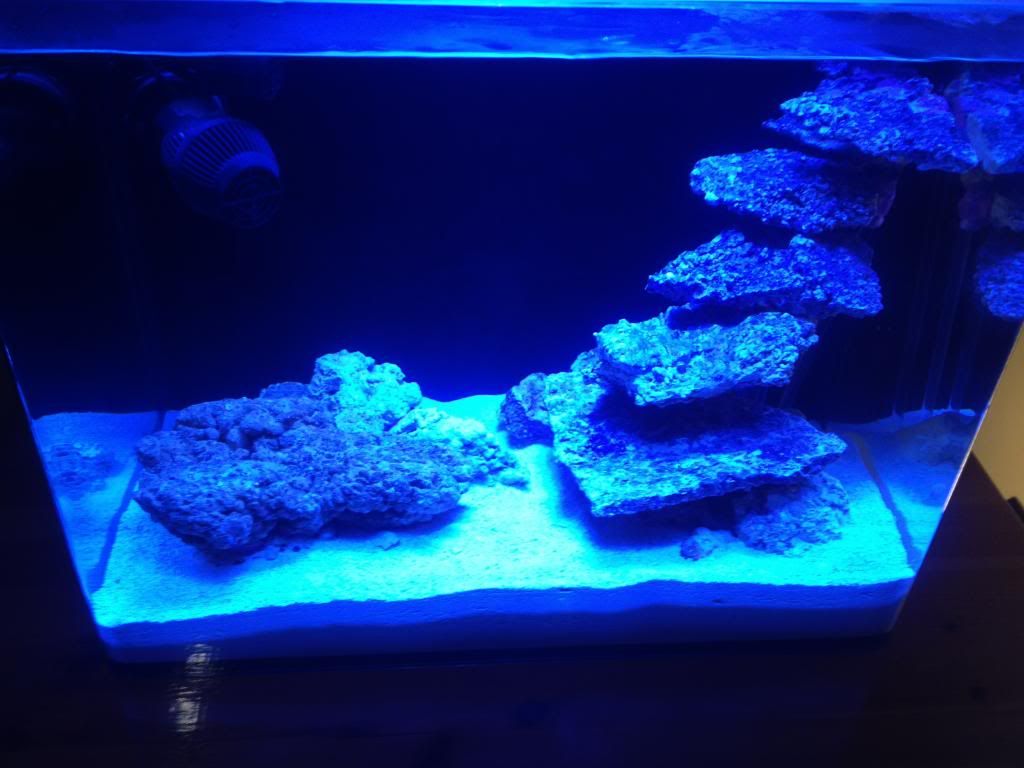
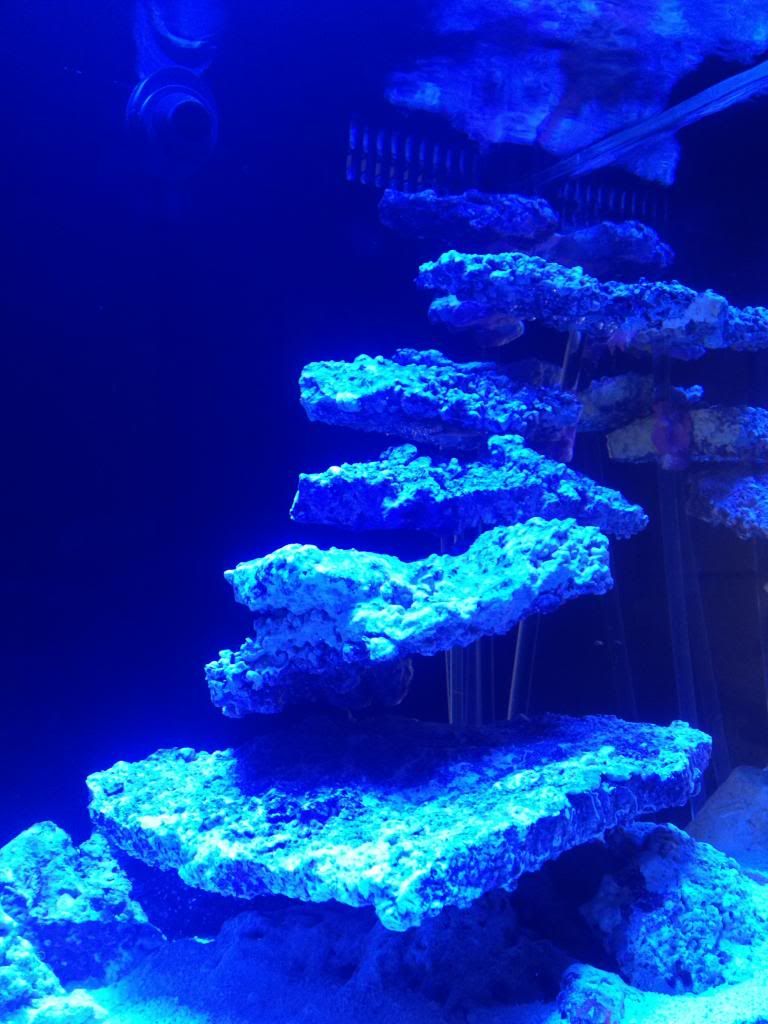
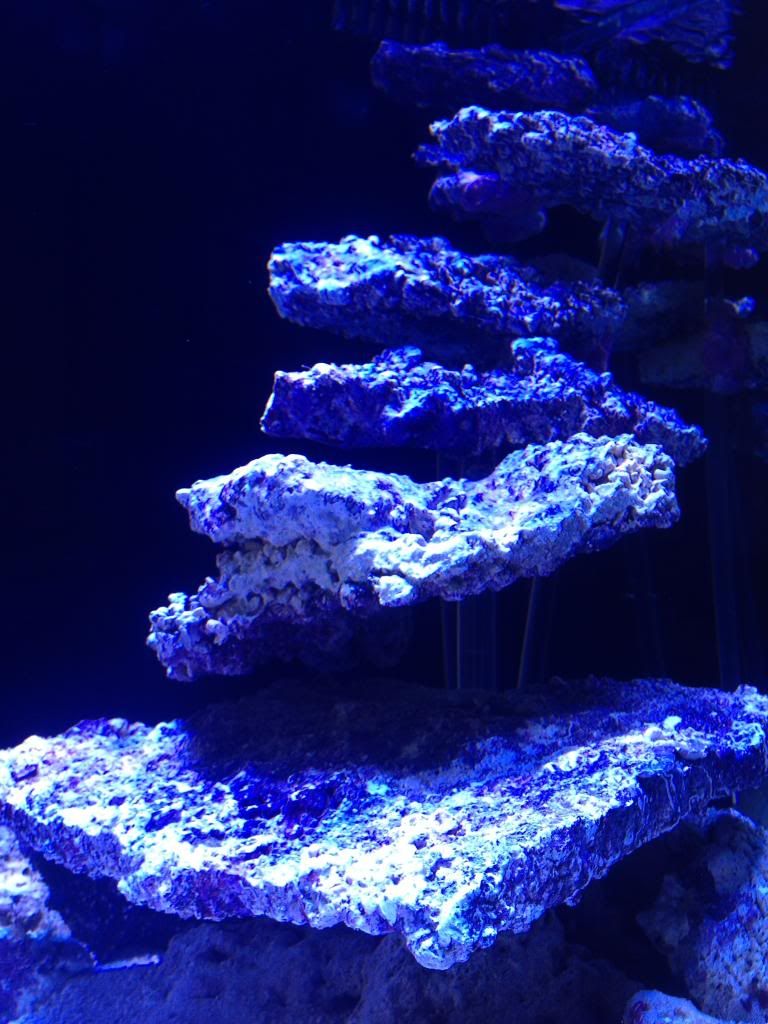
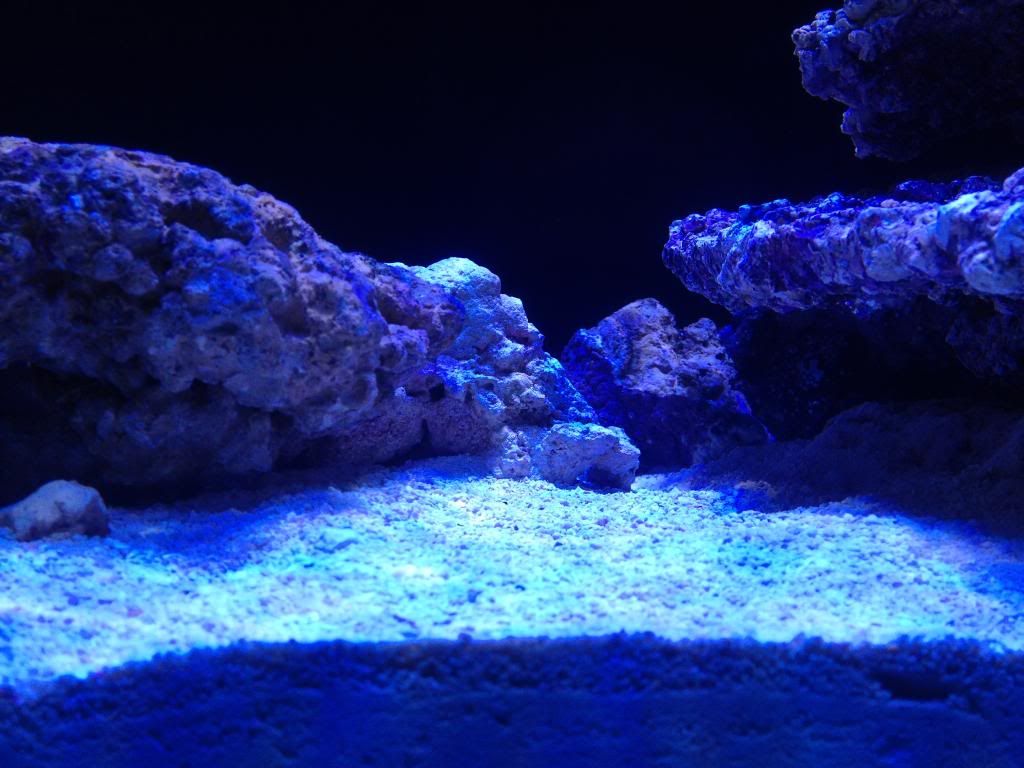
Ok for this part I used a 1/2 inch thick acrylic base, approx 12"x20" as well as 2 extruded acrylic rods, I believe one being a quarter inch thick and the other 1/8th thick, I wanted some flexibility at the higher end of the stepped aqua scape to allow for bending. I then used special drill bits to create an indent the exact thickness of the rods on the base plate. This then allowed me to push the rods into the base plate securely. I then cut 6 rods of various heights (starting low and working my way up) the thinner rods where used at the back to hold the smaller and lighter pieces of flat rock at the upper levels and the thicker ones towards the front, holding up the heavier larger pieces. The live rock was then drilled and pushed into the acrylic rods holding them in place, this was pretty study, however I added some putty as well as super glue in certain areas to strengthen it even further.

Dexter kill room!
IMG_0648_zps38de2190.jpg


IMG_0650_zps569f3ba2.jpg


IMG_0651_zpsc62219d9.jpg


IMG_0652_zpsd19abce3.jpg


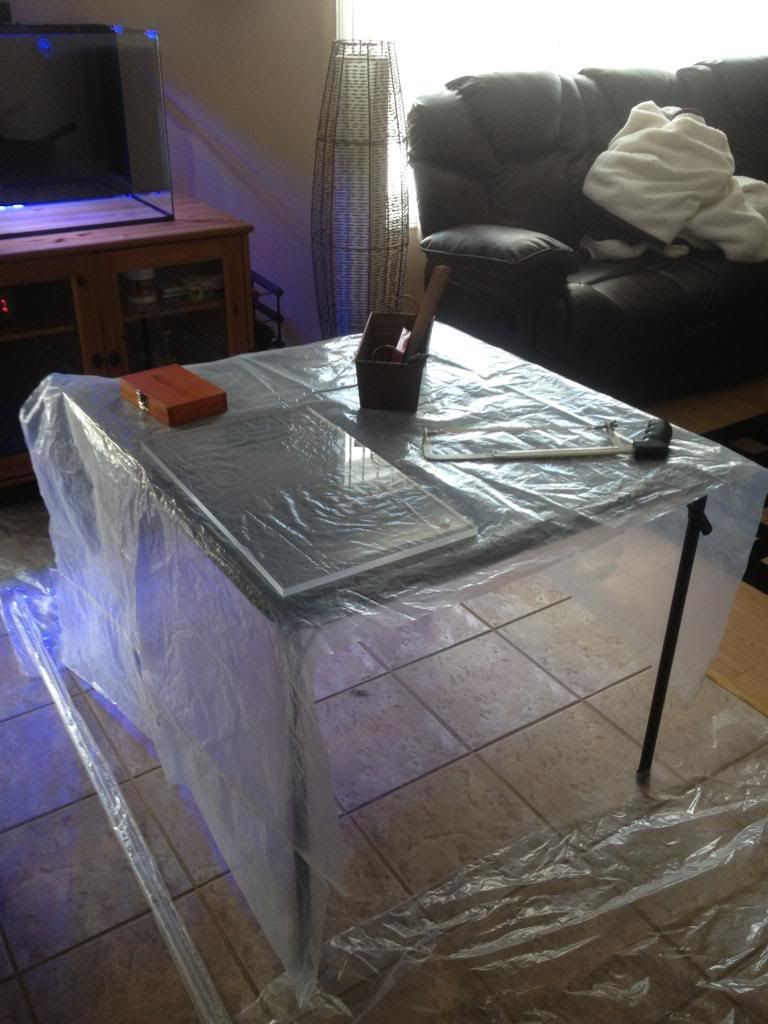
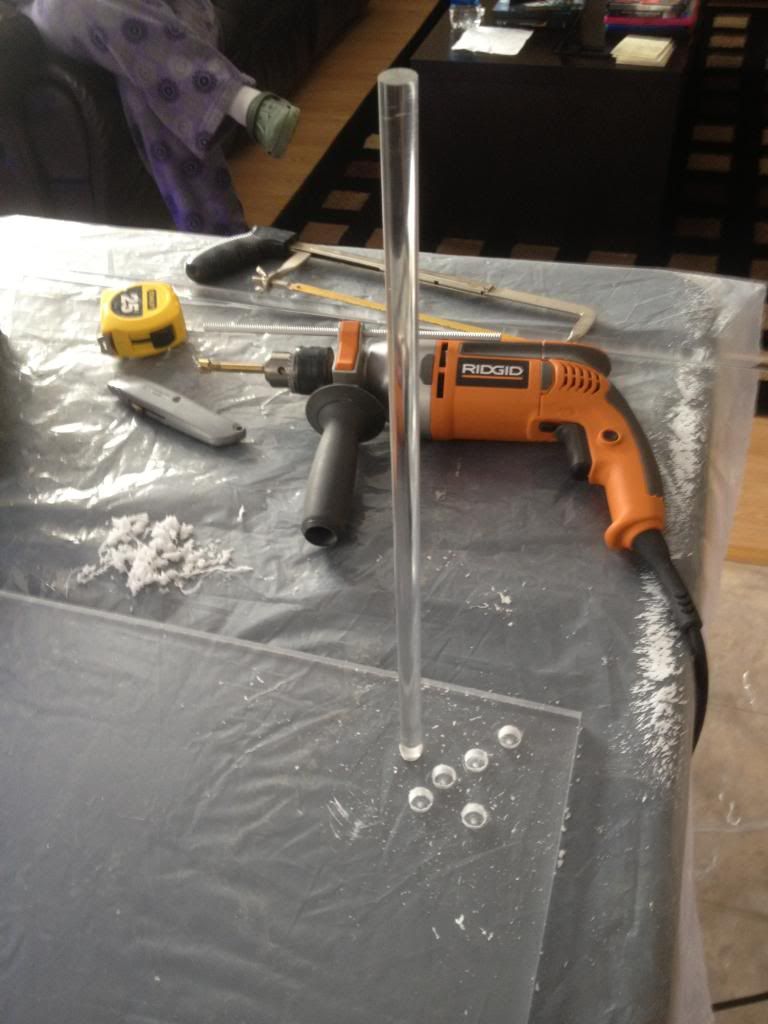
The mess after drilling, this part was not exactly fun!
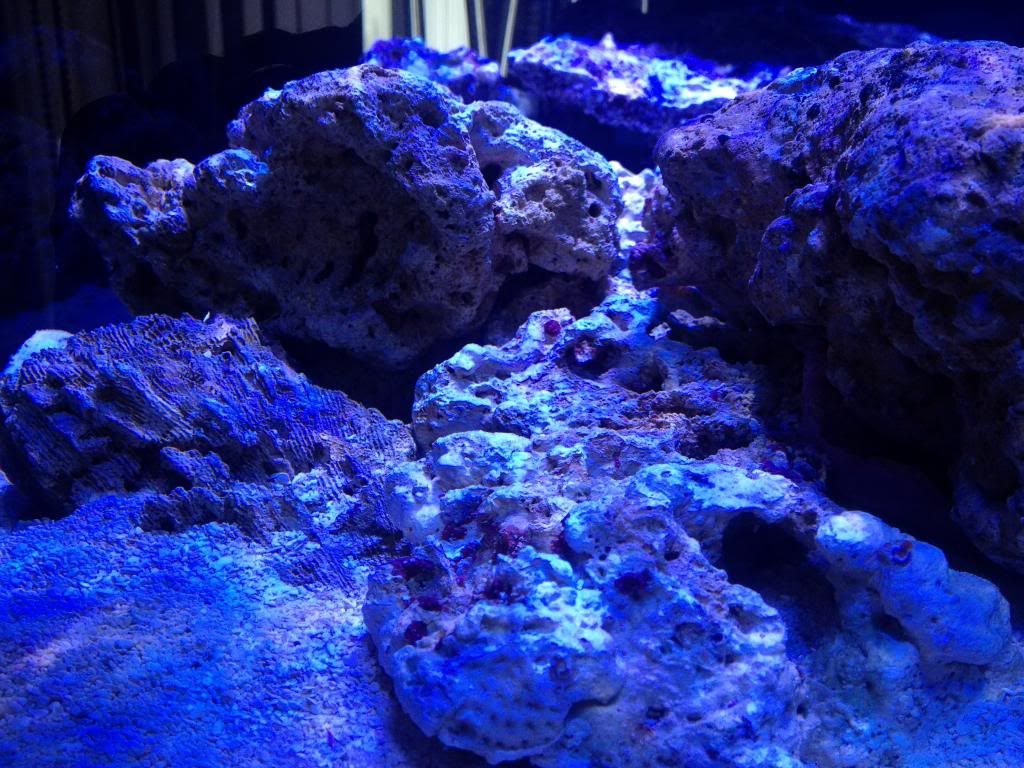
IMG_0653_zpsba66b557.jpg
 

Pawlu

Member
After locking the shelving rocks in place:

IMG_0657_zpsd5d49b2b.jpg


As seen from the side of the tank, otherwise from the front the rods are barely visible and will eventually be encrusted with organisms further blending in.
IMG_0685_zpsd0d3ce24.jpg
 

Pawlu

Member
The end result!! That's all for now folks, just waiting and testing. Sand bed is approx 3" thick using 3 grades of CaribSea sand.

Bottom layer substrate: CaribSea Aragonite (Aragamax) Sugar sized. (<.025mm). Approx 30% of total sandbed.
Middle Layer: CaribSea Ocean Direct live sand (.25mm-6.5mm, bulk is in the .25mm size). Approx 60% of total sandbed.
Top Layer: CaribSea Aragonite (Reef Sand) 1-2mm Diameter. Approx 10% of total sandbed


IMG_0693_zpsdeb42fb1.jpg

IMG_0688_zps836b47e1.jpg

IMG_0690_zpsbc1b7e59.jpg

IMG_0689_zpsb2155de2.jpg

IMG_0684_zpsfa72fee3.jpg

IMG_0683_zps33452054.jpg

IMG_0705_zps80a79f8f.jpg

IMG_0703_zps82dad579.jpg

IMG_0706_zps5bffddb0.jpg
 

Pawlu

Member
Thank you all for feedback, the main 2 advantages of the steps are 1: keeps rocks off substrate and allows water flow between the levels, the rocks are not actually touching each other. 2: provides different levels for different species of coral with different light intensity requirements.
 

Cyclist

Member
Thank you Pawlu!
How is your tank running lately? Updates?
I also have the Apex controller and a MP-10 that i will be using for this set up.
 

Pawlu

Member
Well it is a little to early to tell, as I just started the cycle this Tuesday. I have everything up and running in terms of programming and the equipment. I was going to go for the MP 10 but I just could not afford the cost of both MP 10 and a controller, so instead I went with the cheaper pump that can be used as wave makers (motor won't burn out with the constant on/off cycles) controlled by the RKL (controller).

One thing I am yet to figure out is the proper water level in the overflow... I will post a question on the forum about this later.
 

Cyclist

Member
Its looking good! You got lucky with the stand. I would have built one myself, but with the kids, wife, surfing, who has time. I had one custom done and should be picking it up today. Yea I know its hard to spend the $$, i think I have over 2k in this already.

I cycled my temp tank with a dead shrimp that the local store gave me. It was a slow cycle, but I got lucky and did not get the uglies that others reported.

Now my temp tank is balanced and houses:
2 small fancy clown fish
3 head frogspawn
1 Steel Blue Pulsing Xenia
3 head tourch
Snails and hermit crabs
 

Pawlu

Member
Yeah I put nearly $3K into the project, this is everything less any live stock. The biggest expense was the lights, I bought a lot of stuff from an LFS on a crazy boxing day sale so I saved quite a lot of money, the rest was ordered in over time.

With regards to your temp tank, I'm am also in a similar situation as I have a small 6 Gallon Nano that has been running for a year, this will become my quarantine tank as I slowly move its contents into the new tank upstairs. The nano houses 1 clown fish, a pistol shrimp and watchman goby. As well as 2 hermit crabs, an emerald crab and a couple of snails. In terms of coral a couple of mushroom colinies, zo's, toadstool leather and a small colony of yellow polyps. I will probably start by moving up the mushrooms first, then week after week move the rest of the inhabitants.

I am curious to know what you plan on putting in your overflow chambers for filtration, feel free to PM me so that we can help each other own with this project as we are running very similar setups at pretty much the same time frame.
 

Tjr1992

Member
I currently have an Innovative Marine Nuvo 8, but am currently unhappy with the size of the tank. I just tore down my 37 gallon aquarium and am planning on selling the equipment from that, protein skimmer, overflow, HOB filter, heater, powerheads, live rock, etc. After I get all of that sold I plan on tearing down the Nuvo 8 and hopefully getting a Nuvo 16. A LFS has a Nuvo 16 and it's beautiful. More room to do stuff in. By the way, I LOVE your setup. I wouldn't mind having you do my aquascape for my Nuvo 16 haha! The only problem I would have is that I don't like the fact that the whole bottom of that rock is resting on the sand. Maybe you could find a couple pieces of rock at a LFS and make some kind of cave? There would be less detritus build up under the rock that way in my experience. And about the water level in the overflow, it really doesn't matter as long as the pump isn't running dry. I know it's more money, but BRS sells a JBJ auto top off system for around $80 I believe. And if you were to buy that, you could throw in a couple pieces of dry rock in that order to build a cave of some sort. ;)
 

Pawlu

Member
Tjr1992 "The only problem I would have is that I don't like the fact that the whole bottom of that rock is resting on the sand" are you talking about the rocks on the left? if that is the case the bottom part of those rocks are deep in the sandbed you are only seeing the tip of the iceberg there. The rocks on the right are not touching the substrate at all and allow free flow of water. Prior to water changes I blast the rocks and surrounding substrate with a turkey baster, get all the crap into the water column, I then change my mechanical filtration out shortly after.
 

Pawlu

Member
Approx 40 pounds, enough to make a 3" deep sandbed, I used various grades of sand.

Bottom layer substrate: CaribSea Aragonite (Aragamax) Sugar sized. (<.025mm). Approx 30% of total sandbed.
Middle Layer: CaribSea Ocean Direct live sand (.25mm-6.5mm, bulk is in the .25mm size). Approx 60% of total sandbed.
Top Layer: CaribSea Aragonite (Reef Sand) 1-2mm Diameter. Approx 10% of total sandbed.
 

Pawlu

Member
Tank in its 15th day of cycling, vital stats are good, except major algae blooms right now, waiting for it to settle down.. patience, patience.
 
Top