You are using an out of date browser. It may not display this or other websites correctly.
You should upgrade or use an alternative browser.
You should upgrade or use an alternative browser.
DIY Beckett Skimmer
- Thread starter Frankie
- Start date
I finished sooner then I thought ")
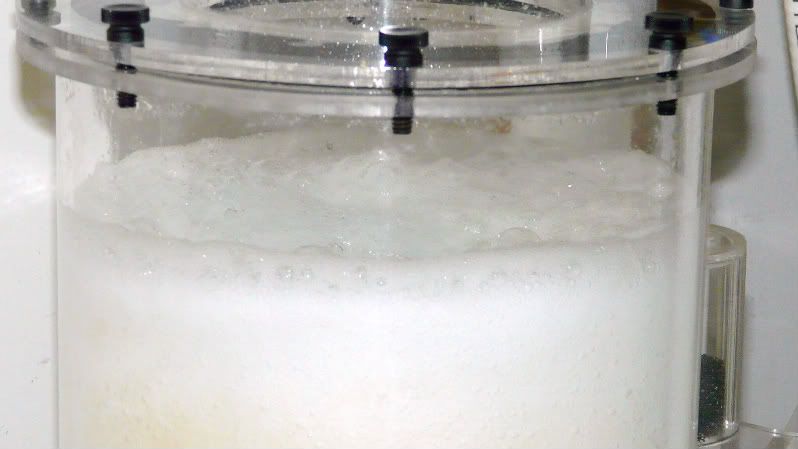
What I did was modify the Beckett injectors by reducing the hole size. This has been an ongoing idea on other forums but I have yet to try it until now. Here are the results.
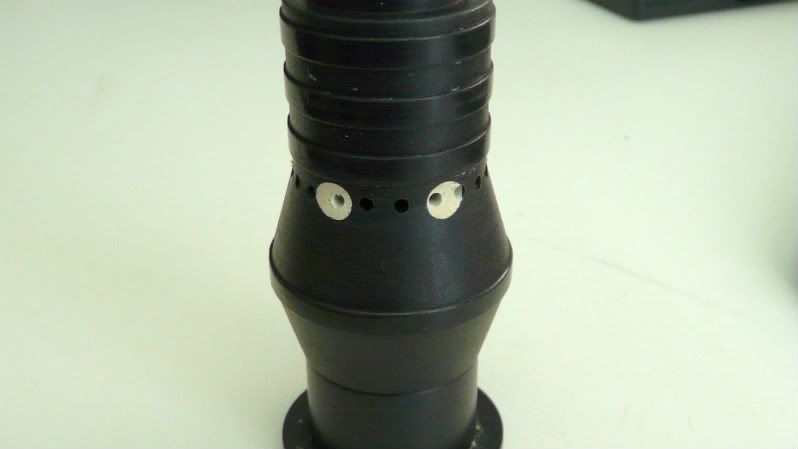
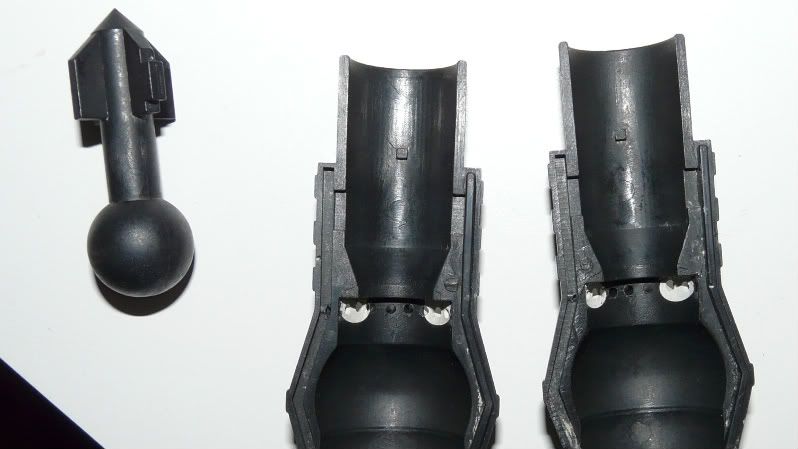
Smaller bubbles!

Smaller bubbles means more bubbles per square inch. More bubbles means more surface area for nutrients to attach to thus going me a better export of nutrients.
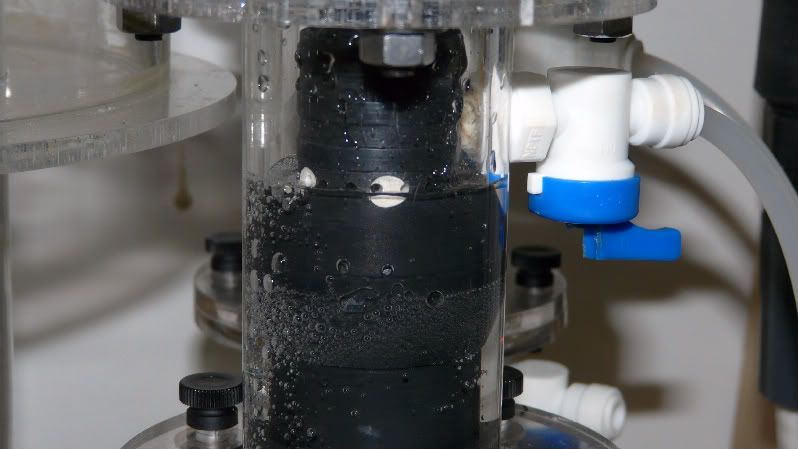
Here you can see in the main chamber the bubbles are so small it looks like milk:


This is what I got 5 minutes after turning on the skimmer.
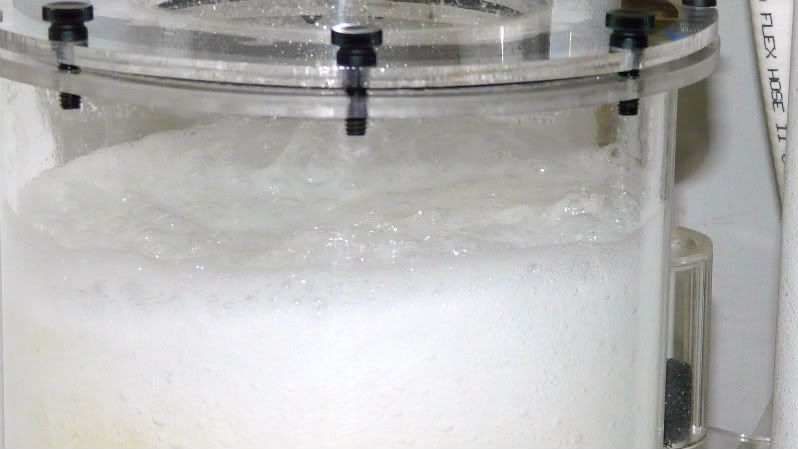
I will post more pictures as the day progresses and the skimmer breaks in. I am curious how it will look like by the evening.
What I did was modify the Beckett injectors by reducing the hole size. This has been an ongoing idea on other forums but I have yet to try it until now. Here are the results.
Smaller bubbles!
Smaller bubbles means more bubbles per square inch. More bubbles means more surface area for nutrients to attach to thus going me a better export of nutrients.
Here you can see in the main chamber the bubbles are so small it looks like milk:
This is what I got 5 minutes after turning on the skimmer.
I will post more pictures as the day progresses and the skimmer breaks in. I am curious how it will look like by the evening.
TylerHaworth
Active Member
Awesome build Frankie.
TylerHaworth
Active Member
Haha, a bubble king replica would look good in my sump : )
onebigbear
New Member
Hi Frankie
I have read your skimmer build and if I can ask you some questions?
Your flange dimensions, to start with. Another I am starting a new project
and the skimmer you built will be me first project in the build. Then on to a 250 + gal. acrylic tank size 48” x 36” x 27, or 60” x 30” x 27” ??. A stand and then a Frag tank 60” x 30” x 18” ?? . stand and a sump 55 or 75 gal. this will take some time. I was hoping that I could ask you for some help in the fabrication.
How to hear from you regarding my build.
Low