superfrog
Active Member
hello folks
So i thought I'd share what I've been up to lately. After having great success with my Dymax IQ3 Pico and my RSM 130D I've decided to start a new project. Unfortunately, I've had to decommission the RSM for various reasons, but the tank is still around and will be wet someday soon.
In the meantime, I'm dabbling in the pico world again since i find these little tanks to be fantastically fun and interesting.
The plan:
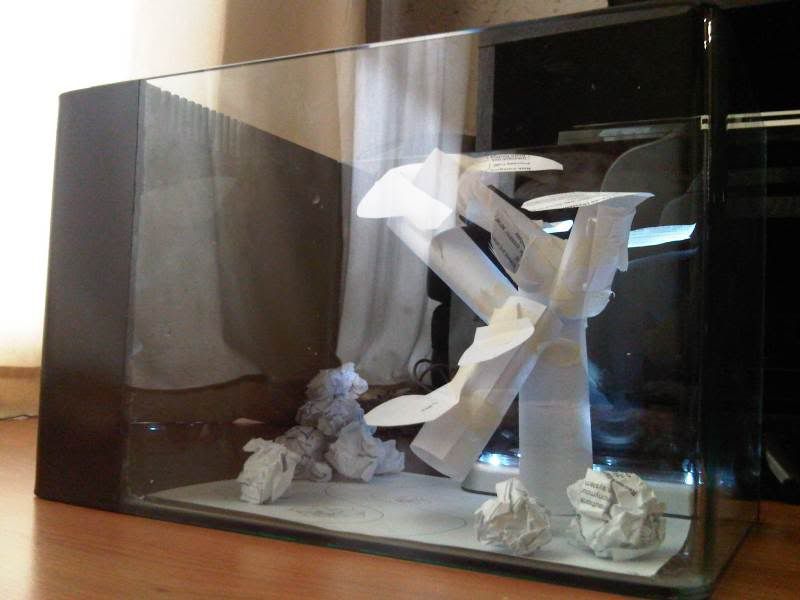
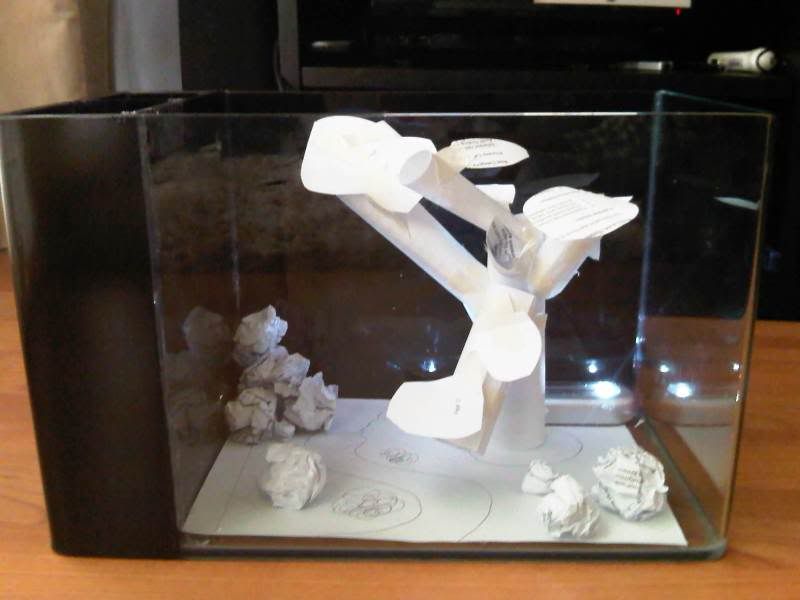
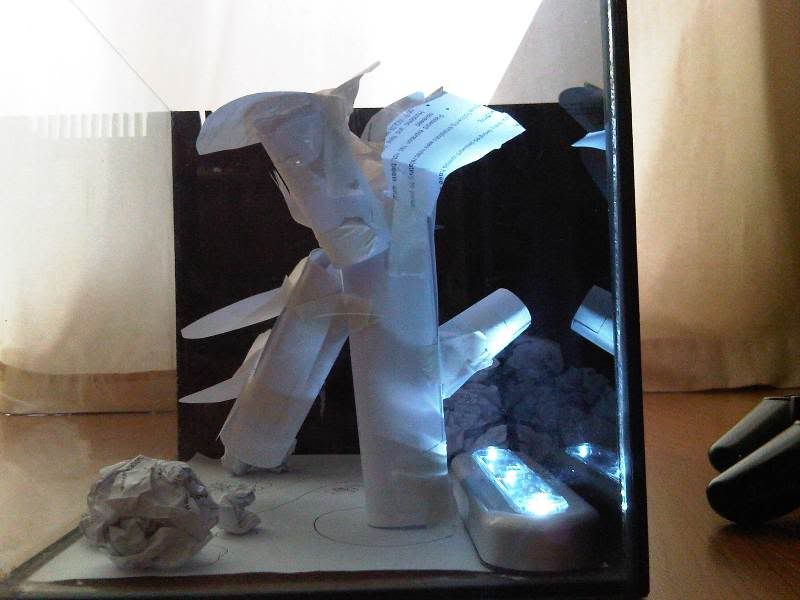
Scaping for this tank will be primarily a bonsai type of setup. Inspiration comes from the awesome work the freshwater planted guys are doing on their iwagumi style tanks. So this will be a marine iwagumi of sorts
Will be using:
Stocking:
At the moment the coral socking list is primarily softies (zoas, shrooms, GSP).
Haven't decided on the fish yet as I'm trying to find something really striking and unique that is still suited to a smaller setup.
NOTE: please excuse some of the references to litres instead of gallons. It's just a bit of pain constantly converting as we work on litres over here in South Africa")
So i thought I'd share what I've been up to lately. After having great success with my Dymax IQ3 Pico and my RSM 130D I've decided to start a new project. Unfortunately, I've had to decommission the RSM for various reasons, but the tank is still around and will be wet someday soon.
In the meantime, I'm dabbling in the pico world again since i find these little tanks to be fantastically fun and interesting.
The plan:
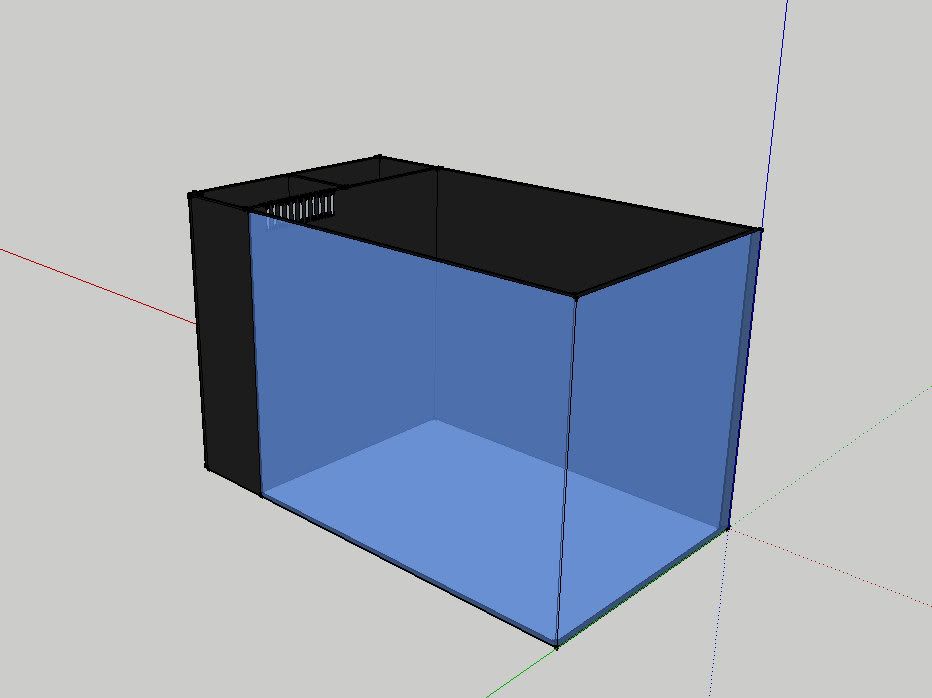
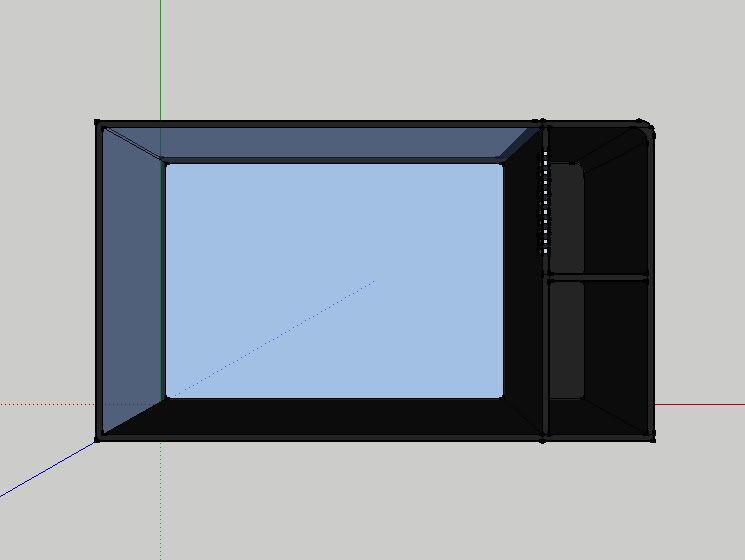
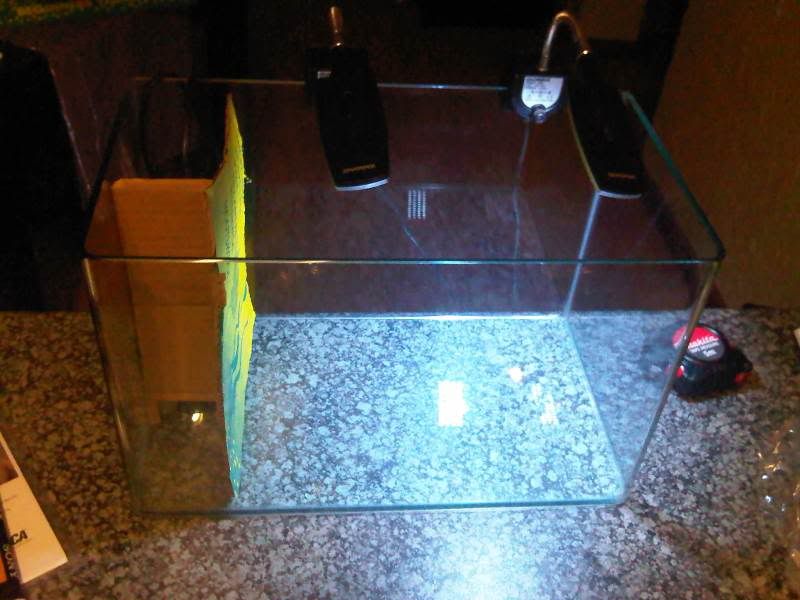
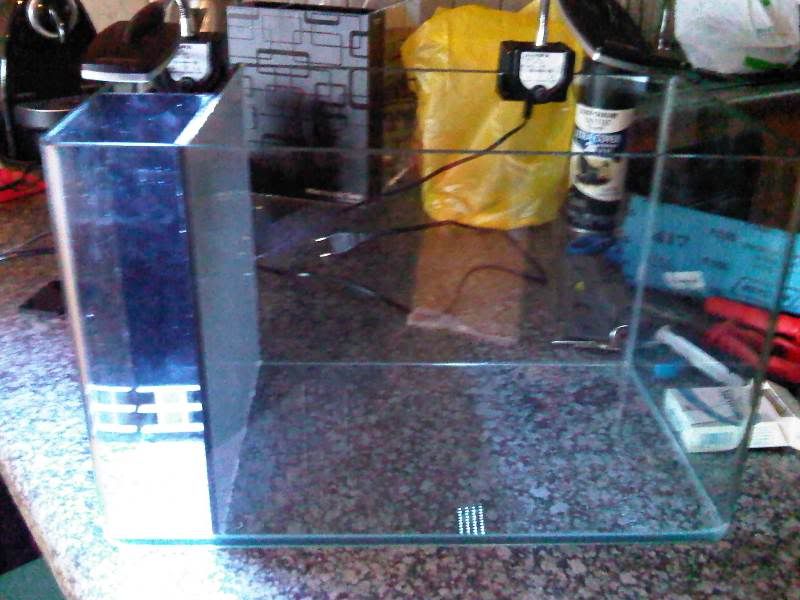
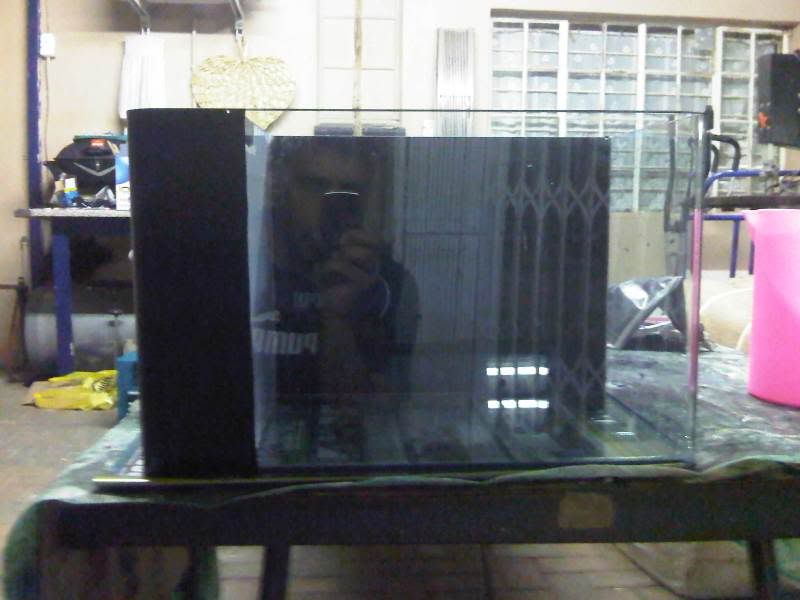
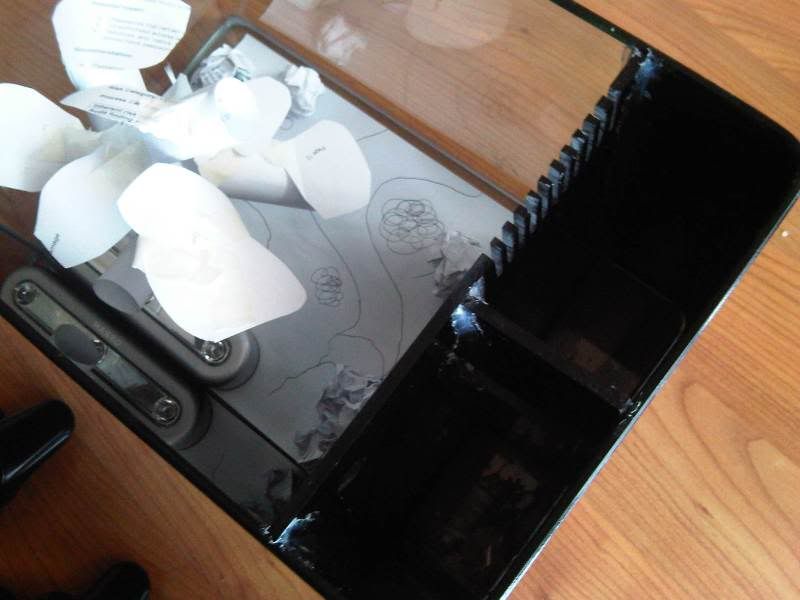
- 20 litre, rimless, AIO setup
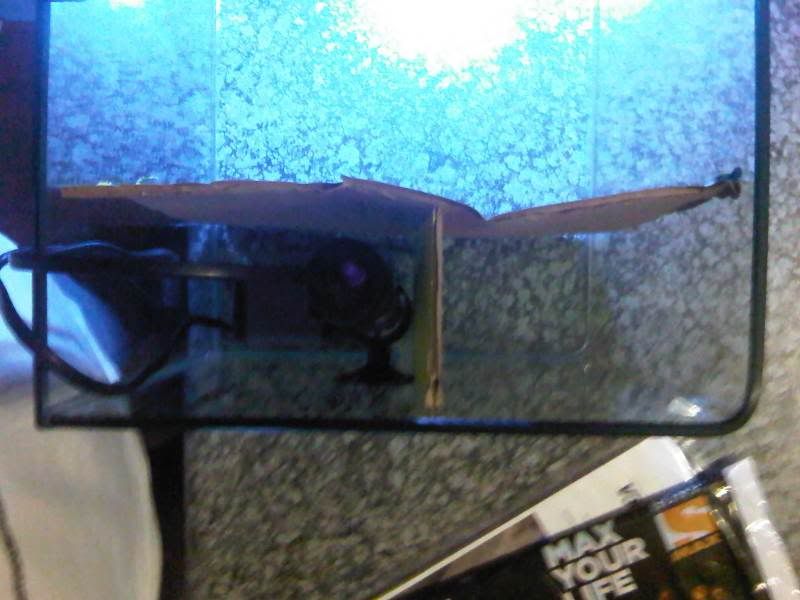
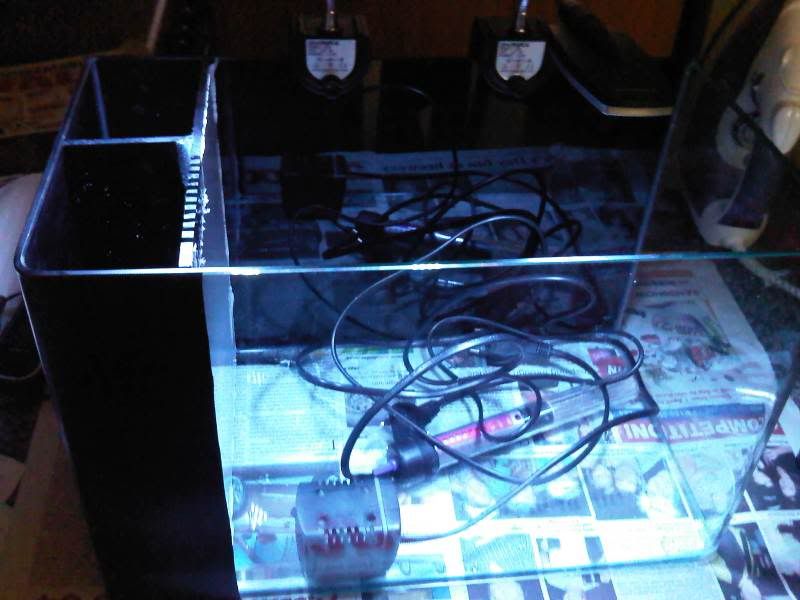
- Filtration will include chemical and biological filtration - no skimmer. Nutrient exchange to be supplemented using a built in AIO refugium with macro-algae.
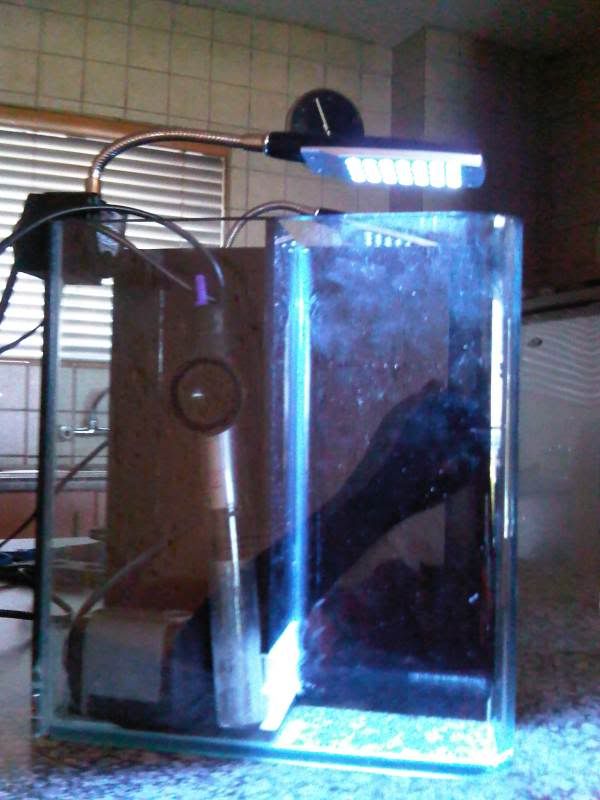
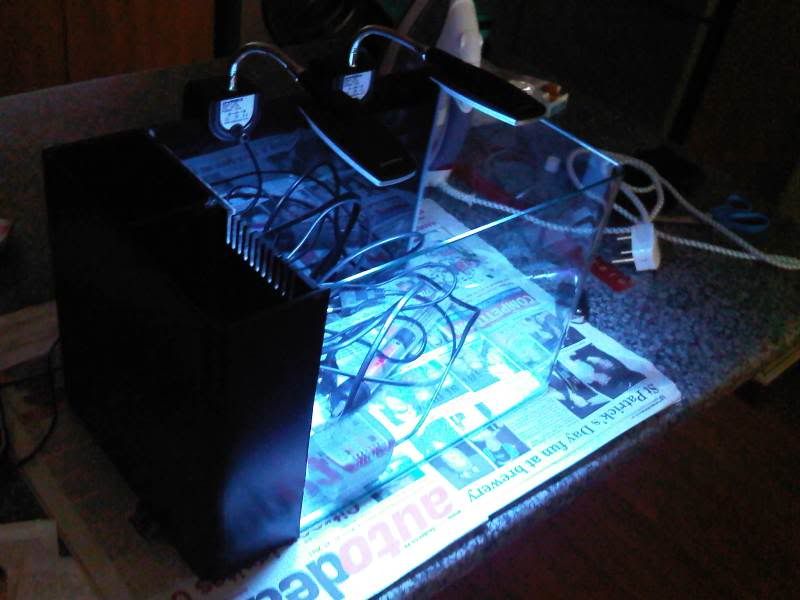
- Lighting provided by a custom built Cree LED fixture (50/50 XR-E Cool White and XR-E Royal Blue) with integrated moonlighting and refugium lighting.
- No additional flow pumps for now. All water movement being facilitated through the return from the AIO filtration (AquaOne 600 lph return pump).
- Custom built 10 litre ATO with overflow protection (had a close call once before ).
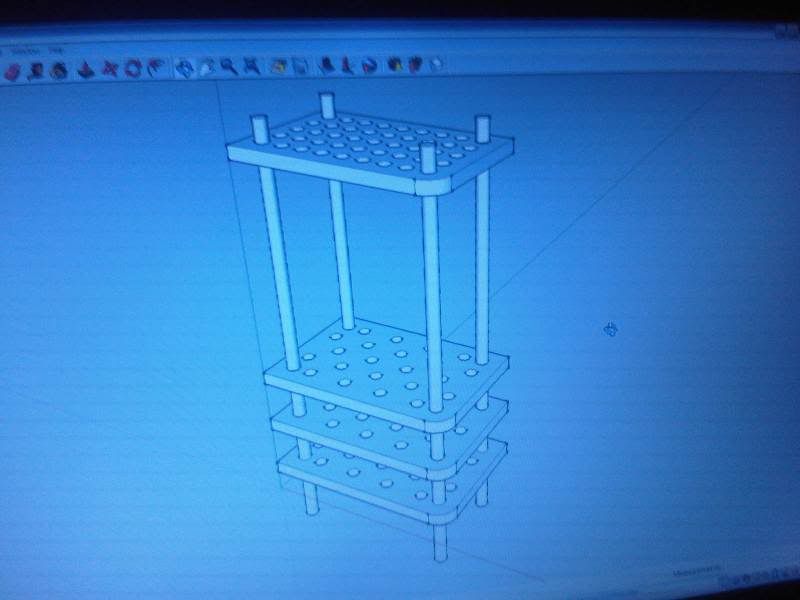
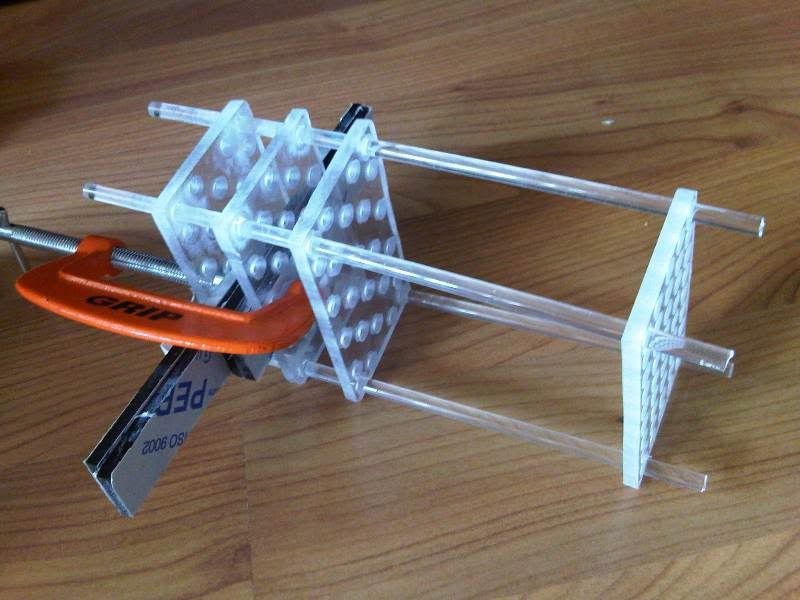
- Custom built fuge/media rack (this is an idea I've been toying with...want to see how it turns out...stay tuned)
Scaping for this tank will be primarily a bonsai type of setup. Inspiration comes from the awesome work the freshwater planted guys are doing on their iwagumi style tanks. So this will be a marine iwagumi of sorts
Will be using:
- 2kg Fiji pink sugar fine aragonite
- 2kg Tonga Branch live rock
- 2kg Kenya/Indo live rock
- 1kg Kenyan live rock (for the fuge)
Stocking:
At the moment the coral socking list is primarily softies (zoas, shrooms, GSP).
Haven't decided on the fish yet as I'm trying to find something really striking and unique that is still suited to a smaller setup.
NOTE: please excuse some of the references to litres instead of gallons. It's just a bit of pain constantly converting as we work on litres over here in South Africa
Last edited: