My 110 gal Adventure

Doot77

Member
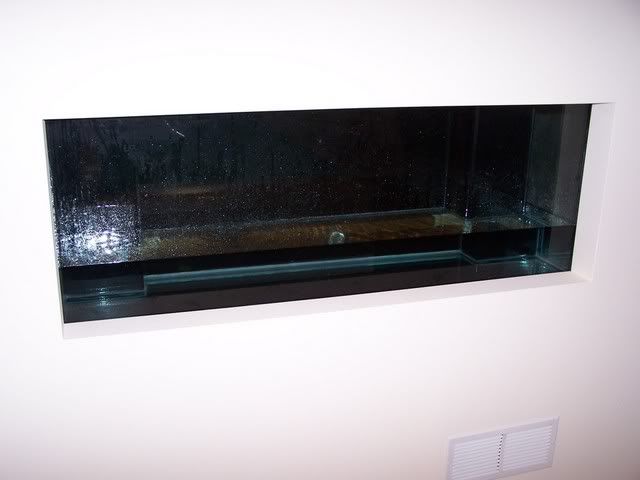
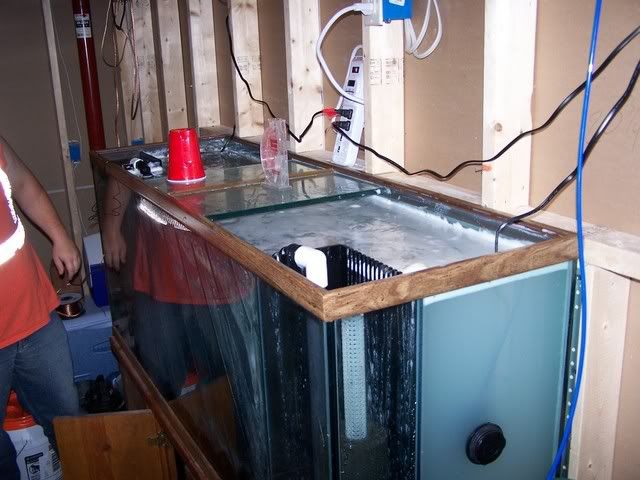
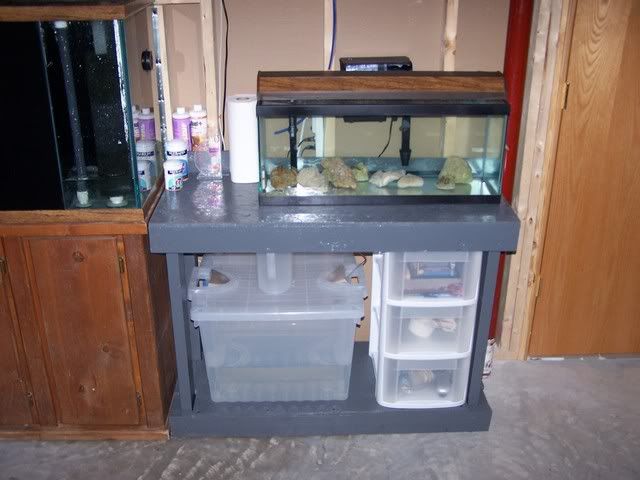
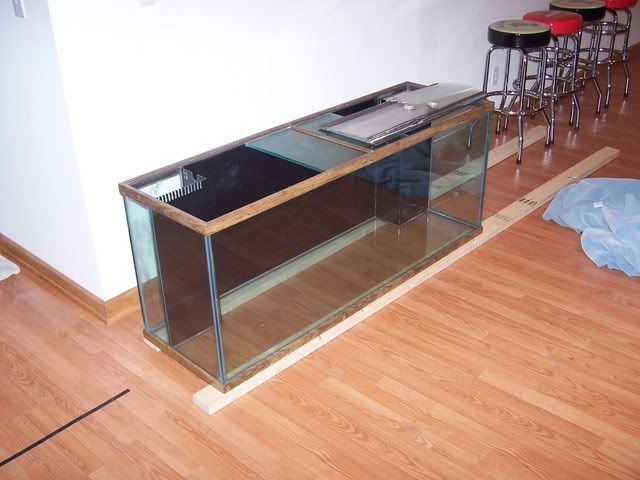
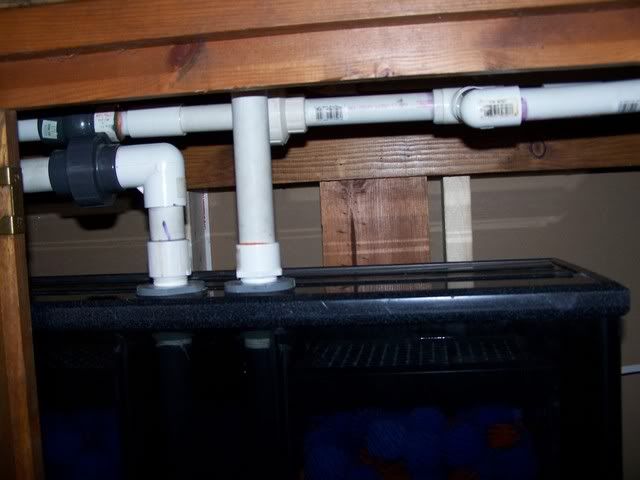
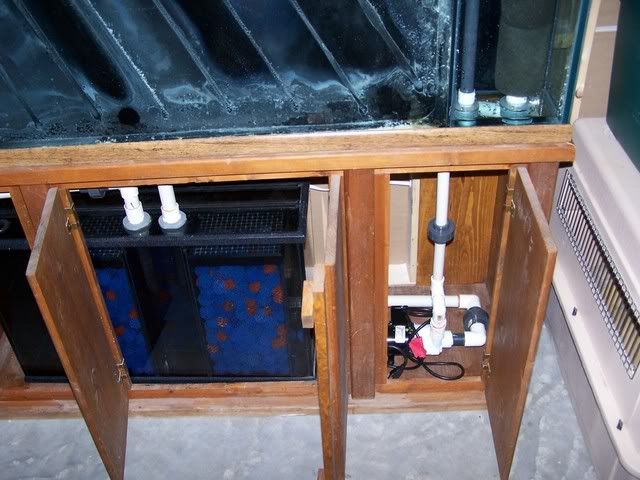
It all started just over a month ago when I received a phone call from a friend of one of my co-workers who a deal that couldn't be passed up. He had a 110 gallon Oceanic tank complete with stand, sump, plumbing and a bunch of extras that had been sitting around in his garage for a few years and it needing to go because he was planning on moving soon. He had told me about the tank about 9 months ago and wanted $800 at the time and I just didn't have the money to spare at the time, but now he only wanted $300. So after going over and checking out what he had I told him I wanted it and I picked it up later that night. All this happened on my birthday so I figured it would be my 30th birthday present to myself. So thats where it all started.
 

Doot77

Member
So after alot of cleaning, alot of thinking and some measuring I decided that I was going to put the tank in the basement (Which I just recently finished by the way) and build it into the wall. So that meant I needed to cut a big hole in the wall and do some more drywall work, which if you haven't had the joy of ever doing consider yourself lucky.
 

Doot77

Member
OK now time for some pics
Tank awaiting placement
100_6366.jpg

Hole cut in wall
100_6363.jpg

Hole with drywall mud applied
100_6365.jpg
 

Doot77

Member
During sanding of mud process
100_6367.jpg

Wall Painted and tank sitting in place
100_6371.jpg

Tank room/utility room shot
100_6372.jpg
 

Doot77

Member
]After I waited about a week for the guy that sold me the setup to come over and hook up all the plumbing I decided I'd try and figure it out myself. After a couple of hours of tring to fit all the puzzle pieces togehter I finally figured it out and it seemed pretty easy after I got it. LOL!
100_6375.jpg

100_6399.jpg

100_6398.jpg

100_6400.jpg

100_6401.jpg

100_6397.jpg
 

Doot77

Member
So after I figured out all the plumbing and fixed a couple small leaks I finally got to fill it with water from my new RO/DI system that I picked up due to what I've read from here and some other sites.
100_6396.jpg

Added my Base rock and added Live sand and time to wait for everything to settle, which ended up taking most all weekend. Then I could start to aquascape.
100_6403.jpg

100_6404.jpg

100_6434.jpg
 

Doot77

Member
After waiting for what seemed like an eternity (about 3 days) the cloudiness went away and I was able to add my rock.

Here is some of the rock that I was given with the tank when I bought it (previous live rock been sitting dry for awhile)
100_6405.jpg

And here is what I came up with
100_6487.jpg
 

Doot77

Member
I bought a few pieces of Live rock and put it in with the rock that I already had. I also have bought about 20 more lbs of live rock that aren't in this picture. I'll grab some new updated pics tonight and that will bring me up to the current time.
 

michael_cb_125

Well-Known Member
Nice setup. Are you usinf the damsels to cycle the tank? If you I would save them and you alot of stress, and remove them. A cycling tank puts a TON of stress on these little fish, plus when you go too ad more fish they will be mean to them. I would just thrown afew table shrimp in for the cycling. I have seen a tiny damsel pick a BIG lionfish almost todeath.
Anyways, I like the in wall design. Very Good Start.-Michael
 

Doot77

Member
Yeah I went with the suggustion of the LFS on the Damsels before I read about the Shrimp trick on here. I've actually tried to catch a couple of these little guys and it s a pain in the butt and I think I might have to remove a bunch of the rock just to catch them, unless there is a little trap I could make???
 

Doot77

Member
I actually was able to catch one of the four Damsels this morning before the lights came on, its the one that usually sleeps out in the open near the edge of the tank and the others usually sleep in the rocks.
 
Top