DIY acrylic sump & separate refugium

chriSMRT

Member
I'm entering the planning phase for my sump/fuge project, and need some input from you more experienced folks.

Here's my situation:
20 gallon reef tank
Aquarium stand with center brace, inside dimensions for each side are 14" wide x 11" deep x 36" tall

I want to put a sump on one side, refugium on the other. Wanting to use the refugium for algae/pods.

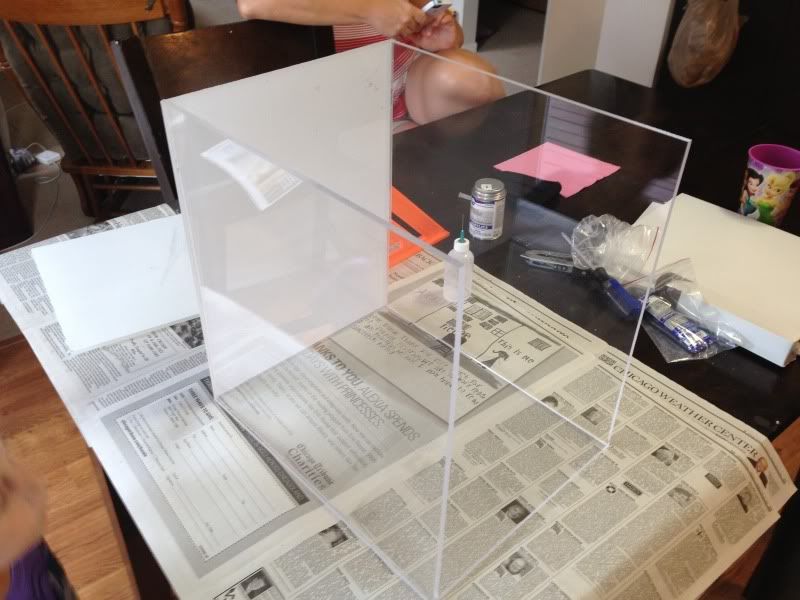
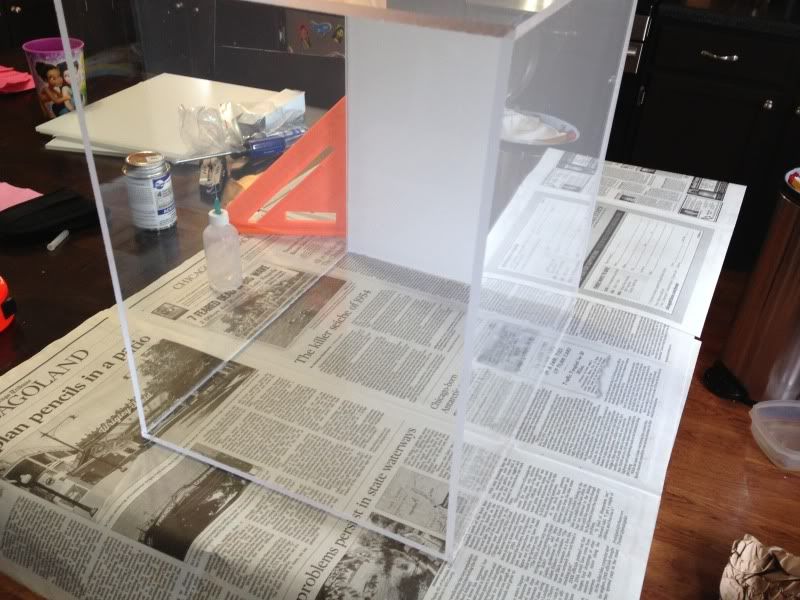
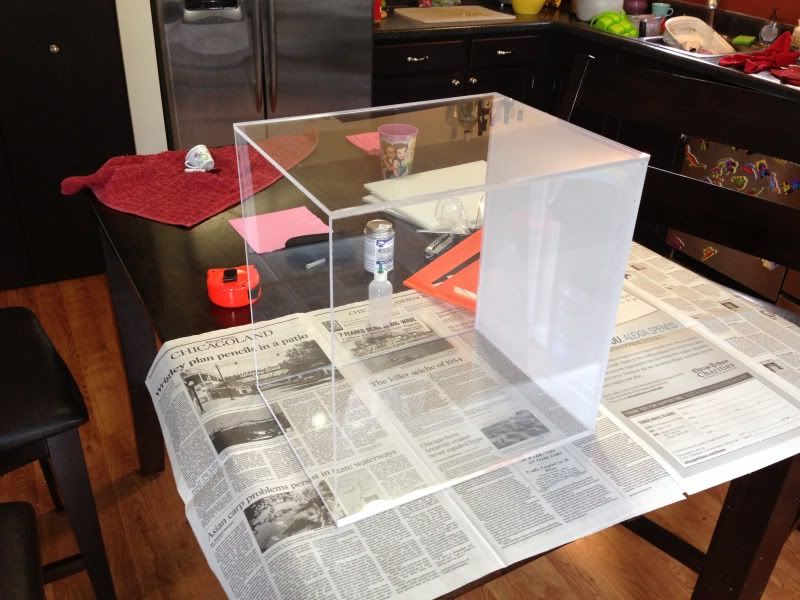
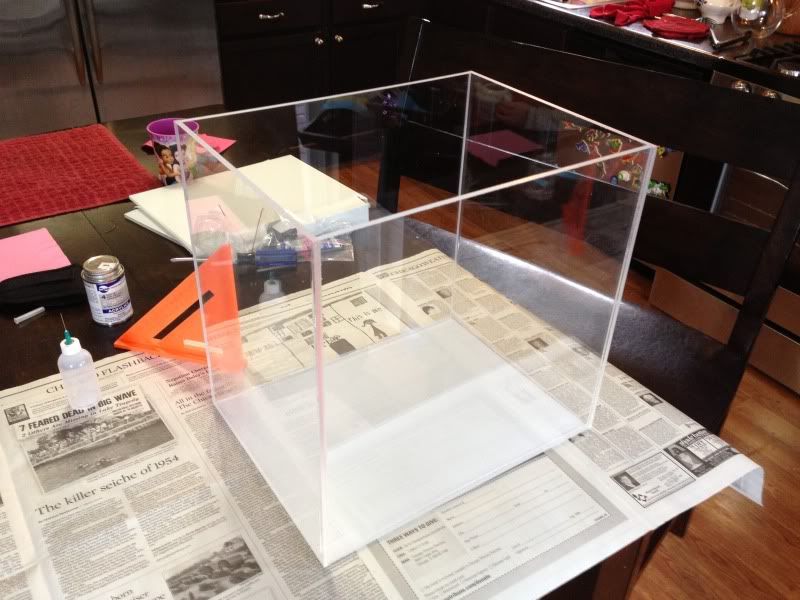
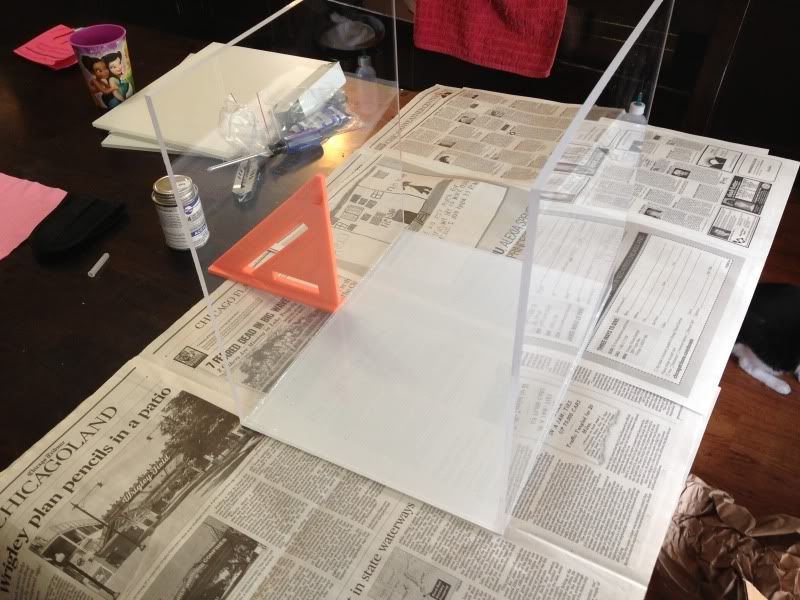
I'm planning on building the tanks out of acrylic.

So here's my initial, tentative, beginning, largely un-informed plan :fingerx:
-Overflow from my DT
-Split pvc going into sump on the bottom left & refugium on bottom right
-Skimmer in sump, then bubble trap baffles, then heater & uv sterilizer in the rest of the space in the sump, hopefully leaving space for any other equipment that may be needed down the line.
-Flow from sump into refugium (via PVC, either routing behind the center brace, or drilling a hole through the brace and running pipe right through)
-Overflow through more baffles into return area in refugium
-Submersible return pump going back up to DT

(okay, did I forget anything?)

Again this is just how my noob brain is piecing all of this together, based largely on a few youtube videos I've seen and some projects i've seen on the interwebs. I'm sorry it's not very technical (i'm no engineer), and I haven't put much thought into flow rates yet, I just want to nail down the overall flow direction before I start really diving in. So please give me your comments and advice, and I'm going to start working on some drawings and mock-ups.

I'm planning on this being a pretty long, drawn out project, so I should have a lot of time to really dial it in and hopefully be successful, especially with all of your help!
 

Bearjohnson

Well-Known Member
PREMIUM
RS Ambassador
If I'm understanding you correctly.....you are going to try and split the over-flow between the sump and refugium thereby using two return pumps back to the tank?
 

chriSMRT

Member
no i'd like to just use one return back to the tank.
I was planning on splitting the overflow so that it went into both the sump and fuge, have the sump flow into the fuge, then the return from the fuge back to the DT
 

Bearjohnson

Well-Known Member
PREMIUM
RS Ambassador
That's what I was hoping you'd say:)

That sounds like a solid plan to me. Just make sure that your flow from one tank to the next is clog proof. The last thing you want is to have the sump outlet to the fuge get restricted in any way causing it to over-flow.
 

chriSMRT

Member
Would the sump outlet to the fuge have to be run at a descending angle so that gravity pulls water through the pvc? Or is it enough to just have a pipe run horizontally so that the two tanks are connected?
 

goma

Well-Known Member
RS STAFF
PREMIUM
There are plenty of ways to do this, but if it were me, I'd do things slightly different.

Option 1 - I would have my return pump in my sump section since you will usually have a higher flow rate through your sump that your refugium. You need to have ball valves on your lines into both the sump and the refugium so you can control the amount of flow into each.

Option 2 - Have one line from the DT into the sump. Then take the return line and split it into two paths with a "T". One line goes to the refugium with a ball valve to control the flow into the fuge. The other line goes back to the DT also with a ball valve to control flow.
 

Bearjohnson

Well-Known Member
PREMIUM
RS Ambassador
Horizontal is fine. Water will seek its own level. In other words...even if you pitched the pipe from one to the other, your water level will always be at the first tanks highest water level. Make sense?:)

You could elevate the the sump and have it drain over the plexi of the fuge instead of drilling both. That will be the easiest way.

Like I said, your main concern is to make sure your first tank's drain going to the next tank never clogs.

Ultimately just having one larger sump/fuge would be best instead of two but I'm guessing space is an issue and that is why you are leaning towards two separate ones.

At the end of all this....Just be certain that when a pump or electricity fails, you have enough room in them to handle the back-flow from the tank.
 

chriSMRT

Member
You could elevate the the sump and have it drain over the plexi of the fuge instead of drilling both. That will be the easiest way.

Ultimately just having one larger sump/fuge would be best instead of two but I'm guessing space is an issue and that is why you are leaning towards two separate ones.

space is the issue here- my stand has a center support, so i'm going to make two custom acrylic tanks, one for each side.
 

chriSMRT

Member
Option 2 - Have one line from the DT into the sump. Then take the return line and split it into two paths with a "T". One line goes to the refugium with a ball valve to control the flow into the fuge. The other line goes back to the DT also with a ball valve to control flow.

Ok i'm following you here- except for how the water would get back out of the fuge?
 

goma

Well-Known Member
RS STAFF
PREMIUM
Ok i'm following you here- except for how the water would get back out of the fuge?

Just like you were talking about earlier, you gravity feed it back to the sump with a piece of PVC like you were discussing earlier.
 

goma

Well-Known Member
RS STAFF
PREMIUM
I am getting ready to implement the following design on my system. I am also going with a separate sump and refugium for space reasons though mine will be next to each other as you can see by the picture. The same design can be used for yours just moving the sump and refugium around the stand.


chriSMRT

Member
I am getting ready to implement the following design on my system. I am also going with a separate sump and refugium for space reasons though mine will be next to each other as you can see by the picture. The same design can be used for yours just moving the sump and refugium around the stand.


Ok Greg now I get it- that's awesome- I think i'm going to copy your design exactly! I had drawn out a rough sketch and pretty much had the same thing, just with the return in the fuge instead of the sump.
So the working idea here then is that the pods that grow in the fuge will make their way back into the sump and then from there travel through the return into the DT?
 

goma

Well-Known Member
RS STAFF
PREMIUM
Yes, that is my working plan!! I will grow macro algae in the fuge along with pods. It also gives you separate flow control through the fuge and sump.

In my design, I am using two tanks of identical size, so my fuge will be on a small platform so it will be raised up above the sump a couple of inches. This will allow the two drains from the fuge to the sump to be as high on the fuge as possible maximizing water area. I am using two lines from fuge to sump in case one gets clogged.
 

DaveK

Well-Known Member
You have an excellent design for your sump and refugium. Before you jump into this project, consider that your doing this for a 20 gal reef, which is rather small. This is going to be a big investment in time and money. Typically, it will not be very cost effective. If you want bragging rights for the system, and so on, then go for it. Otherwise consider getting a much larger tank, where it will not be much more to build and be a lot more cost effective. Something like a 40 or 50 gal tank, or even larger, would justify the full sump and refugium. In smaller systems, water changes along can deal with water qualith.
 

chriSMRT

Member
Hey Dave
I appreciate the concern for my pocket book! And yeah I realize that it might be a bit of overkill- but I've got the time and desire to try and do it, so WTH -
Eventually I'm going to get a bigger tank, for now I want to test myself with this project and see how I do. Thanks for coming along on my ride! I'll post pictures once it gets going, probably be in a few weeks time.
 

chriSMRT

Member
Well the build is moving ahead as planned, I bought the acrylic to make the sump, going to get started with that one, and see how it goes.
Should get delivered by friday this week, and I'll hopefully have some time on Sunday afternoon to start building and snapping pictures. I'm going to try to document this process as much as possible.
 

chriSMRT

Member
Got my acrylic today! I ordered enough to do the sump only for now.

I was so excited to get started that I forgot to start taking pics at first! :doh:
So here goes. I laid the bottom panel out on some newspaper on my kitchen table. Left the paper on the bottom so that as I took pics you guys could see which end was up, so to speak.
Using weld-on 4, first I did the front panel, then the rear. They sat on top of the bottom panel.
8A1B2BEA-203F-4E36-947A-E8A38F4F1ED1-3397-0000088130903F9F.jpg


Then I did the sides, turned it on its end so that the edges of the bottom and the front & back would sit on top of the sides while I was doing the gluing. (The way I just explained that made perfect sense in my head... Hopefully the pic will explain it better :dunno:)
9CB0FC9C-2260-4AA7-A1F7-4B77A650C76D-3397-000008813B6135F2.jpg


Aaaand then the same thing for the other side...
4B334C89-87C1-49AA-B5B1-5C866DA334EF-3397-0000088143299B84.jpg


And voila!
086D84D0-9C79-4BA8-B372-BECAC2FFFCAE-3397-00000881D0C9F0E4.jpg
491ED070-2E81-40F4-9905-5999FEEB5861-3397-00000881D89528BE.jpg


I went over all the seams with weld-on 16 to make sure of the water proofing. Once I run a wet test I'll add the baffles.

So I measured the interior of my stand so well that this thing fits like a glove! Except for the door hinges on the cabinet, of course. Grrr. So as it turns out, I need about an extra .25" off for it to fit. So this is actually going to be my fuge. If I raise it about four inches, it clears the hinge and fits perfectly. I'll just pretend I did that on purpose, heeheehee!

At any rate, this is waaaaaaay easier than I thought it would be. And I am NOT a handy type of guy. But man this is fun!
 

kyle4201

Active Member
Awesome!! looking good. Isnt building stuff more rewarding than buying. I love when people come over and they r like WOW!!! and I can say see what I MADE, instead of,, yea, I bought that last week. :)
 
Top