Fin
New Member
Might as well start this build thread at the very beginning. It's going to take me forever, no matter when I start it anyway. ")
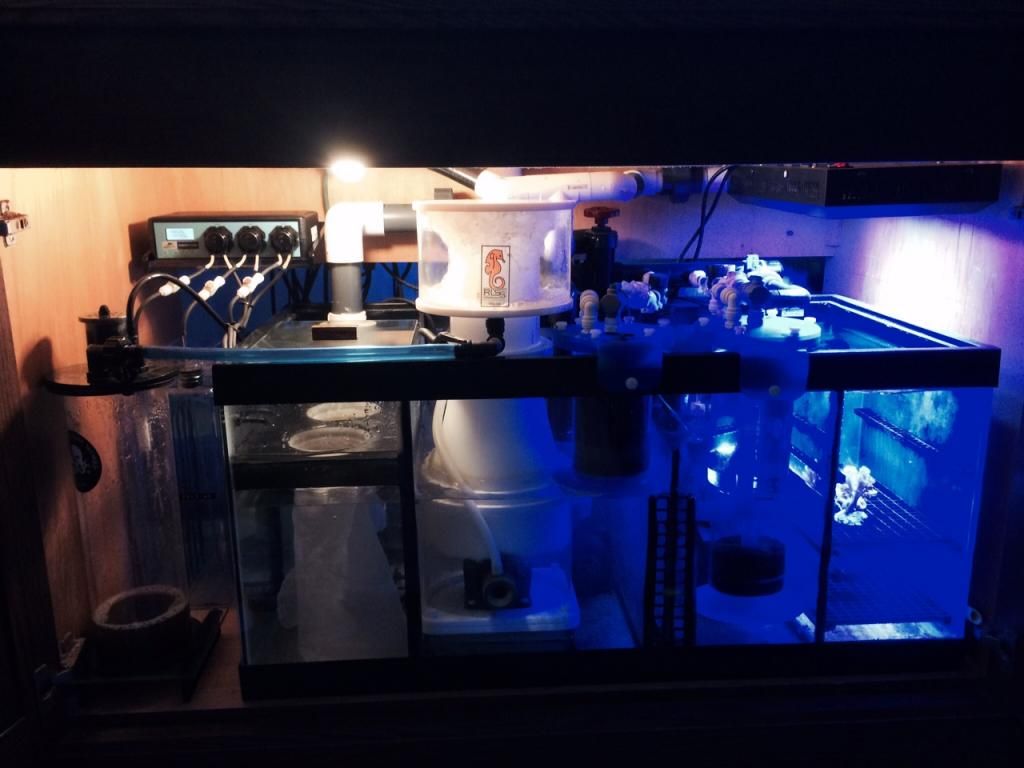
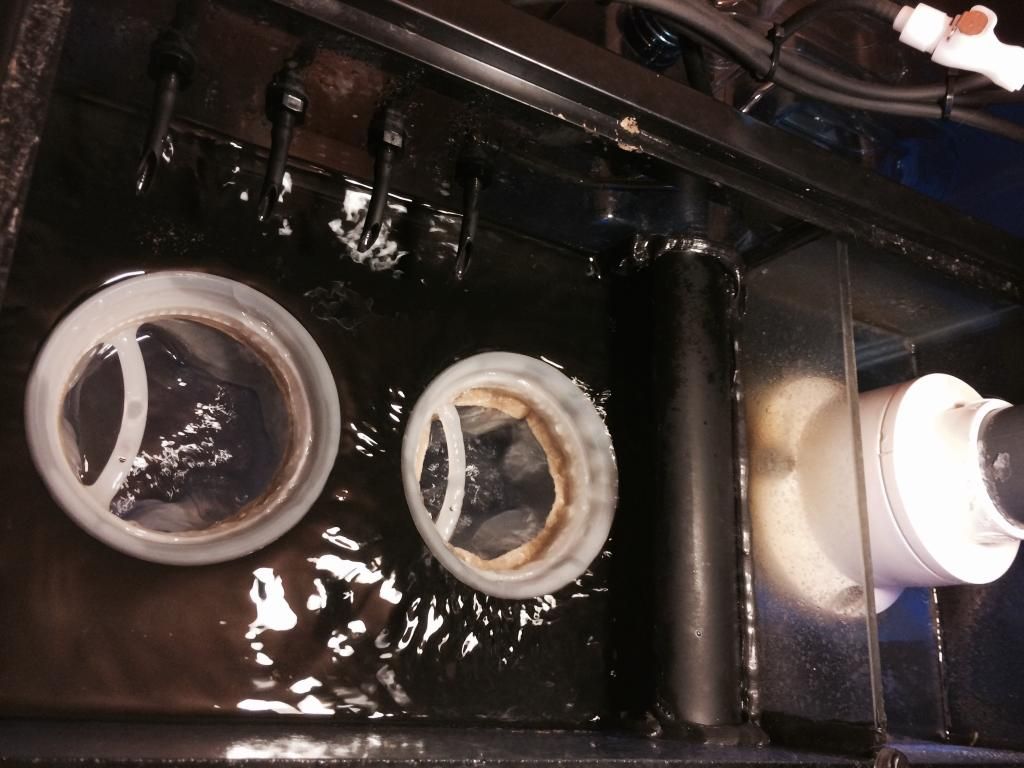
I currently have an Oceanic 140 that is now nine years old. Some features of this tank that I never cared for, (but did not want to spend extra money at the time to do it differently) are the massive center brace (14" x 24") and the two very large Mega-Flow overflows. The center brace is difficult to keep clean and gets covered in coralline or an algae film that effectively blocks a lot light to at the center of the tank. The overflows take up a ton of aquascaping real estate. The tank is also 30" tall and that has presented other issues - like not being able to reach many parts of the tank. Other than those issues, the aquarium is heavy duty and well built.
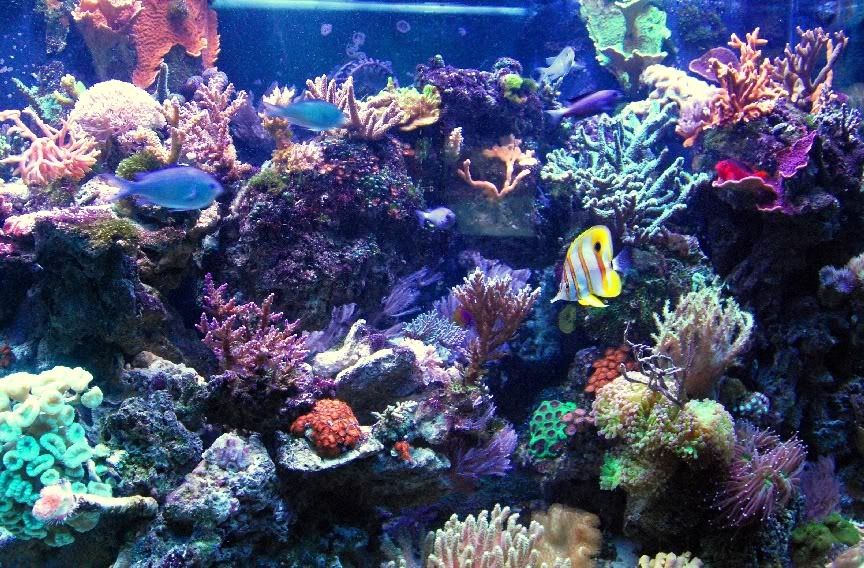
In it's prime, the tank was lighted by 2 250watt metal halide bulbs and 4 VHO fluorescent tubes. Then I changed over to AI SOLs and (not saying those were the only reason) but the tank began a decine. Presently, the tank has some significant algae issues (bryopsis and a very invasive caulerpa). So, needless to say, the tank does not look like this now. Mostly a softy tank now with a lot of green in it.
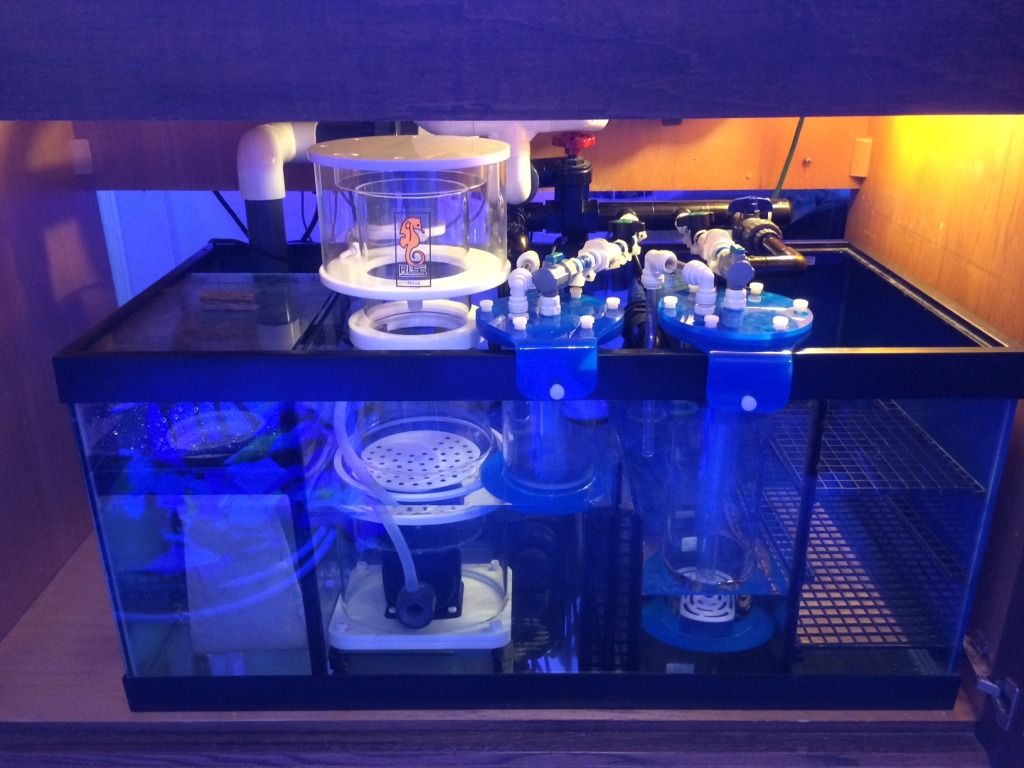
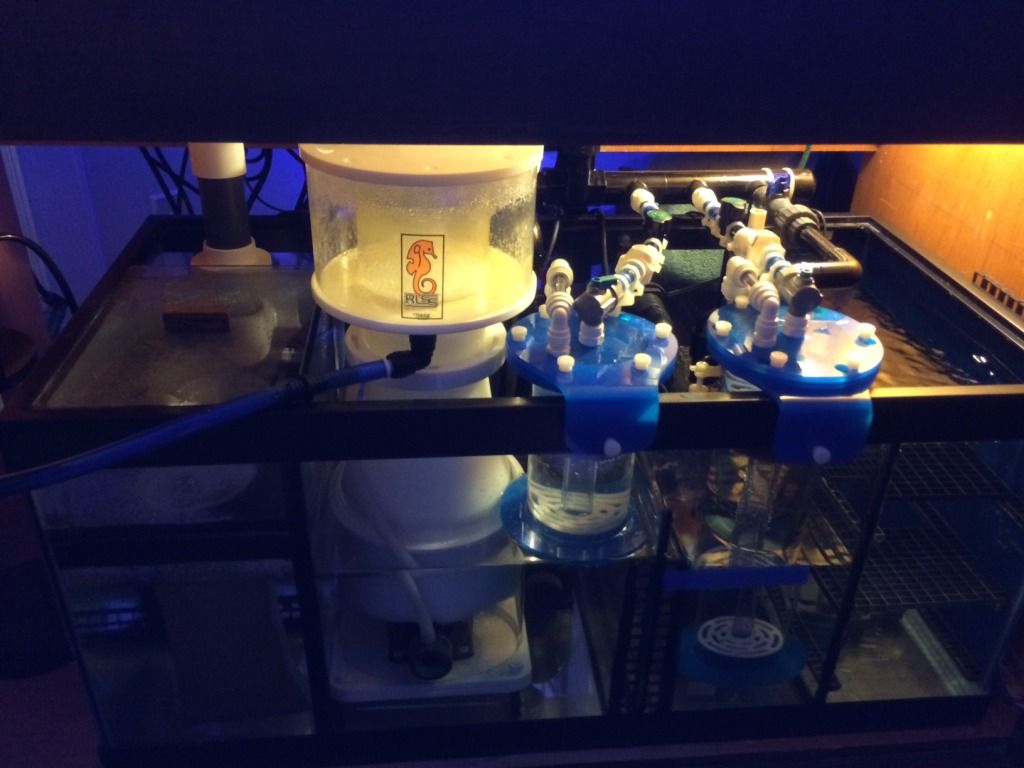
Anyway, after nine years, I want to make a change. I want to eliminate the center brace entirely and go with an external overflow, set up with the Bean Animal system. The Ghost Overflow has a very small in-tank presence and will free up more space for scape and corals.
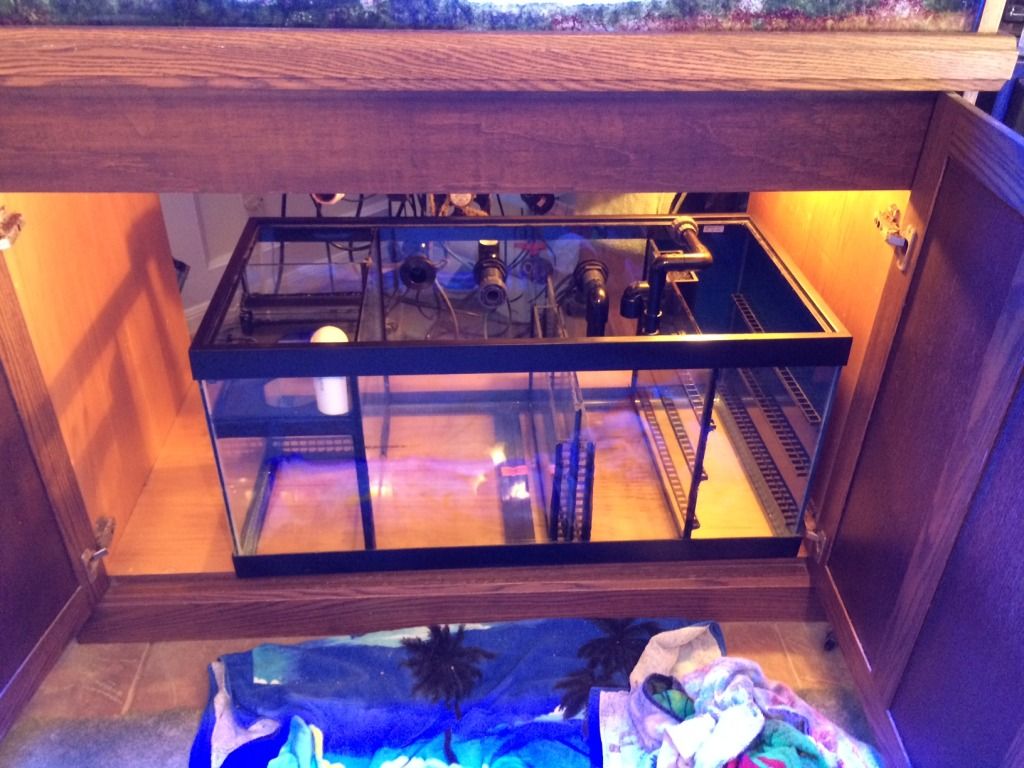
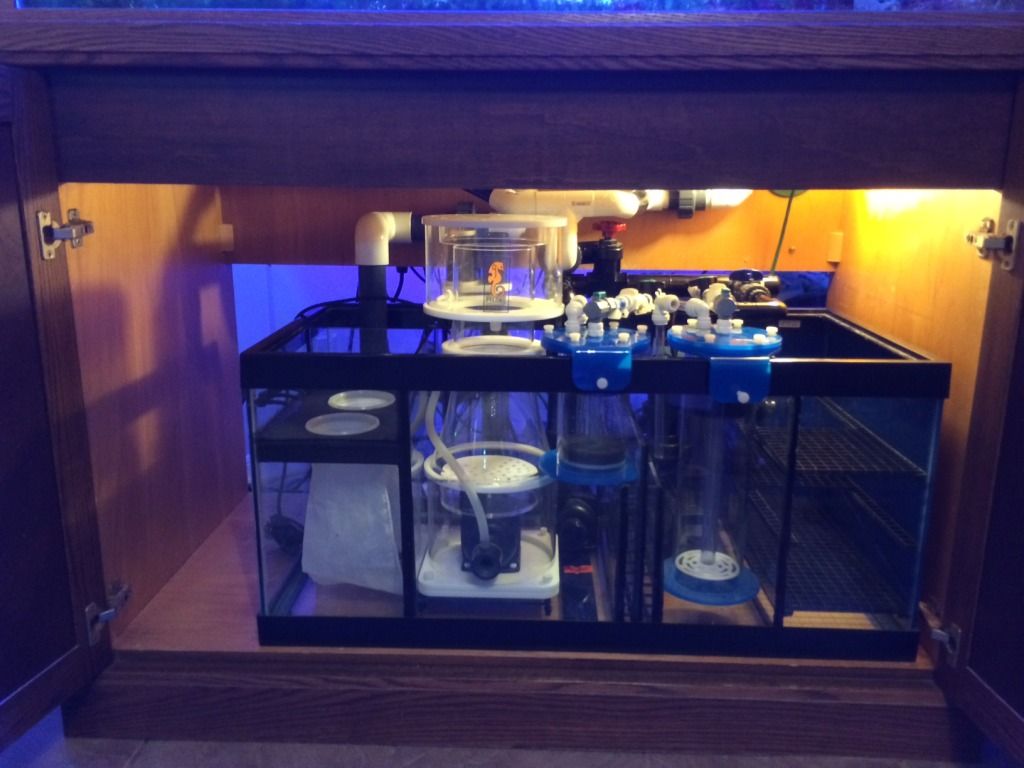
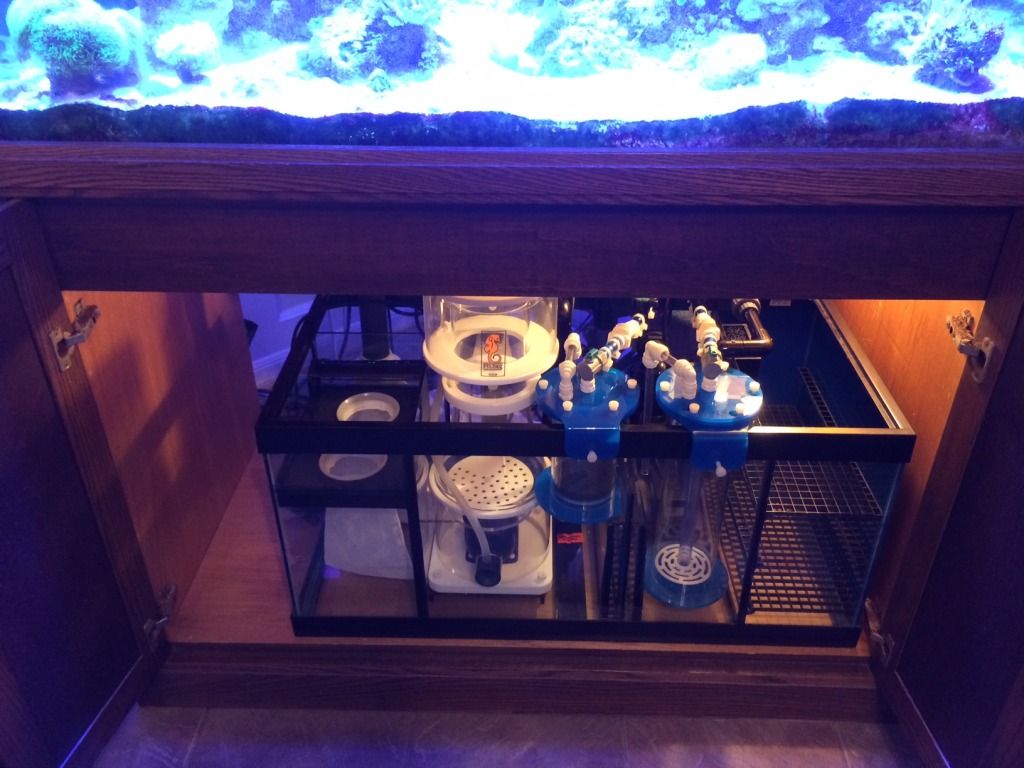
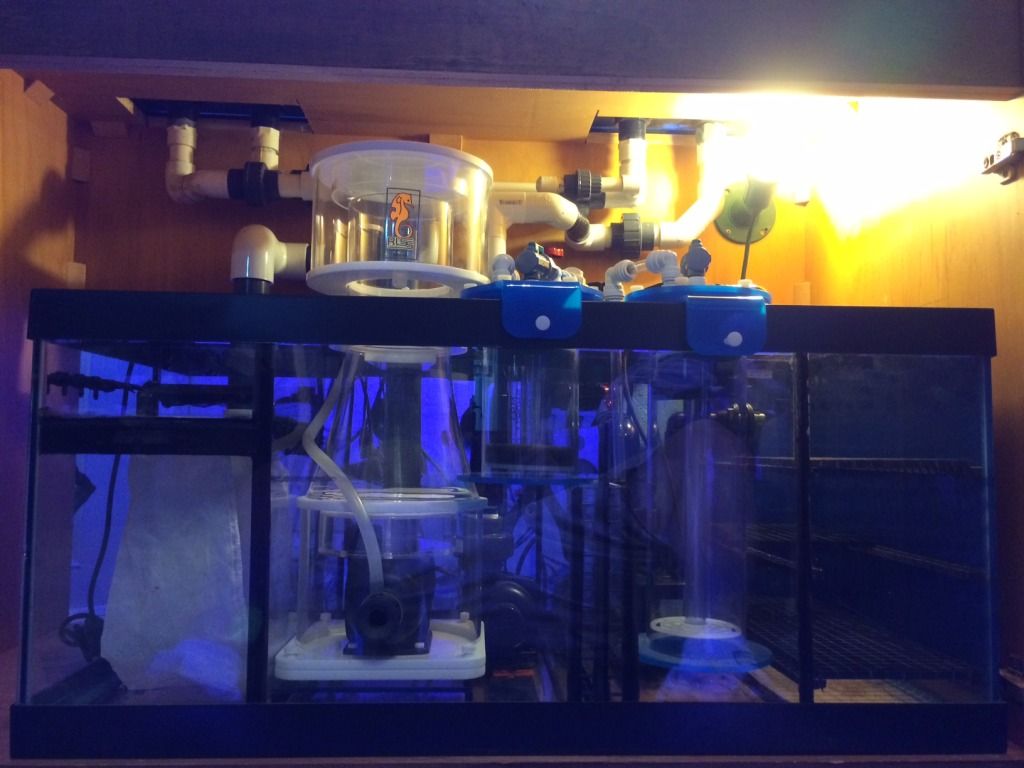
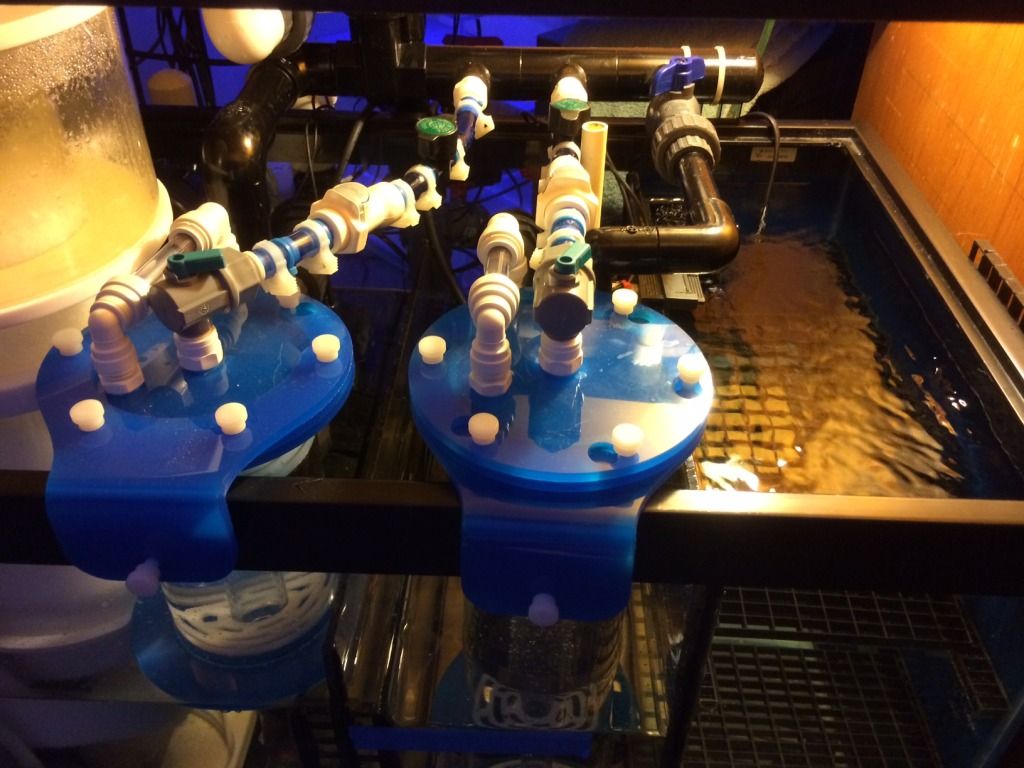
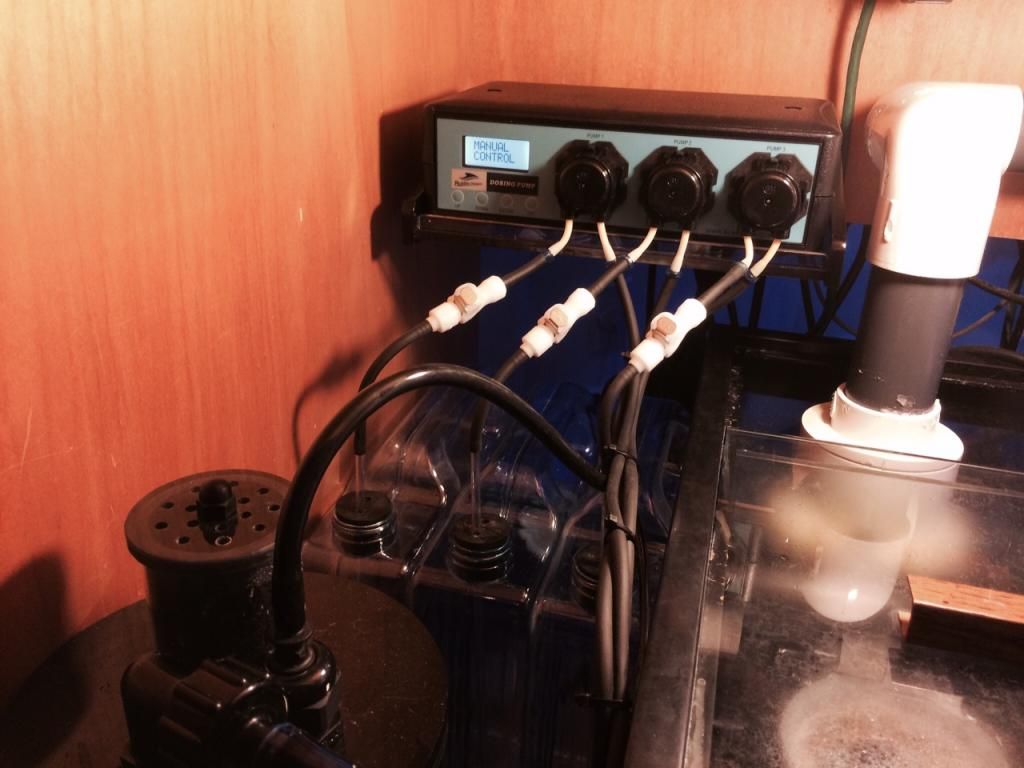
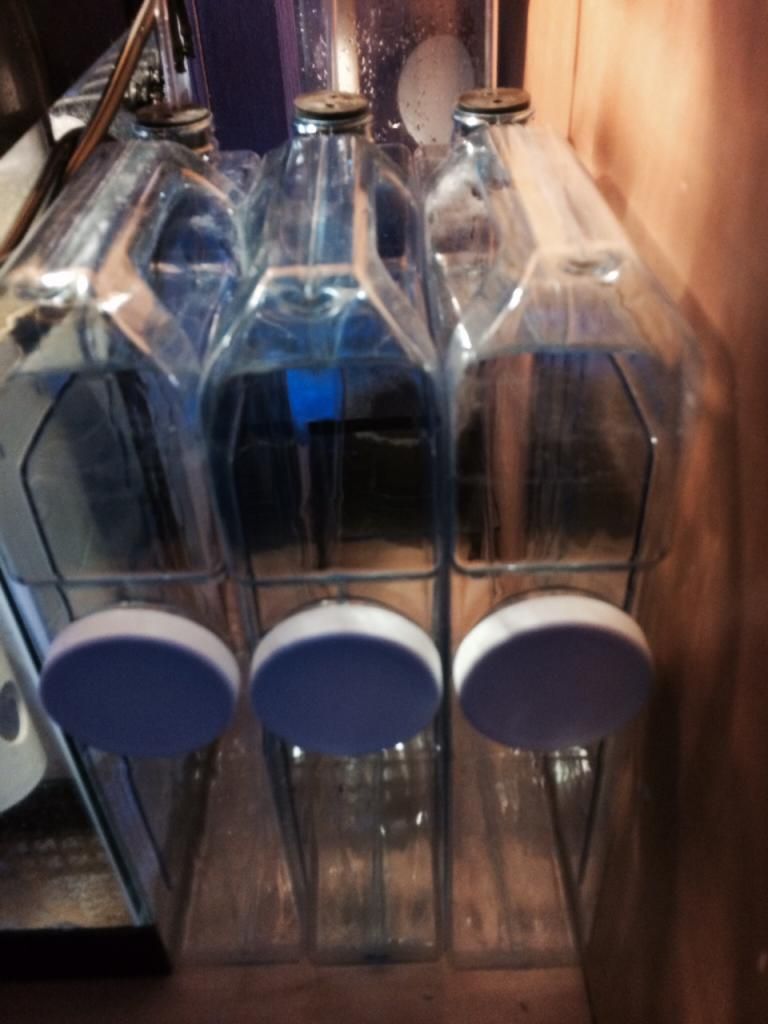
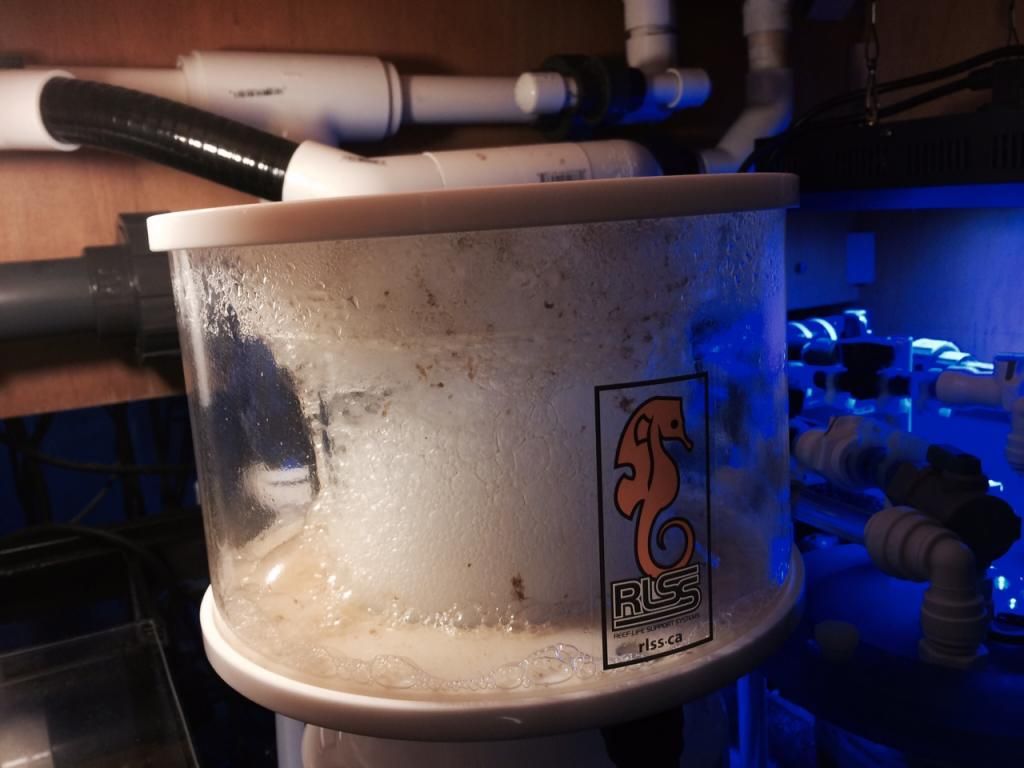
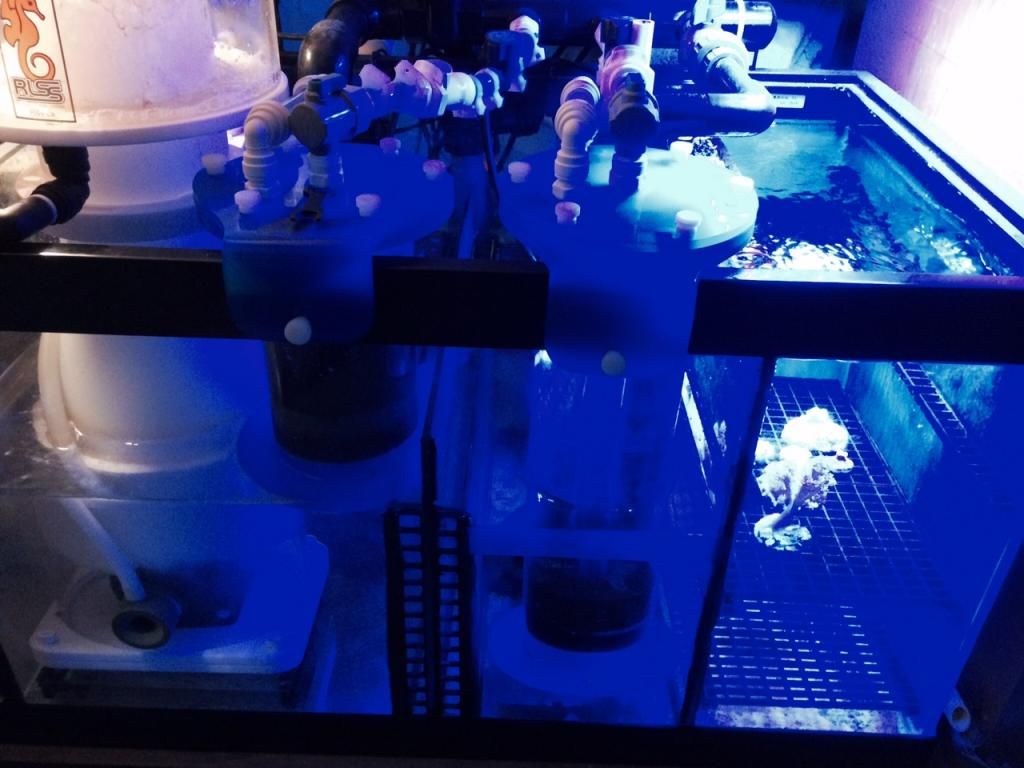
The order has been called in and the deposit has been mailed to Reef Savvy. The 5-6 months of waiting on the tank building begins! Fortunately for me, I have most of the equipment already. I will likely be making a change in lighting and maybe the sump and pump(s). I have a new skimmer, a new Apex controller and a new Geo calcium reactor. Will need another MP40.
Here are the tank specs:
• 125 gallons
• 48(L) x 24(W) x 25(H)
• 1/2" glass - Eurobraced (I know, not as sexy as rimless, but mucho more sexy than the 14" center brace I have now)
• Front panel will be Starphire (I will have MP40's on each end, so I figured no use in the added expense for Starphire on the sides. Plus both ends will have limited visibility where the tank sits anyway).
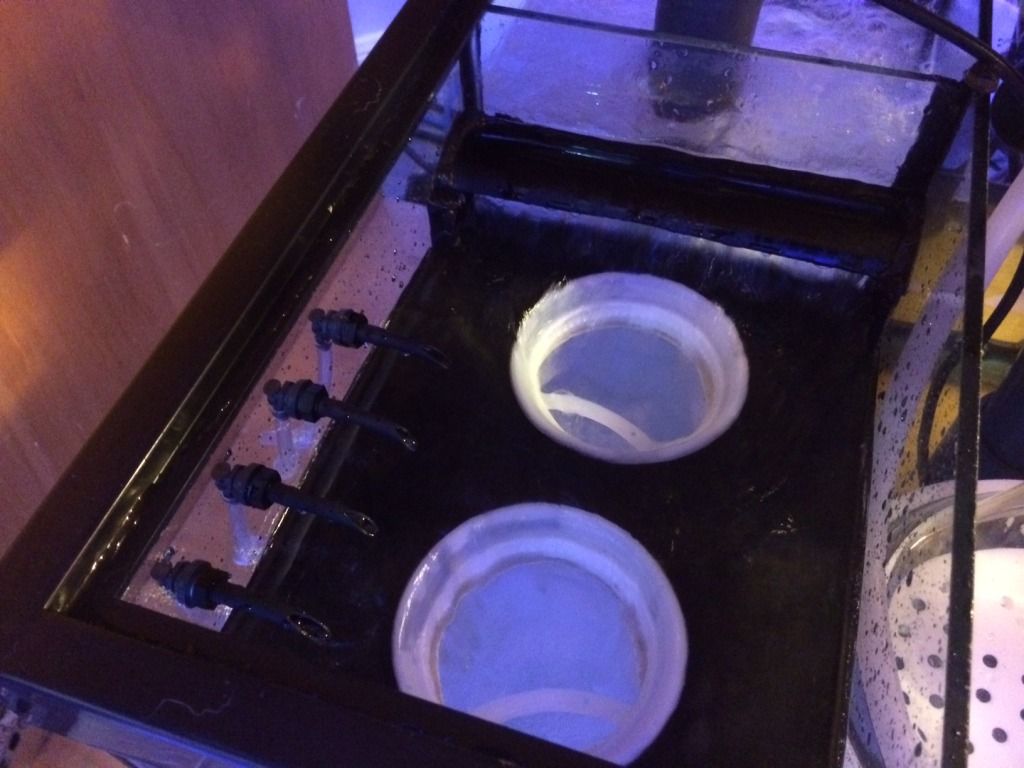
• 20" Ghost Overflow (centered on the back wall) Love the looks of this overflow, I hope I like the way it works.
• Black silicone
• Black background
• 2 holes for returns drilled in the back wall, one on each side of the overflow. Nothing over the top on this tank (I hope).
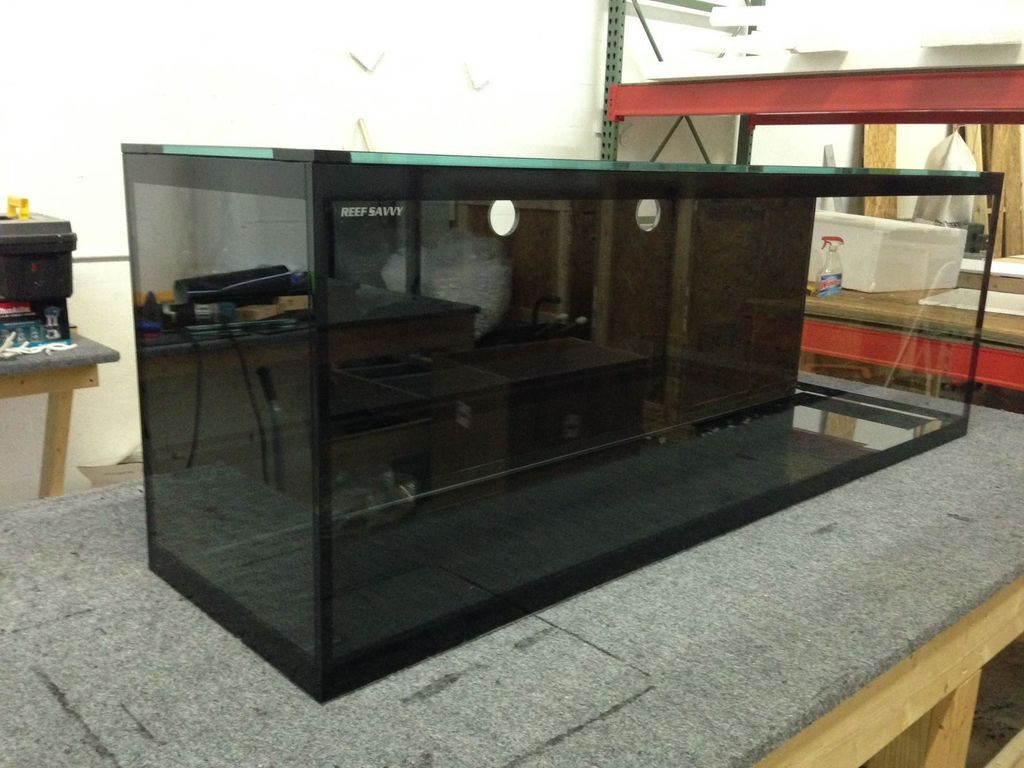
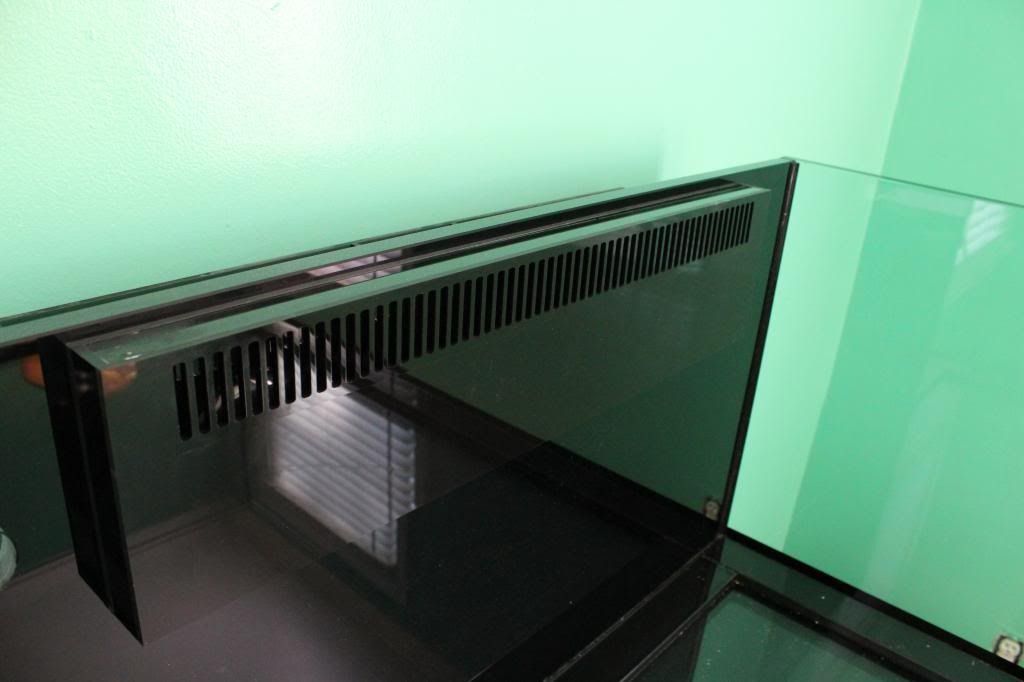
A pic of one of their Eurobraced tanks. I think the thick black band at the waterline and at the bottom is custom on this tank.
NOTE: These are not my pics. Just some I ran across on the net to illustrate what I have ordered, but do not have in my possession at this time. If you see any of your pics here that I have borrowed and you do not want me to repost them, please let me know and I will delete them.
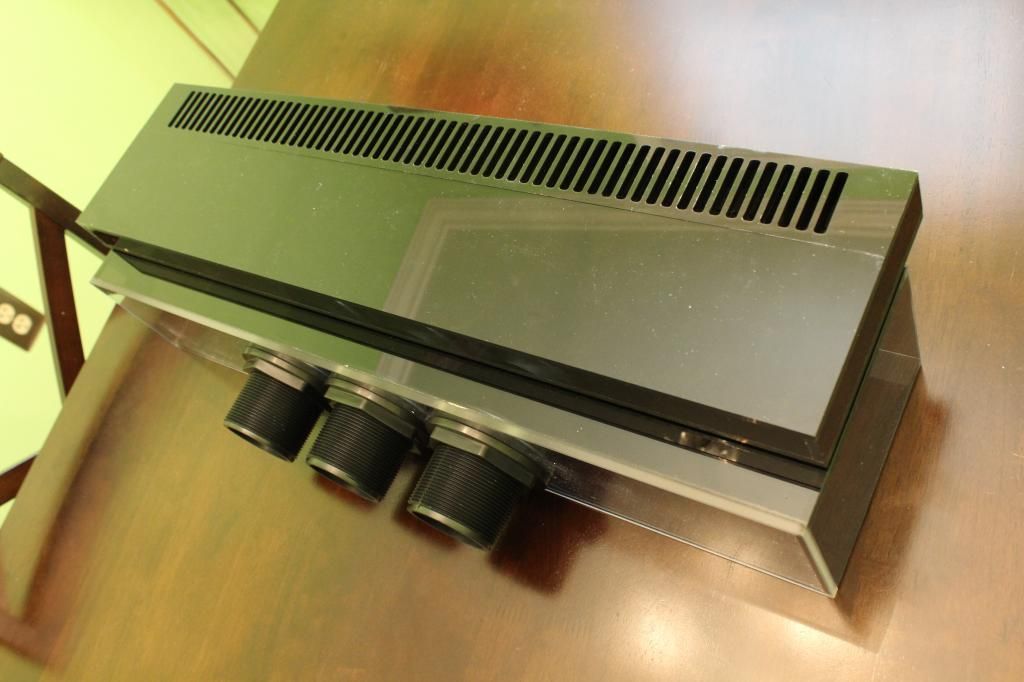
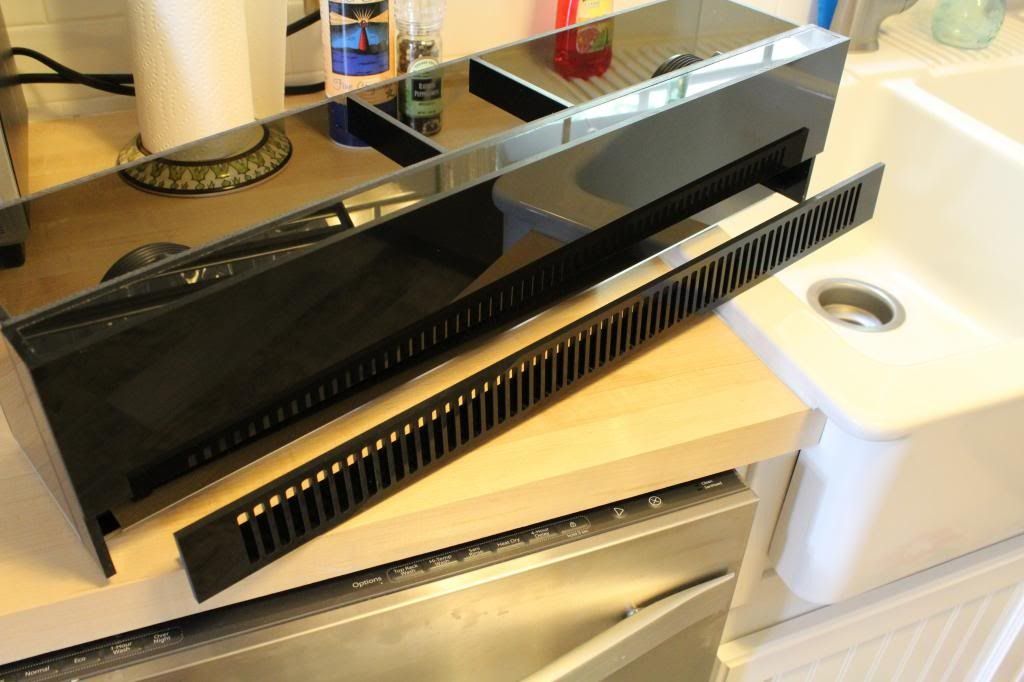
Sample of the Ghost Overflow
This overflow will add so much more room inside the display! There will be more real estate to scape in the 125 than in the 140.
I will be so glad to be done with the large center brace and it will be hopefully be easier to reach the bottom of this one. Now to get to planning. Might even have time to finish my nano while I wait.
I currently have an Oceanic 140 that is now nine years old. Some features of this tank that I never cared for, (but did not want to spend extra money at the time to do it differently) are the massive center brace (14" x 24") and the two very large Mega-Flow overflows. The center brace is difficult to keep clean and gets covered in coralline or an algae film that effectively blocks a lot light to at the center of the tank. The overflows take up a ton of aquascaping real estate. The tank is also 30" tall and that has presented other issues - like not being able to reach many parts of the tank. Other than those issues, the aquarium is heavy duty and well built.
In it's prime, the tank was lighted by 2 250watt metal halide bulbs and 4 VHO fluorescent tubes. Then I changed over to AI SOLs and (not saying those were the only reason) but the tank began a decine. Presently, the tank has some significant algae issues (bryopsis and a very invasive caulerpa). So, needless to say, the tank does not look like this now. Mostly a softy tank now with a lot of green in it.
Anyway, after nine years, I want to make a change. I want to eliminate the center brace entirely and go with an external overflow, set up with the Bean Animal system. The Ghost Overflow has a very small in-tank presence and will free up more space for scape and corals.
The order has been called in and the deposit has been mailed to Reef Savvy. The 5-6 months of waiting on the tank building begins! Fortunately for me, I have most of the equipment already. I will likely be making a change in lighting and maybe the sump and pump(s). I have a new skimmer, a new Apex controller and a new Geo calcium reactor. Will need another MP40.
Here are the tank specs:
• 125 gallons
• 48(L) x 24(W) x 25(H)
• 1/2" glass - Eurobraced (I know, not as sexy as rimless, but mucho more sexy than the 14" center brace I have now)
• Front panel will be Starphire (I will have MP40's on each end, so I figured no use in the added expense for Starphire on the sides. Plus both ends will have limited visibility where the tank sits anyway).
• 20" Ghost Overflow (centered on the back wall) Love the looks of this overflow, I hope I like the way it works.
• Black silicone
• Black background
• 2 holes for returns drilled in the back wall, one on each side of the overflow. Nothing over the top on this tank (I hope).
A pic of one of their Eurobraced tanks. I think the thick black band at the waterline and at the bottom is custom on this tank.
NOTE: These are not my pics. Just some I ran across on the net to illustrate what I have ordered, but do not have in my possession at this time. If you see any of your pics here that I have borrowed and you do not want me to repost them, please let me know and I will delete them.
Sample of the Ghost Overflow
This overflow will add so much more room inside the display! There will be more real estate to scape in the 125 than in the 140.
I will be so glad to be done with the large center brace and it will be hopefully be easier to reach the bottom of this one. Now to get to planning. Might even have time to finish my nano while I wait.
Last edited: