DIY Live Rock

Nightfall

Member
I am considering making some live rock of my own so its custom shaped for my 3 gallon tank and if it works well will make more for larger tank. What I have found through searching is following guide, I am posting here for others to use for reference and get feedback on if process is as easy and accurate as it appears.

Making Your Own Live Rock

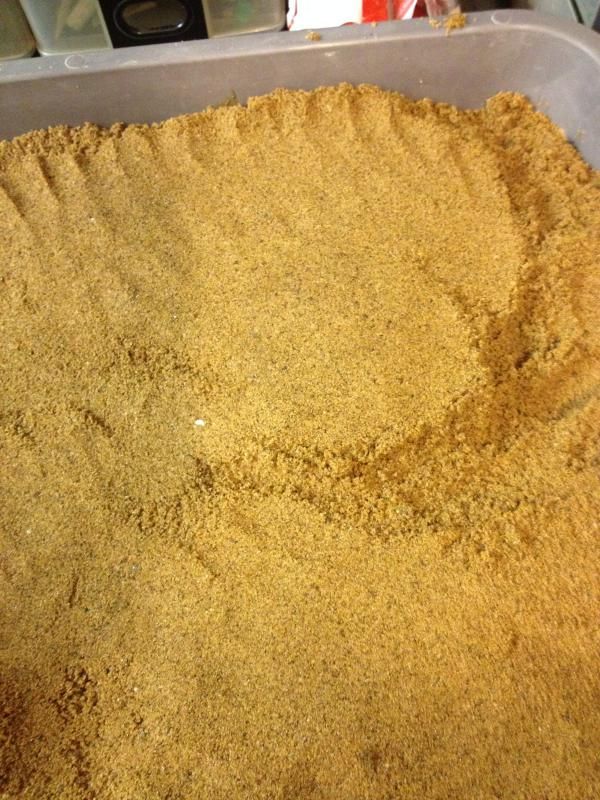
To make your own live rock you need to purchase two bags of aragonite sand (one fine, one coarse) and one bag of Portland cement. To begin, mix six parts aragonite sand with one part Portland cement to create a mixture called aragocrete – this mixture will form the base of your live rock. To mold your live rock, you will need to fill a large Styrofoam cooler or another similar container with aragonite sand and damped the sand so it is slightly moist. Next, dig a hole in the sand in the desired shape for your live rock. Try to make the shape as natural as possible – don’t make it a complete circle or oval.

Once you have dug the mold for your live rock, pour the aragocrete into the mold and cover it with aragonite sand. Gently tap the sides of the box a few times to settle the sand then let it sit for at least 24 hours so it has plenty of time to harden. After the rock has hardened, soak it in white vinegar for 12 hours then rinse it well in fresh water. Before you use the rock in your saltwater tank, you should cure it in fresh water for at least one week, replacing the water once a day. You may also want to place start the rock in a grow-out system to begin a colony of coralline algae and beneficial bacteria. To do so, treat the water in the grow-out tank with a reef builder supplement and add some reef calcium. As your colony develops, keep an eye out for unwanted growths of algae.

Don’t be afraid to get creative when building your own live rock. To make pockets or depressions in your rock, dig out a portion of the mold and fill it with aragonite sand. You could also try building a large cave by covering an inflated balloon with the aragocrete mixture – once the rock has set you can pop the balloon. To make tunnels in your live rock, roll up a piece of newspaper or cover a piece of plastic tubing with aragocrete to keep the tunnel open as the rock hardens. Experiment with a variety of shapes as you create your own live rock and, once it has cured, try out several different arrangements to see which looks best in your tank. By making your own live rock you can completely customize it to suit the needs of your fish and your particular tank.
 

PSU4ME

JoePa lives on!!!
Staff member
PREMIUM
DIY rock is pretty cool and I've seen people use it before. I think it works well for a unique shape or something that is functional that you can't find in actual live rock. It is very heavy so you need to keep that in mind if you plan to make more/use more. I've also heard of people adding crushed shells to it to make it look more natural vs a clump of sand/cement.

GL. Post some pics along the way.
 

Nightfall

Member
Ya planning on taking step by step photos and maybe video also. Its definitely going to be new challenge. At least I can use any left over sand for new tank too.
 

Bearjohnson

Well-Known Member
PREMIUM
RS Ambassador
I'll be doing the same thing once the weather breaks here in NJ.

Here is a video for you to watch that may give you some help and ideas. It's not my video, just one i found on Utube.

If you don't already know this...You need to soak the rock once you're done in fresh water until the PH has come down far enough to be tank safe. (This process can take 1-4 months) You'll need a fresh water PH test kit for this. Also, when soaking the rock if you change water more frequently it will shorten the process of making the rock safe. Better yet...If you live near a running stream you can put the rock in the stream and let it do the work for you:)

http://www.youtube.com/watch?v=wFFFJJAtmbE
 

puffermike

Active Member
A lot of people actually use Rock Salt as well. The bigger size you can find the more porous your rock will turn out in the end. It takes a delicate touch to actually make the rock look good. When you start making your pieces sprinkle it lightly and don't pack it. You can also sprinkle sand over top of your pieces once they are setting. It makes for an interesting look in the end. I used styrofoam pieces before as well to create some interesting gaps and holes in weird places. Good Luck!
 

Nightfall

Member
Well I have a container for the molding sand, gotta find the right sand to use for the molding process (think sandbox type), purchased a small bag of Caribbean sand and decent sized back of crushed coral. We have no "feed" stores to get crushed oyster shell so for now making do with what I have. Going to call around town tomorrow looking for specifically portland cement, but will ANY cement do or does it have to be that one brand? Also have to find course rock salt only stuff I found today was nice and cheap but pellets...oval pill shaped pellets so won't do at all. Not looking to start off having to use a mallet and beat the salt into rough chunks.

So thats it just the sand to mold in, cement, and rock salt and I will start a new headache...I mean adventure.....plus side is even if I fail first few times if I end up making even say 10 pound of live rock and cost of materials is around 50 bucks still will have saved 30 right away AND got pieces exactly as I want them to be and look and will have the base to start from to make even more. Heck I might even advertise custom rock made to order (within reason) for others in area with unique needs (can't get much more unique than mine....3 gallon cube box).

LOL I already knew not to but it would be so easy to use Safety-Salt (what we use on our roads and driveways for ice)
 
Last edited:

Creekview

Member
Good info on diy aragocrete here http://www.garf.org/class.html and here http://www.garf.org/aragocrete.html. LeRoy was making this stuff back in the 90's. Gotta use Portland cement, and proper curing is an absolute necessity. I bought some pieces 10 years ago, and have made them too. I had a bunch of water soluble starch based packing peanuts from work. I shredded some and left a bunch whole in the molds. They dissolve completely during the cure and are completely nontoxic. I used two different Caribsea products for the rocks. The molds I used CoraLine crushed coral, with a layer of CoraLine large puka on top. I mixed them into the aragocrete as well. Made it nice and light. I also mixed in some loose Fiberglas to help with strength. Looks very realistic, and mine encrusted really quickly. You can also mold in holes for frag plugs.
 

Choff

Well-Known Member
Very cool. Looking forward to seeing what you come up with.

I also looked hard into this a few months back. I don't have the link, but one guy added shredded pvc into the mix. I can't now for the life of me recall why he did it, but it made perfect sense when I read it and I planned on using the same technique. It was the best looking stuff I had seen anyone make.

...stupid auto correct
 

Creekview

Member
Very cool.

I don't have the link, but one guy added shredded pvc into the mix. I can't now for the life of me recall why he did it, but it made perfect sense when I read it and I planned on using the same technique. It was the best looking stuff I had seen anyone make.
...stupid auto correct

The guys who "invented" this stuff were LeRoy Hadlee and Eddie Postma at GARF in the 90's. The plastic shreds are to give a hold point for Coralline algae. Their research showed plastic surfaces were often where the coralline first took hold, the rest makes sense. Here is a link to the best page for reading their research. The GARF website is a hot mess, but full of great info. http://www.garf.org/aragwk/search.html.
 

Nightfall

Member
PVC shavings eh? Gonna read those articles but got the concrete and sand to make molds in, also have crushed coral, the mixing bucket, warm dry place to store the tub as it sets and to place buckets for the daily water change soaking in fresh water. Only items I cannot find is course rock salt (water softening type) and the 100% crushed oyster shell (no feed stores around here). The crushed coral is to replace the oysters until or unless I can find some oysters.

As I do this will make videos and compile them together (will post first one then 2nd will be first and 2nd put together, 3rd will be added to 1 & 2, etc) until ended. So this will have water change updates and everything.

I will say upfront first will make 2 pieces and once removed from mold before soaking will show them and then while they are soaking and curing to remove PH will make more pieces. Nice thing will be that as its not "live" with hitchhikers and things is that once made and soaked/cured it can be stored dry someplace until I need or want it. And with costs being around $50.00 if I can at least get 5 lbs of rock out of it it paid for itself. ANything beyond that is pure savings. Might even offer to make custom pieces for others and make some money back to keep making pieces and affording new tanks and equipment. Time consuming but as I have learned and am learning this is a hobby of patience!

Will post my recipe used at each stage so if I use oyster later will show results against crushed coral and with and without pvc shavings. Also will show curing process (going to set up 10 gallon tank just to cure rock so it can go into the 3 gallon nano (making first custom pieces for it given the specialty of the rocks design and sizes needed) and also for a 20 (or 30) gallon tank) so we can see the algae growth differences between the pieces.
 

Nightfall

Member
Ok today I got the damp sand in a pan, mixed up some crushed coral, concrete, crushed course rock salt and seeing how 2 pieces come out before I say much else.

If these turn out will make 2 more of each shape/style and try making a cave.

First piece is a "table" so seeing if 3 legs actually stand out and a flat top...these will be base along walls of tank, measuring if it works out approx 6 inches long 1.5 inches thick and half inch legs and approx 2 inches across.

The second piece if done correctly will be for same size as table top but be a ragged dome shaped.

The nice thing about all of this is if it works not only can I customize the appearance of the interior of my 3 gallon tank, but replacing whats in there already will cure the bristle worm concern I have had and give me ability for proper placement of any/all coral fragments. If possible by time these pieces are ready will need to get them treated with whatever live rock treatments start them down the road to appropriate algae and coraline growths. Course thats a couple months away but going to start prepping a tank now just for such cycling. Once I replace rock currently in use will give a high salinity soak for each piece to drive/lure the bristle worms out then place the newly "clean" rock in the pre-cycled tank. What I plan to do is hookup 2 powerheads on either end of a 10 gal tank and use a 5 lbs bag of carribean live sand and put in salt water and let the sand cycle first since cycling is a long process by time the made rock is PH stable will be ready same time.

Might try adding the pvc shavings next time and if this all works out then will make pieces for the 10 gal and enough for a 20 gallon setup incase I get chance to convert my freshwater 20 gal into salt water too!
 

Nightfall

Member
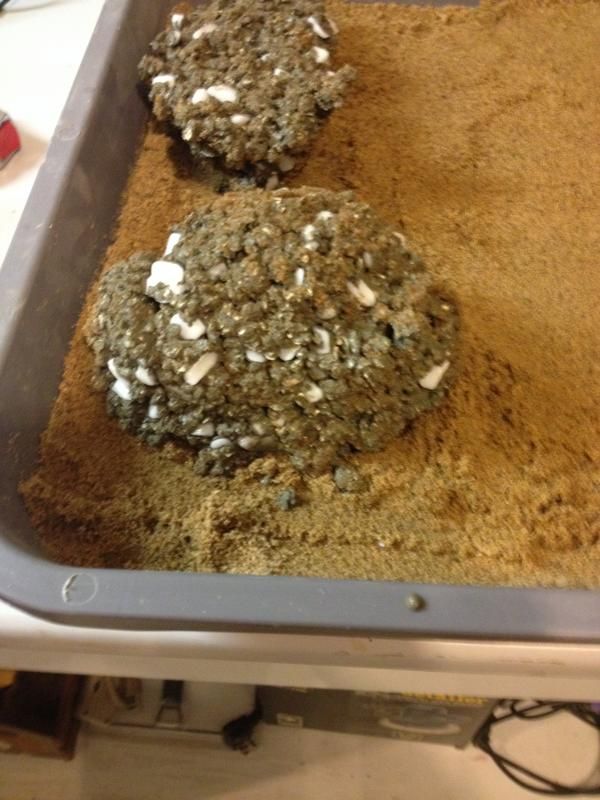
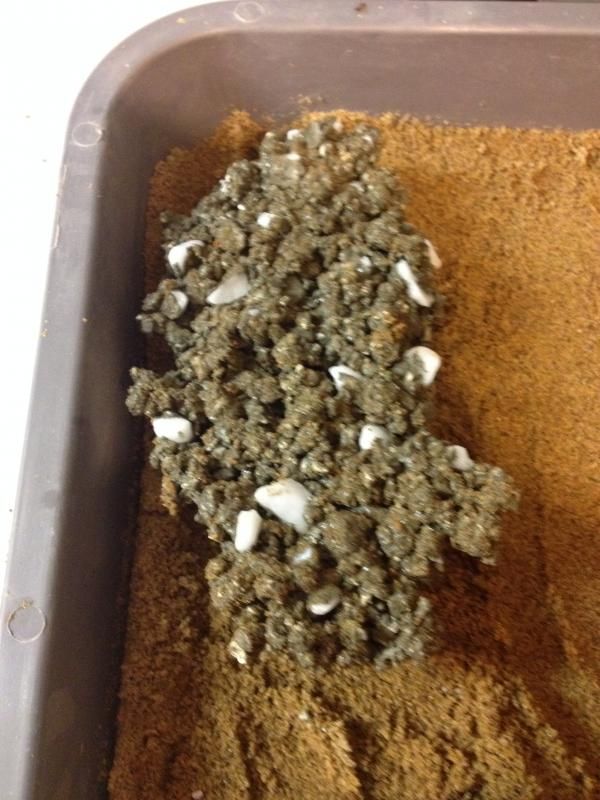
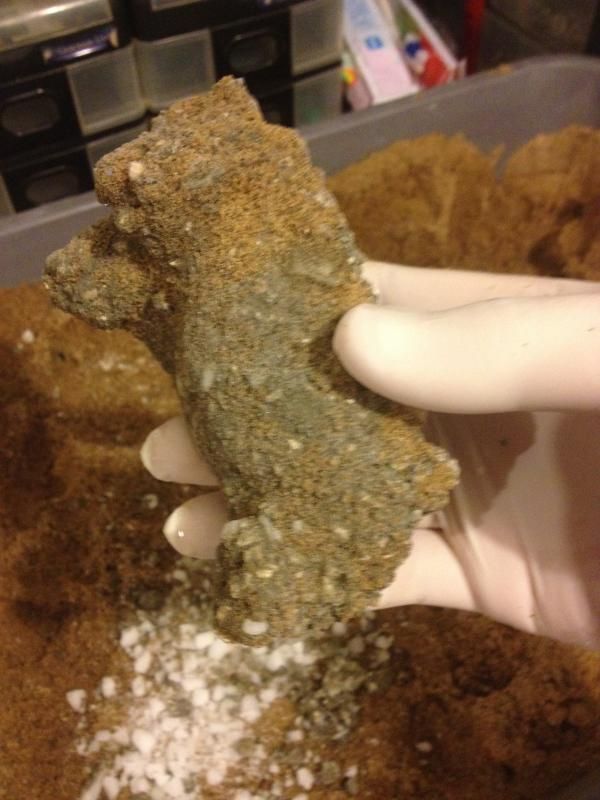
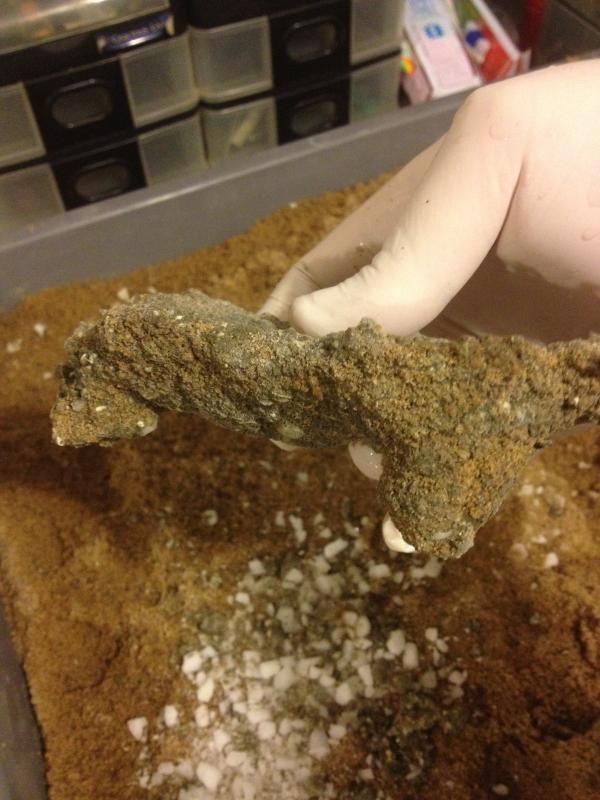
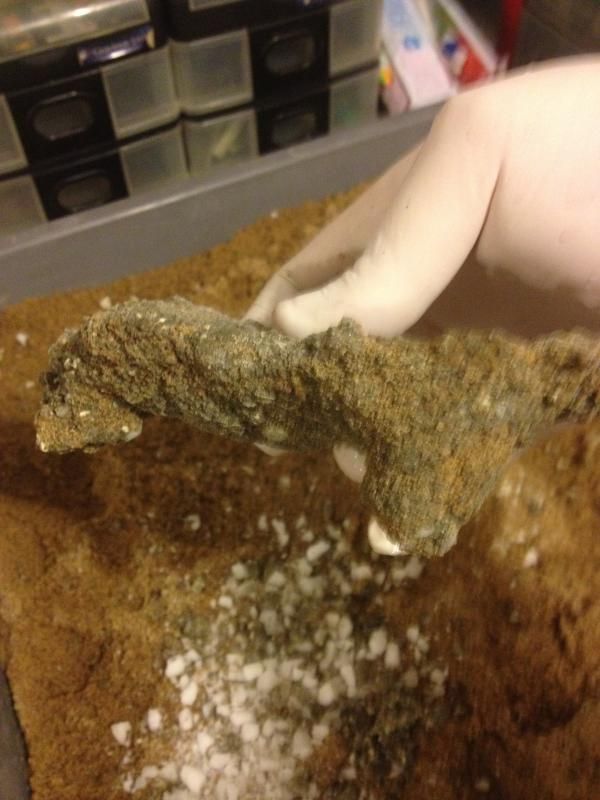
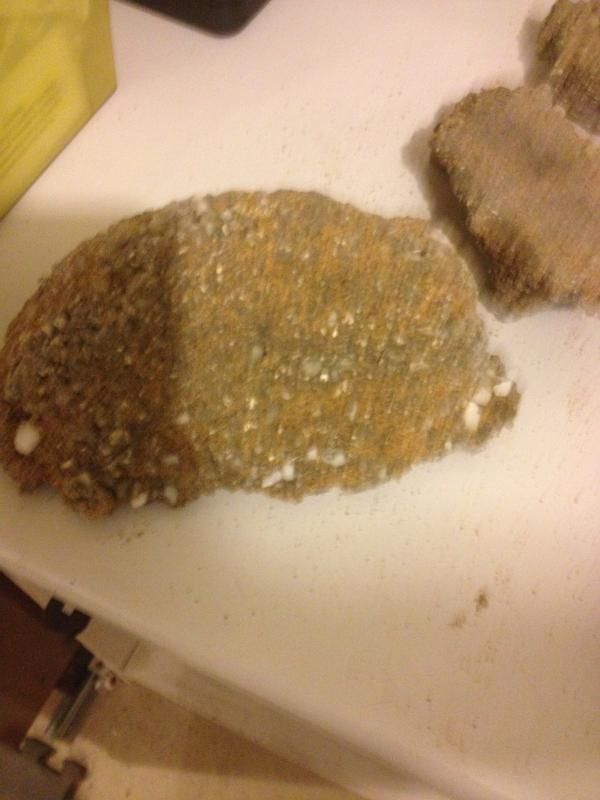
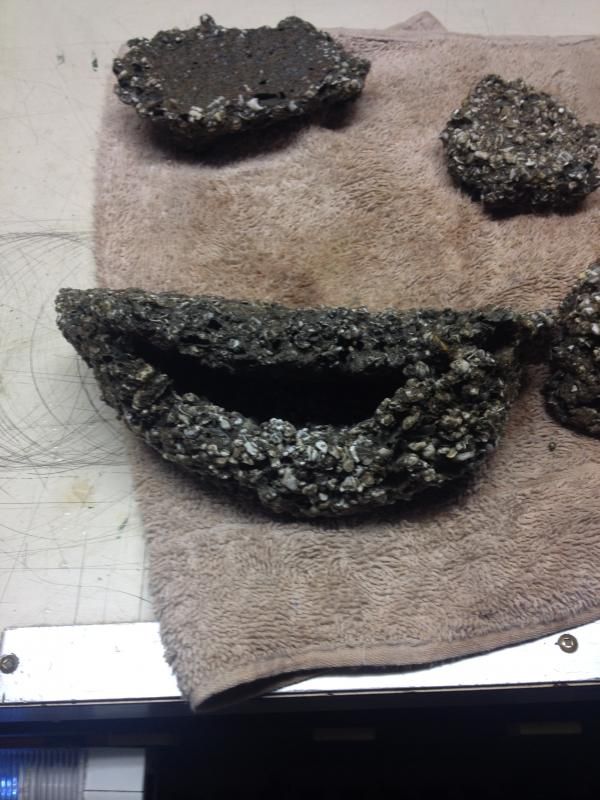
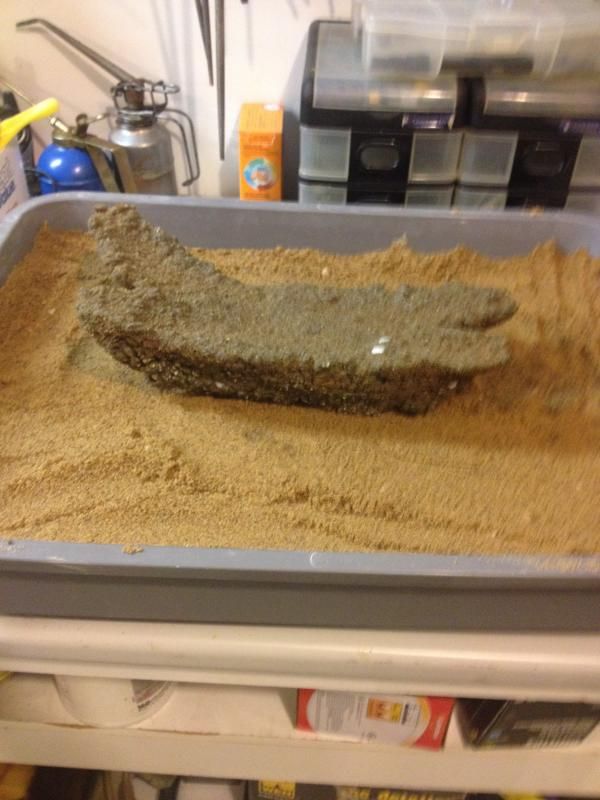
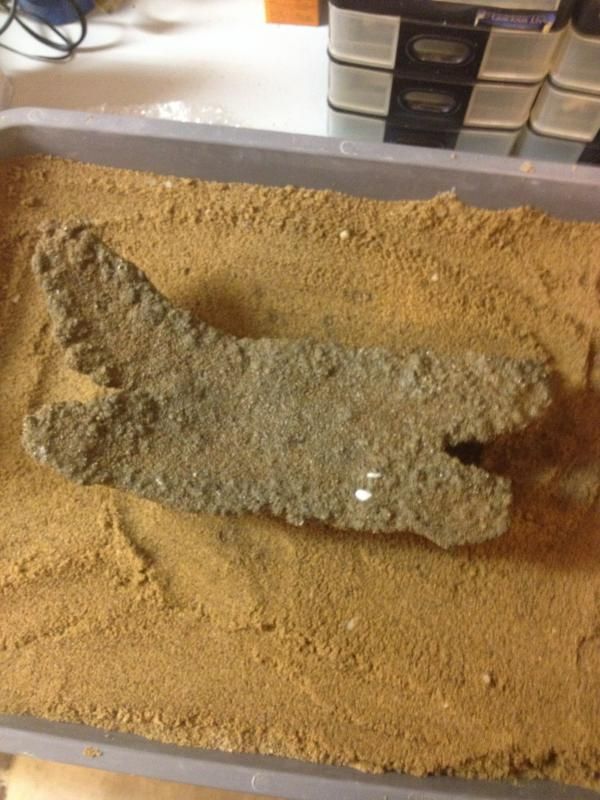
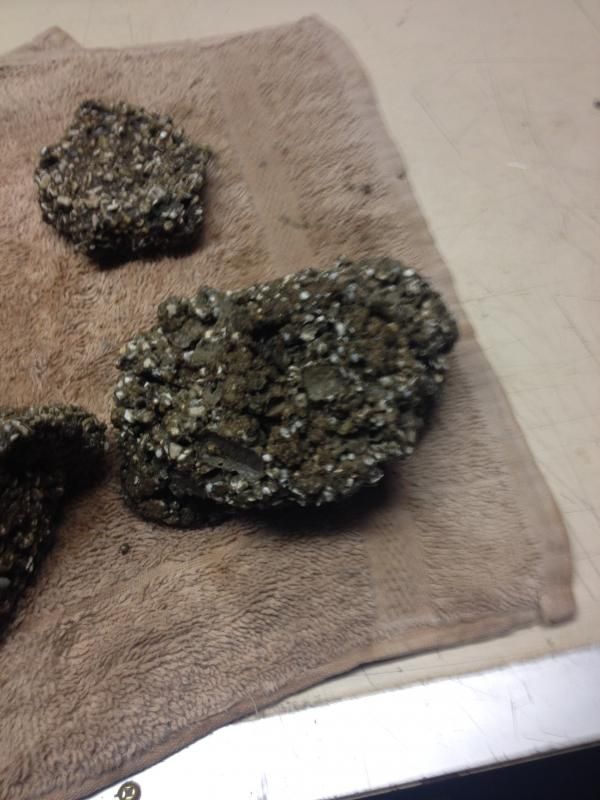
Ok so I made 2 pieces, removed from sand 26 hours later...but the rock salt was a "little" larger than wanted/expected...next pieces will be curing for 48 hours before I remove them from sand...these pieces shown are curing ontop of sand another 24 hours before I start soaking in water.

These are first 2 tries....one is a domed piece to sit ontop of the other which is a table. has 3 legs.
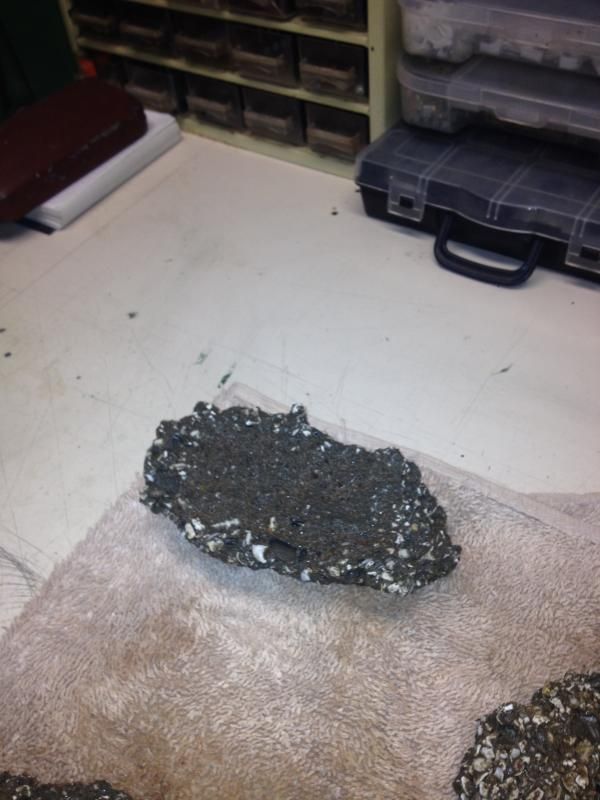
Top of table piece.
This is underside of table with the 3 legs.
Covered over for now but trying to make a piece that is cave. Gonna see if it works or not.
This is a 2nd table, slightly smaller.

I will post more pics as I go along and pass along any tips and errors and corrections as I go along.

2nd pieces which will post in couple days I crushed up the rock salt more into finer pieces...if still too large will pound it more and more until I get it right. Good thing is everything except the crushed coral came in 20-40 lbs bags so got lots to experiment with.
 

Nightfall

Member
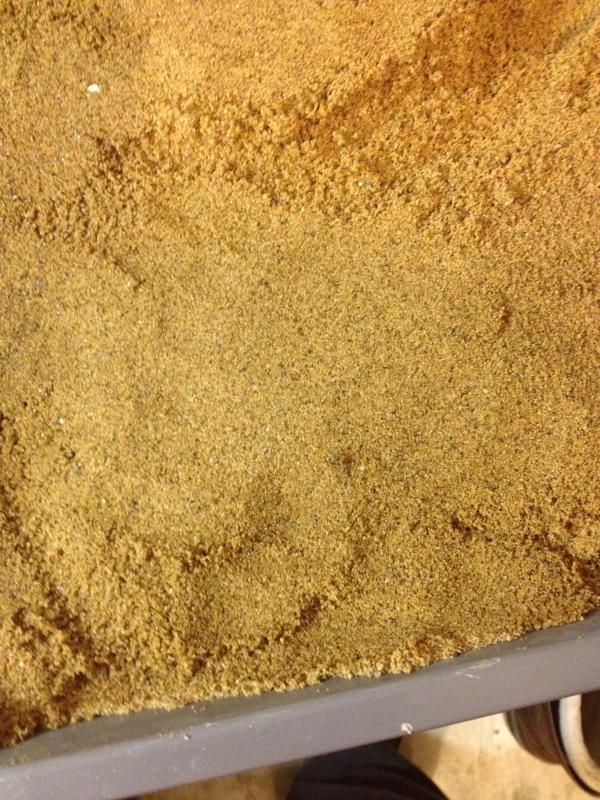
Its sandbox dry sand. Comes in only 30 lbs+ bags but use alot (over half bag) in such a small pan but really all you need. Don't need a 27 liter tote from Walmart or anything that would be overkill.

Oh and next step is NOT soak in water...its a 12-24 hour soak in white vinegar which will eat up salt exposed and then a rinse and then soak in fresh water and change water every day for 30-90 days until PH is same as before rock is put in. Thankfully have a freshwater test kit that has a PH tester so one less expense lol.
 

Nightfall

Member
Tomorrow will snap more pics after the vinegar soak and of the 2 new pieces coming out of the sand. 1 is an attempt at a cave but I think I screwed it up lol. Depending on what happens it will either be perfect as it is or thetop might not be attached to base. Little marine putty can fix that though so will see. Will post more pics as they are taken. If this process works well will make new pieces every weekend to keep the cycle going and start making more...err...elaborate and larger pieces for 10 and 20 gallon tanks since I will be curing and using purple-up in 10 gallon and sooner or later converting my 20 into salt water. Just have to come up with a design for how I want it all to look to sculpt it all correctly.
 

Nightfall

Member
Ok have updated pictures and making more every other day. Allowing 2 days to set and cure in sand before removing and then 12 hour soak in white vinegar then a fast rinse and into water bucket for its daily soak for next 30-90+ days.

DIY Rock 6 Table

DIY Rock 7 Table Top

DIY Rock 8

DIY Rock 9 New Table

DIY Rock 10 Back of Cave

DIY Rock 11 Bottom of Cave

DIY Rock 12 Front of Cave

DIY Rock 13 First Table After Vinegar Soak Top View

DIY Rock 14 First Table After Vinegar Soak Side View

DIY Rock 14 First Table After Vinegar Soak

DIY Rock 13 First Dome After Vinegar Soak Side View

DIY Rock 13 First Dome After Vinegar SoakTop View
 

Nightfall

Member
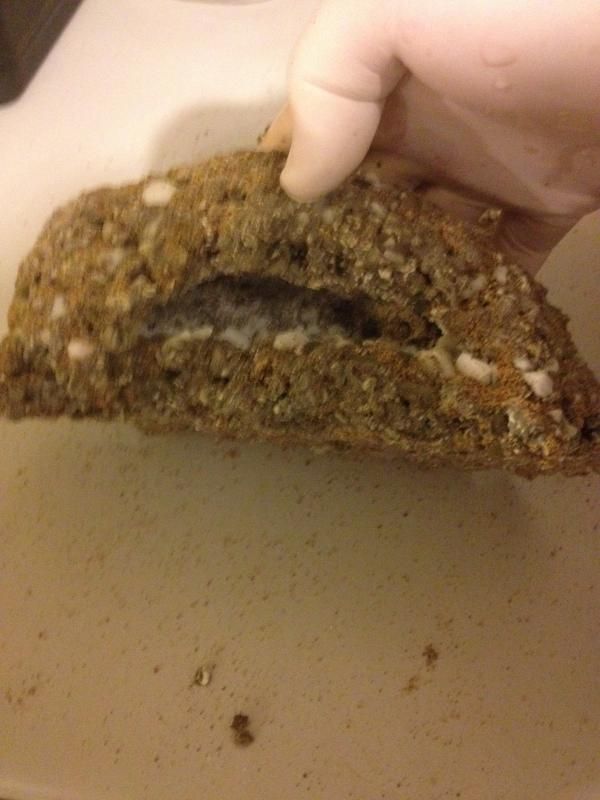
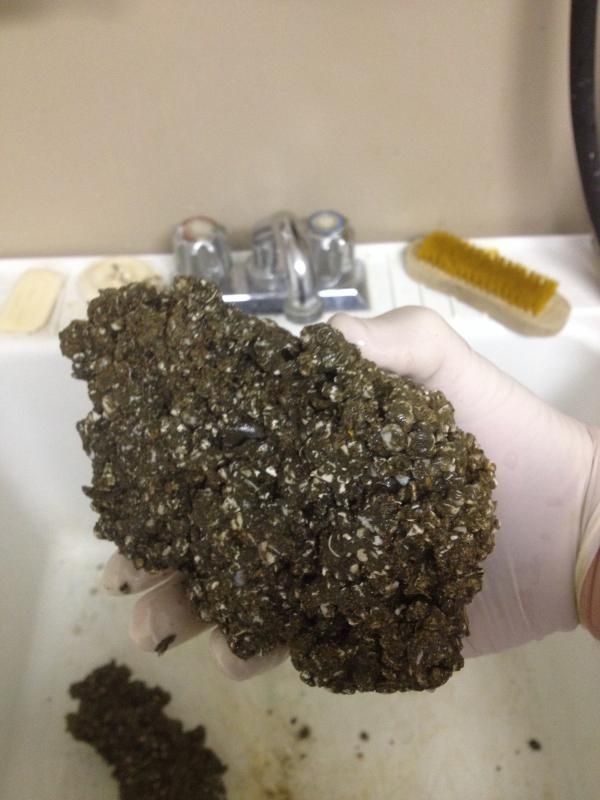
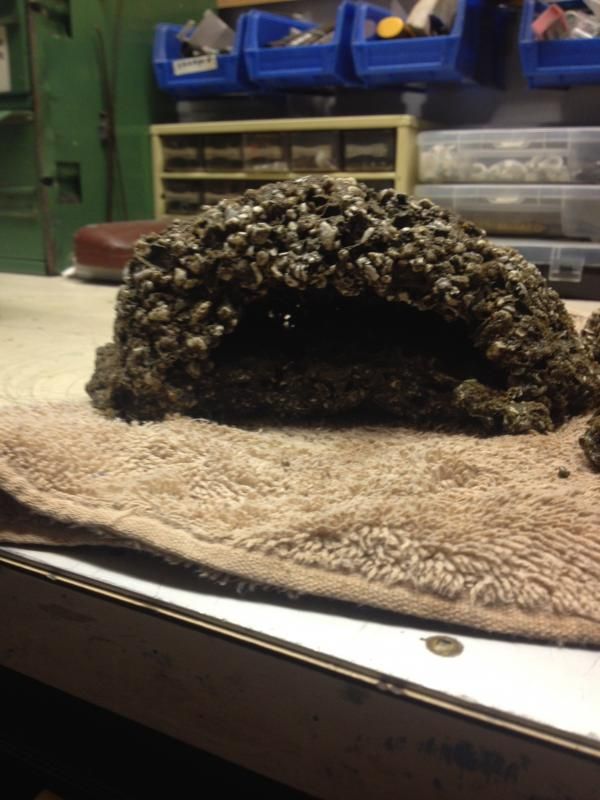
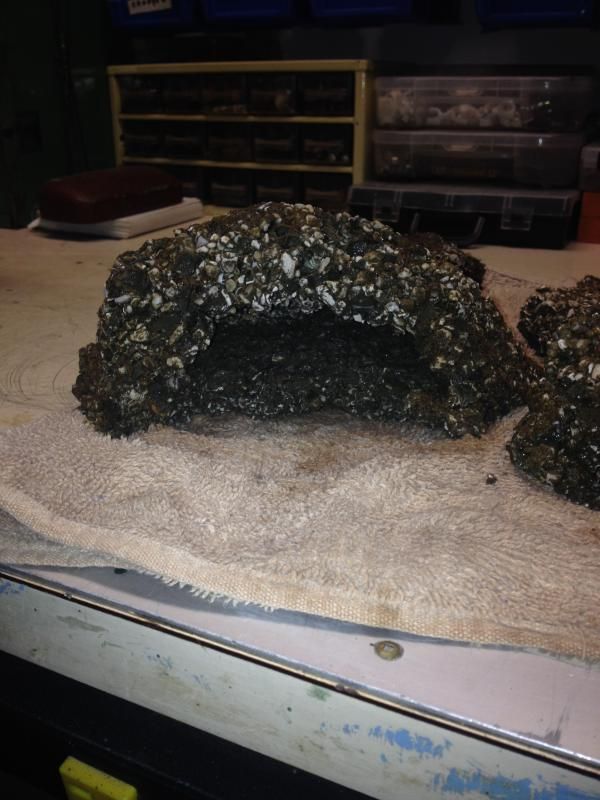
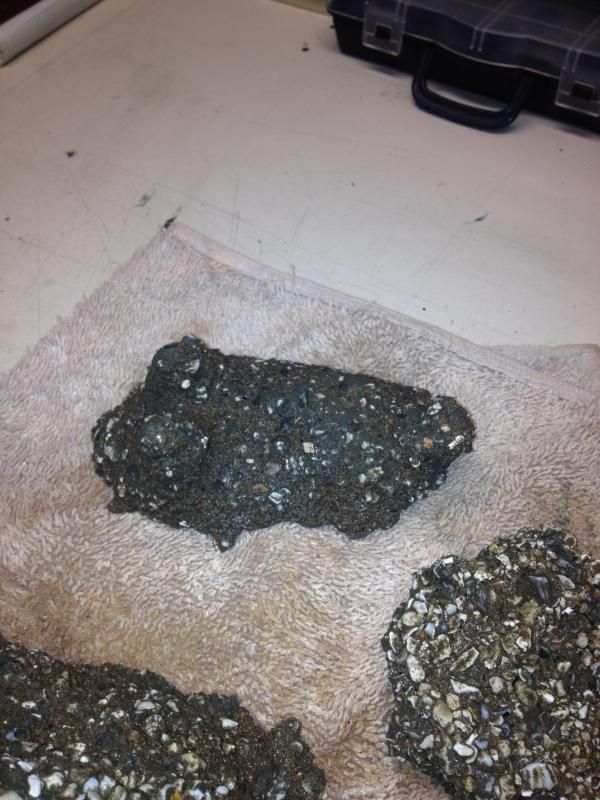
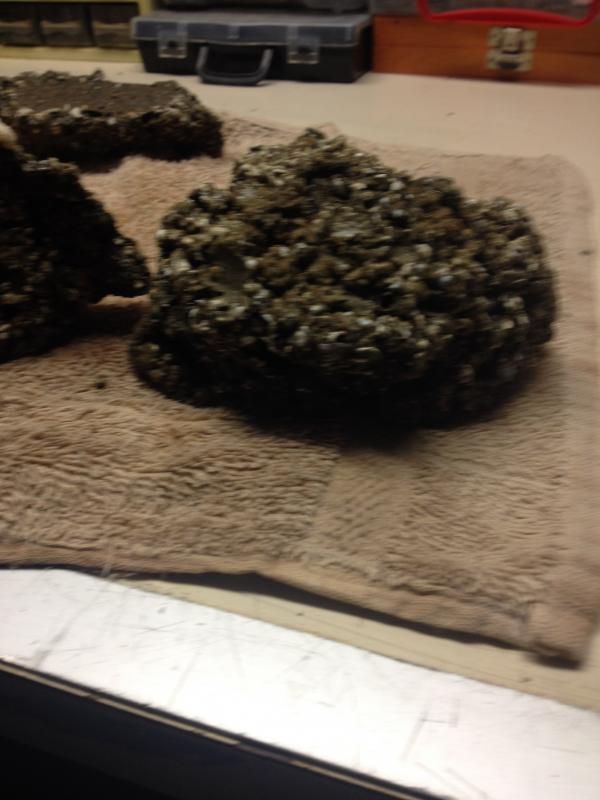
Ok here is updated pics...the little cave piece actually is alot better than expected for a first try.


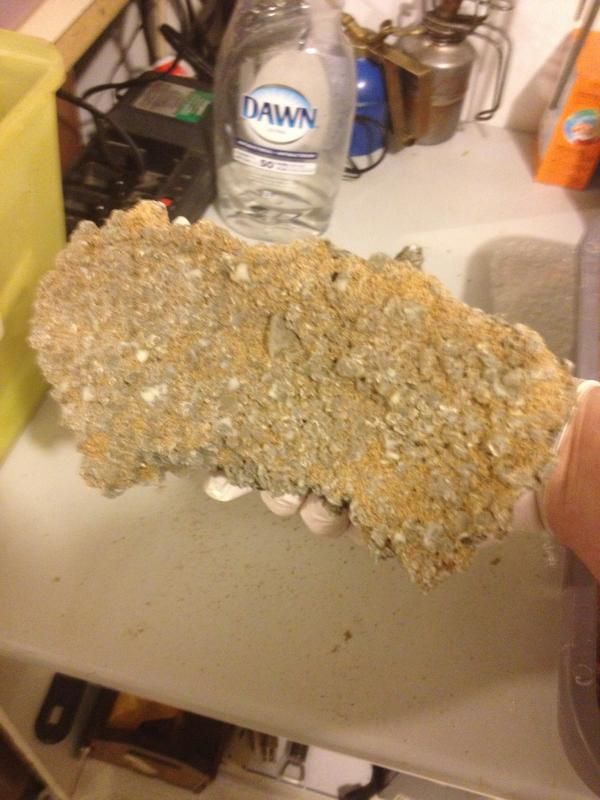
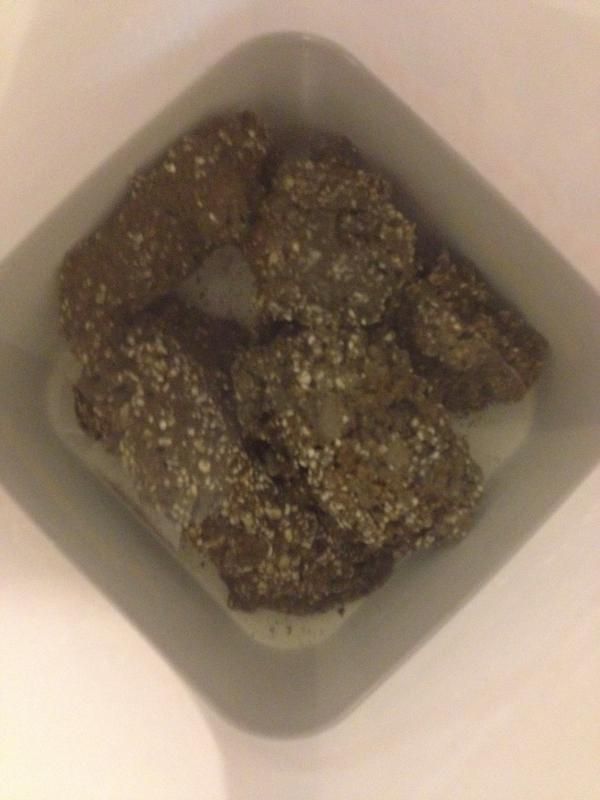
Vinegar Soak

Water Bath...gotta do this until PH is normal.


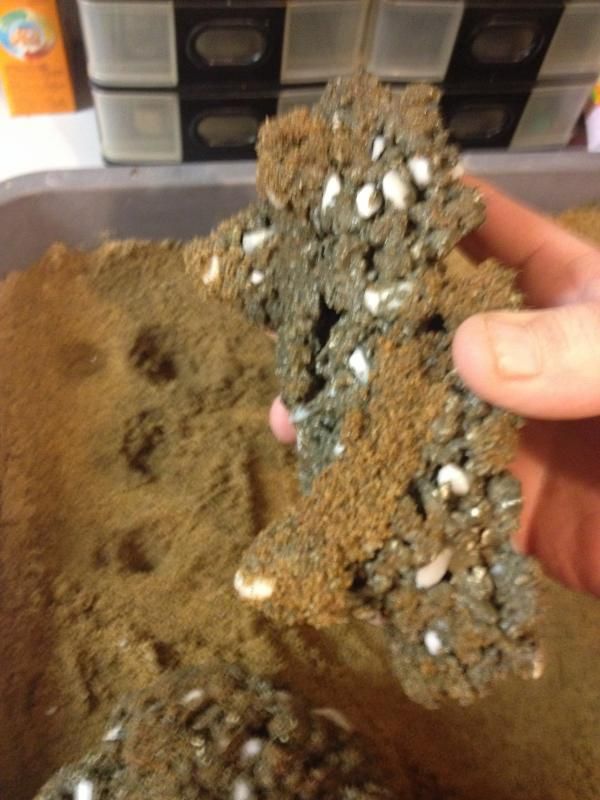
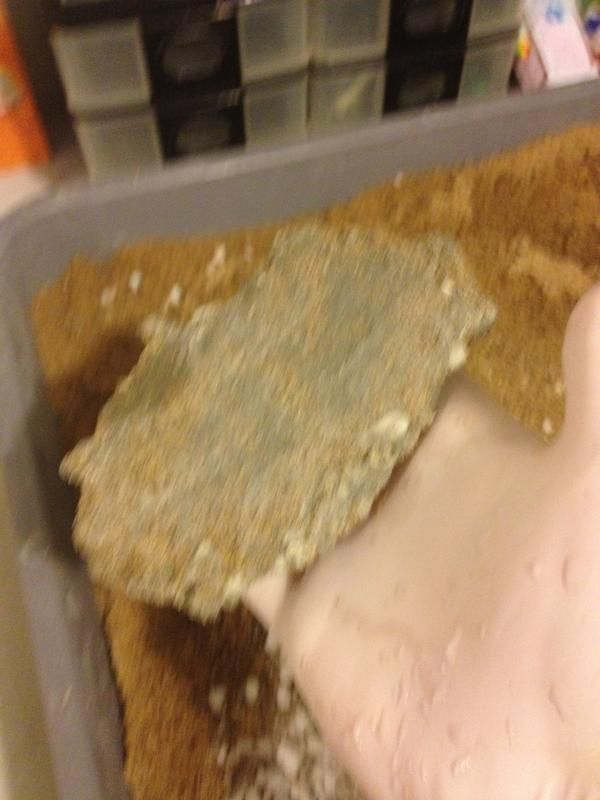
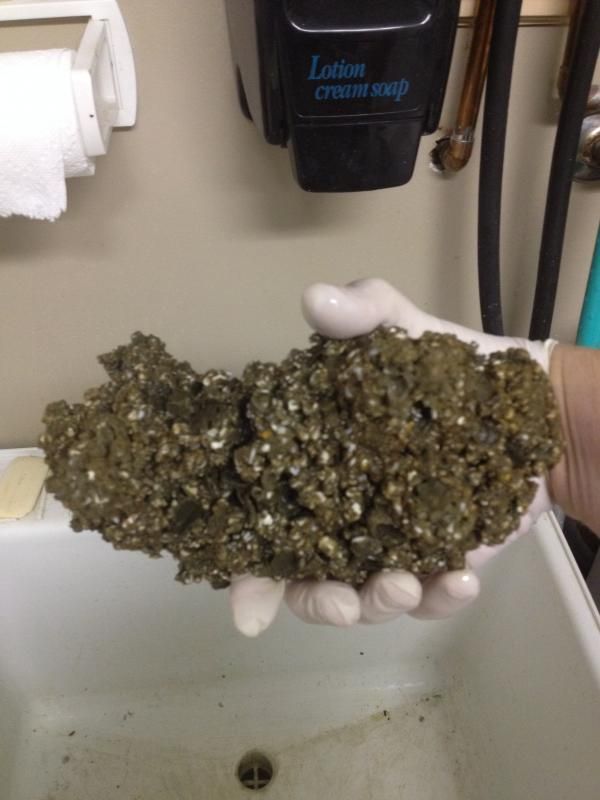
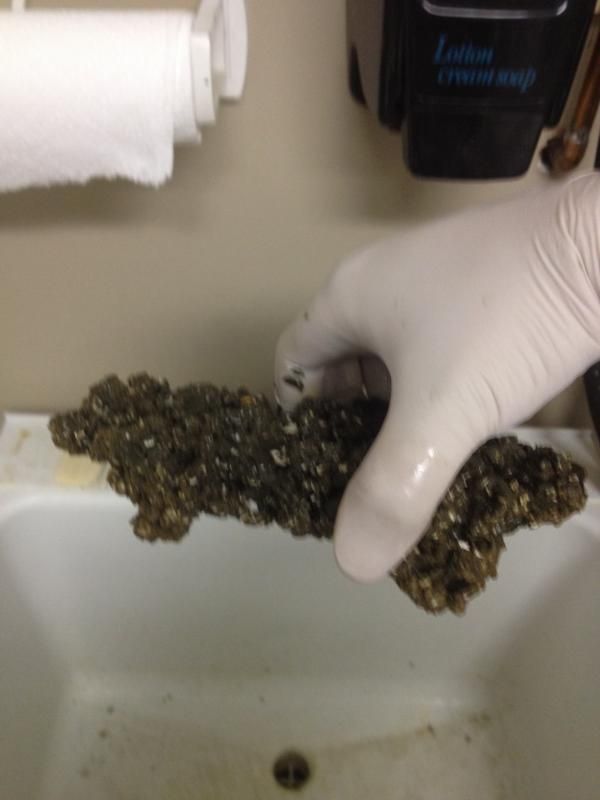
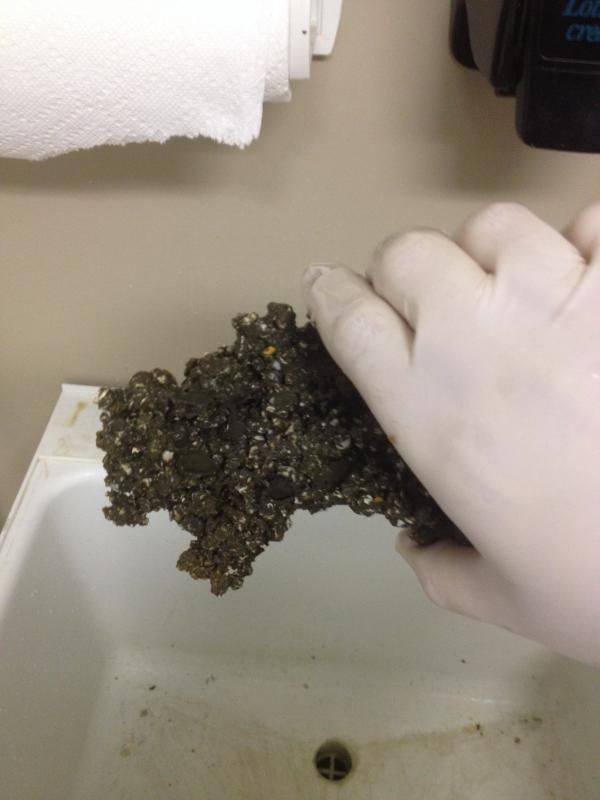
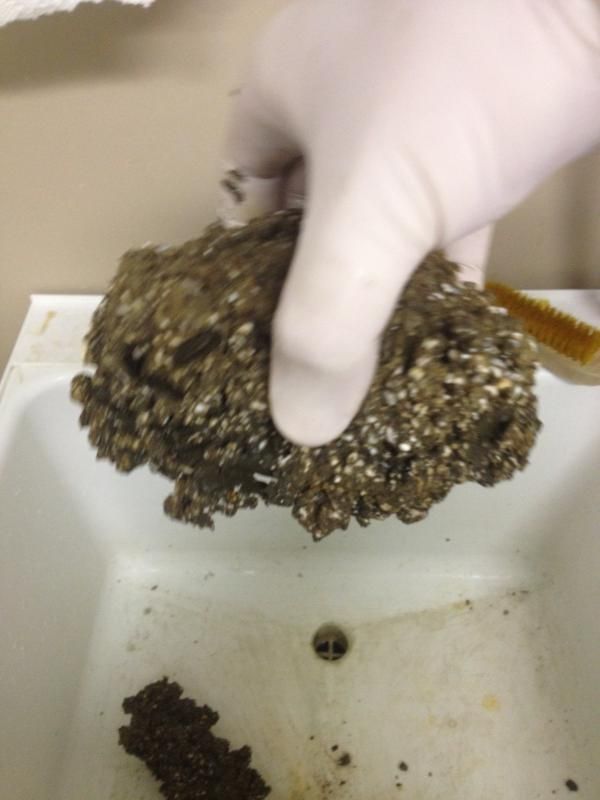
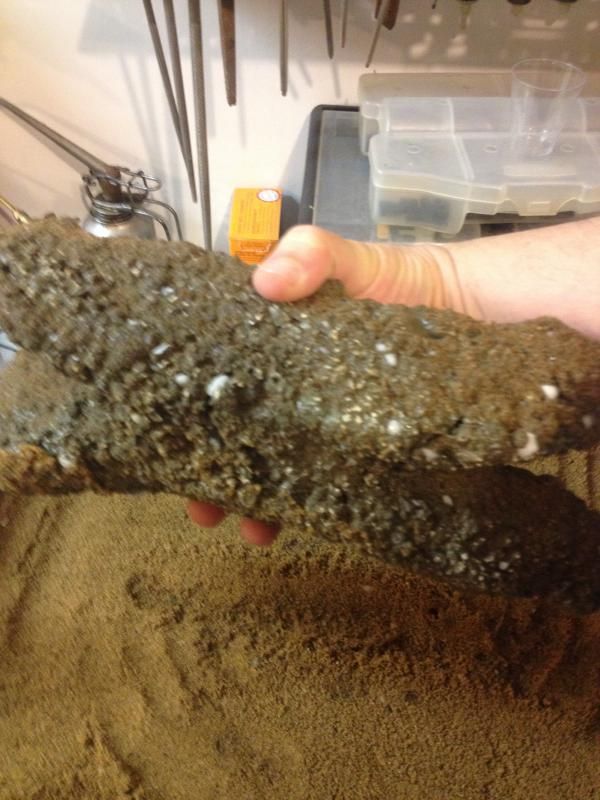
I figured out all the white you see is the crushed coral. There is nothing at all left of the salt mixed in now and infact several pieces taken out of the water soak have to be held over the bucket for over a minute while all the water drains out from all the pores. Really nice and they are not as heavy as I expected. If the PH drops will be very interesting to work with this stuff.

On that note locally I have heard of others trying this and going to the extreme of placing the rock in running rivers for an entire fall, winter and checking in spring time and overnight the PH shooting through roof. If this happens how can you lower the PH permanently in the rock? Is there something I should mix in instead of water when making to allow for the ph drop? Or soak in after its made for a time to lower the rocks PH?
 
Top