Ok so I have made frag racks, my own rock (helluva lot cheaper here to make for roughly 65 cents a pound vs $11.99+ per pound), so now wanting to try making 3D backgrounds.
First have to try sculpting pieces that look plausible. Then coat them with mixtures of cement and then mound onto backing pieces to be tank mounted.
I just need to pick up 1 item more to start the coating process but here is what I have so far for my DIY 3D Background. Will keep running directions after first run and will include when I post my step by step pictures I take during 2nd attempt, so I can post from any mistakes I make to start with.
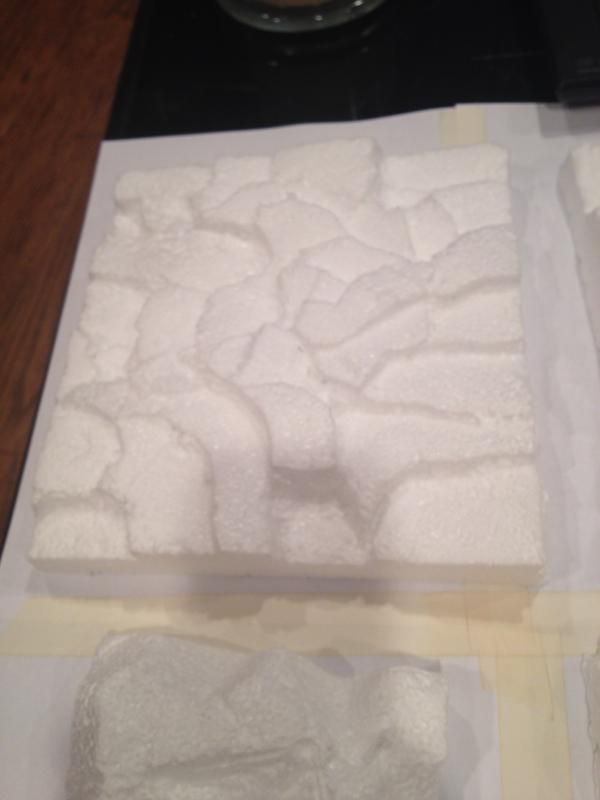
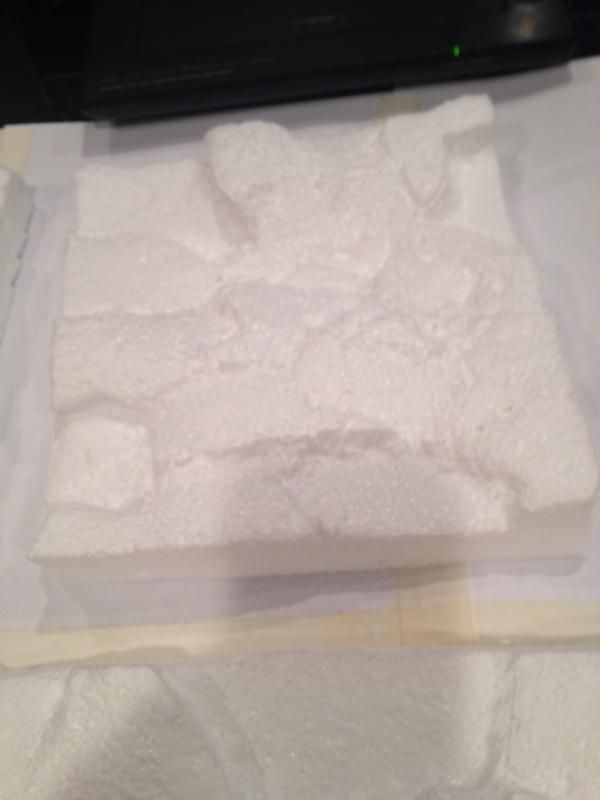
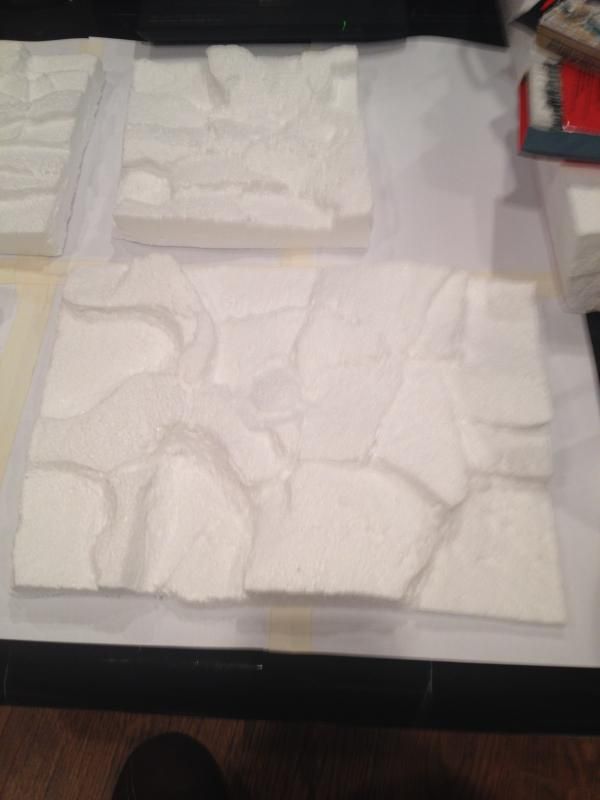
So firstly here are some pieces I cut out and sculpted using exact-o blade and a heat gun. They are awaiting my getting the thickener for the cement to start the coatings.
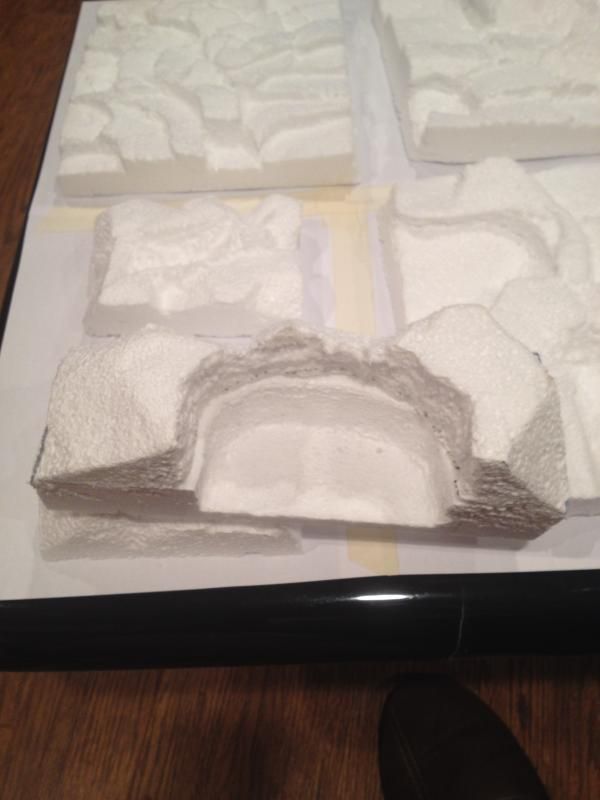 This is a 2 part cave together.
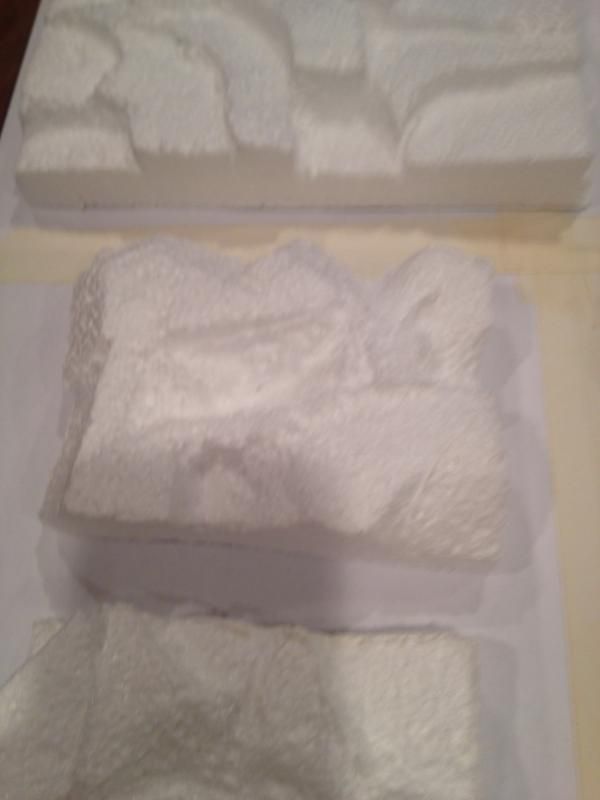
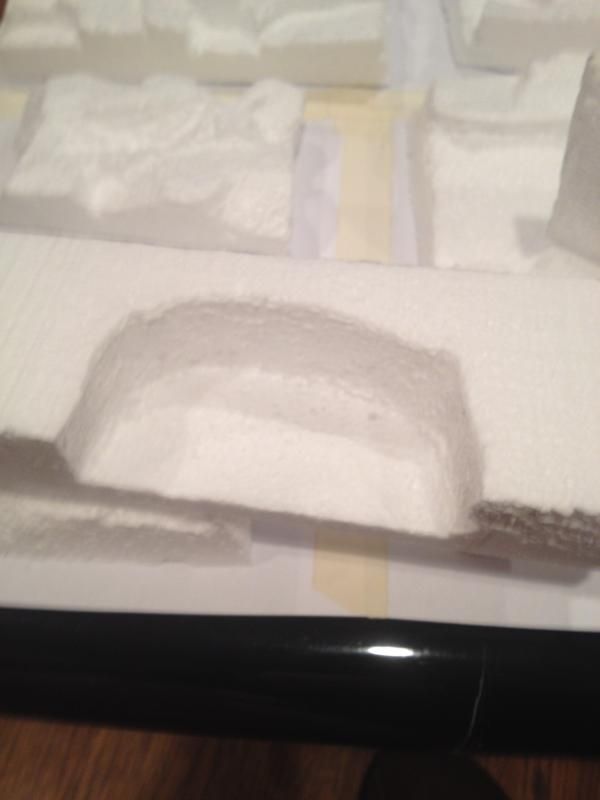 This is the part piece for cave.
 This is the top piece/entrance for cave.

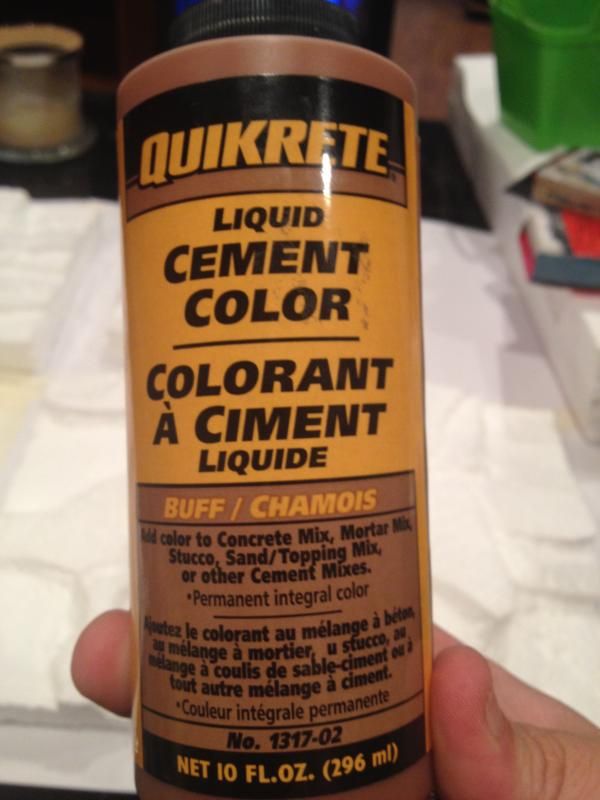 This is the color I will add into the last couple of coats to add some depth and color to the rock so its not all blank grey.
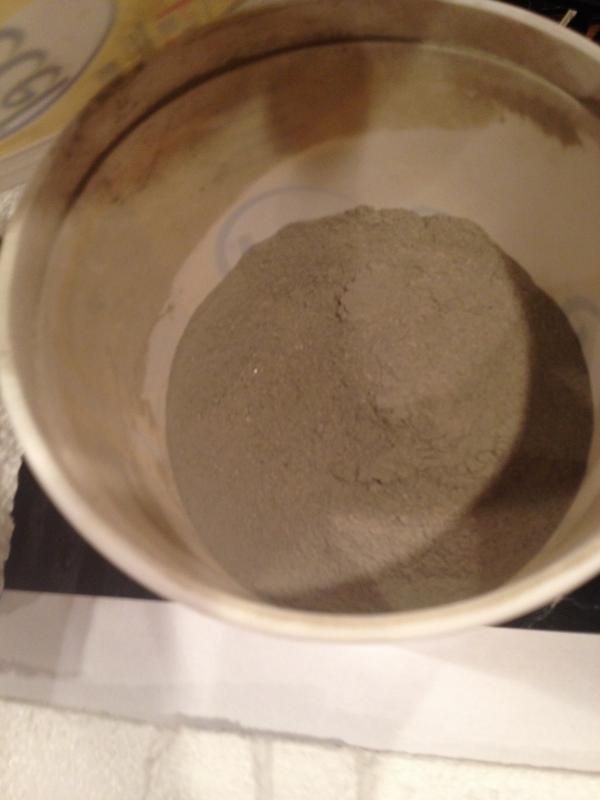 This is the Quickrete that I sifted with a strainer to remove all fiberglass possible and gravel and rocks for a cleaner mix.
Ok thats it for tonight, hoping that after work tomorrow I can pick up the thickener and get to coating. Will take 3-4 days to apply the coating and then 5th day can place in tank to see how it appears. Can also start soaking in fresh water and do daily water changes over course of a week+ to lower PH and have it complete.
End product regardless has to be silicone into tank on wall where you want it.
Stay tuned!
First have to try sculpting pieces that look plausible. Then coat them with mixtures of cement and then mound onto backing pieces to be tank mounted.
I just need to pick up 1 item more to start the coating process but here is what I have so far for my DIY 3D Background. Will keep running directions after first run and will include when I post my step by step pictures I take during 2nd attempt, so I can post from any mistakes I make to start with.
So firstly here are some pieces I cut out and sculpted using exact-o blade and a heat gun. They are awaiting my getting the thickener for the cement to start the coatings.
 This is a 2 part cave together.
 This is the part piece for cave.
 This is the top piece/entrance for cave.


 This is the color I will add into the last couple of coats to add some depth and color to the rock so its not all blank grey.
 This is the Quickrete that I sifted with a strainer to remove all fiberglass possible and gravel and rocks for a cleaner mix.
Ok thats it for tonight, hoping that after work tomorrow I can pick up the thickener and get to coating. Will take 3-4 days to apply the coating and then 5th day can place in tank to see how it appears. Can also start soaking in fresh water and do daily water changes over course of a week+ to lower PH and have it complete.
End product regardless has to be silicone into tank on wall where you want it.
Stay tuned!


