Post-Processing
In this section I will explain post-processing of RAW files using Adobe Photoshop CS3. Afterwards, I will explain post-processing of JPEG’s for those of you that are not capable of capturing RAW files.
Let’s start working on a photo!!
I have e-mailed a file to those of you that I have email addresses for. This file is
HUMA.DNG. The DNG file is a Nikon RAW NEF file that has been converted.
For Nikon users: In order to process Nikons NEF files you will/may need to download Adobe’s DNG converter
On your desktop create a new folder labeled
Photo Class with a subfolder
HUMA. In the subfolder
HUMA, create 3 more subfolders:
DNG, TIF, JPEG
Download and save this file to
Desktop/photo class/huma/dng
Go ahead on open
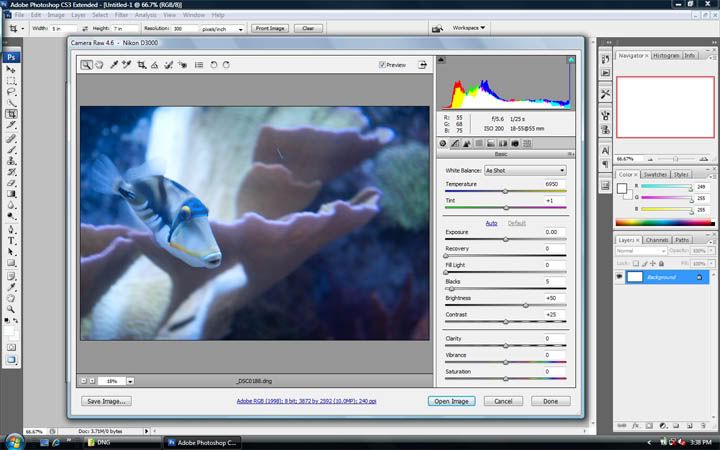
Huma.DNG with Photoshop. This should open in Adobe camera raw (screen shot below)
Look at all the info that is available in this screen and play around with the sliders and see what they do.
Here we can adjust,
Color temp, Exposure, Tint, Contrast, Clarity, Saturation, etc…
As you can see our image is a little blue. The reason for this is that my lights have a
Kelvin temperature of around
16k. The
Cameras White Balance was set to auto and picked a Kelvin temp of
6950 degrees, thus causing a heavy blue tint. Well, lets fix it!!
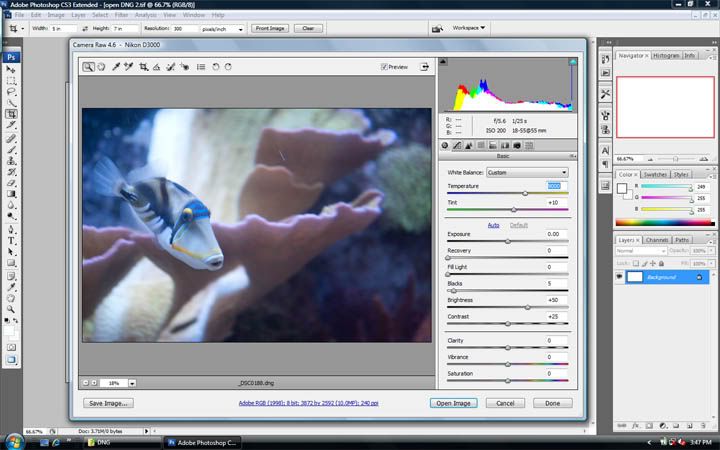
Click on the
White Balance drop down box and select
Custom. Adjust the temp slider to 9000.
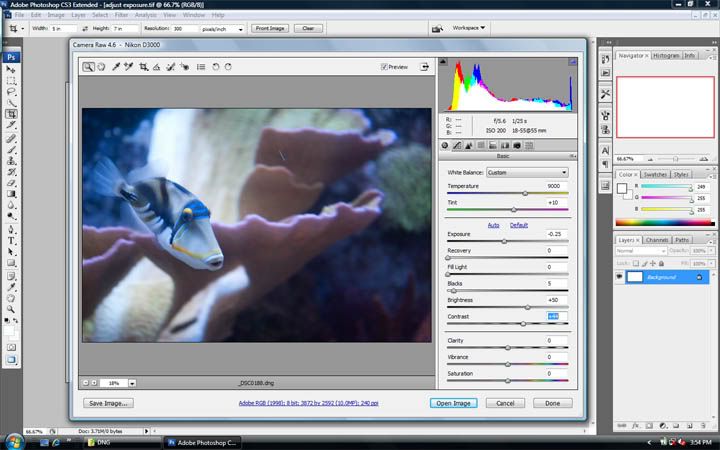
Next let’s adjust the
Exposure. To me it is just a touch over-exposed. Adjust this to -.25.
This image is also a bit “flat” (no POP). We can fix this a little by adjusting the
Contrast. Let’s adjust the contrast to +44.
And I like to add a touch of clarity, lets move it to +20.
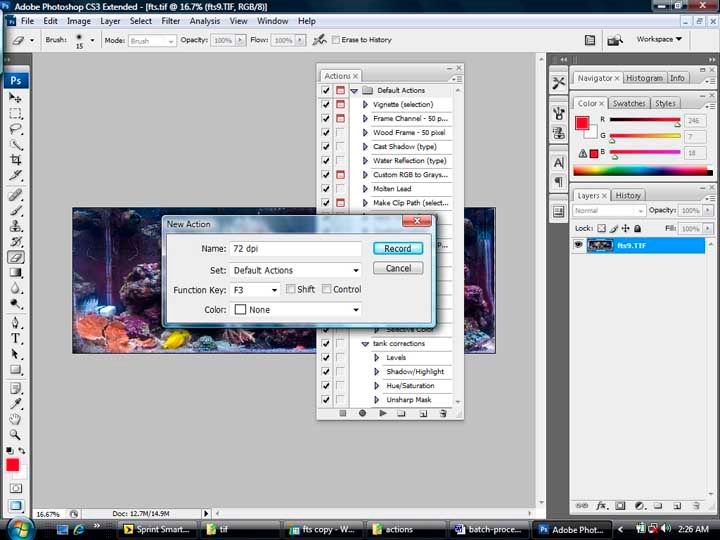
We are done in here so let’s save this image. In the lower left corner is “save image”, click “save image”. In the new dialogue box Click “Select Folder”. Change this to
Desktop/photo class/huma/tif
Under “File Naming”, enter in the upper left box,
Huma 9k
In the “File Extension” drop box select
TIF.
“Format” = TIFF
“Compression” = None
Click “save”
At the bottom right you will see “open Image”. Click “open Image” and this will take you into the Photoshop workspace.
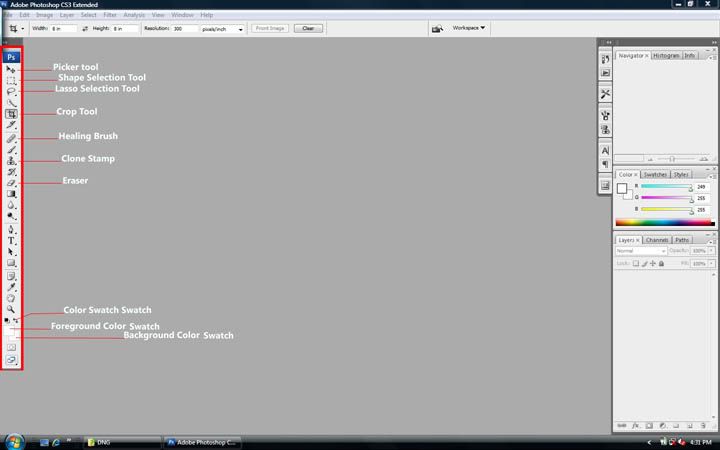
Before we go too much farther lets learn our way around the workspace.
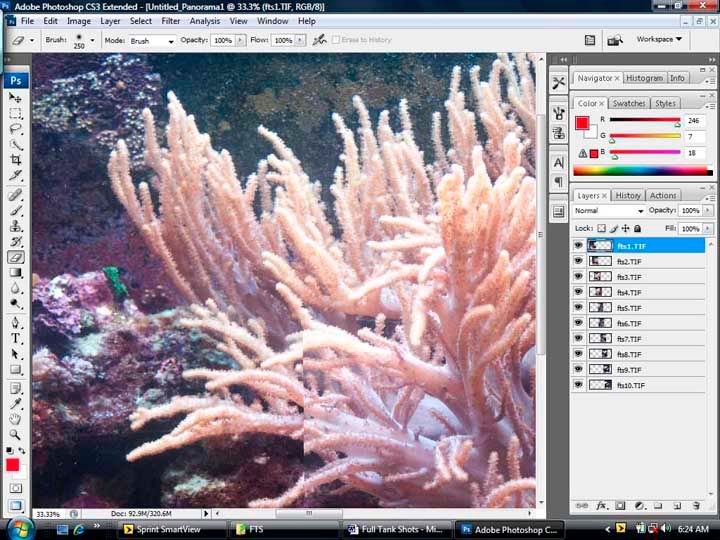
Again I am working in PS3, but most other versions of Photoshop will have the same/similar interface. Below is a screen shot of the PS workspace. This workspace can be arranged any way you like it and then saved so every time you use PS the layout will remain the same.
The red box on the left is your
Tool Bar. Each tool that has a little arrow next to it is expandable, Click and drag out to select other options. On the top is your
Menu Bar and on the right are your
Docks. Your docks have other information such as the histogram, layers, history, actions, etc… We won’t really need the docks other than maybe the history. The history Dock allows you to undo multiple changes at once or one at a time if you mess up. You can also undo/stepback one action at a time through the Edit tab. In the image above the most common tools are listed, but we will only use the Healing Brush and the Crop tool.
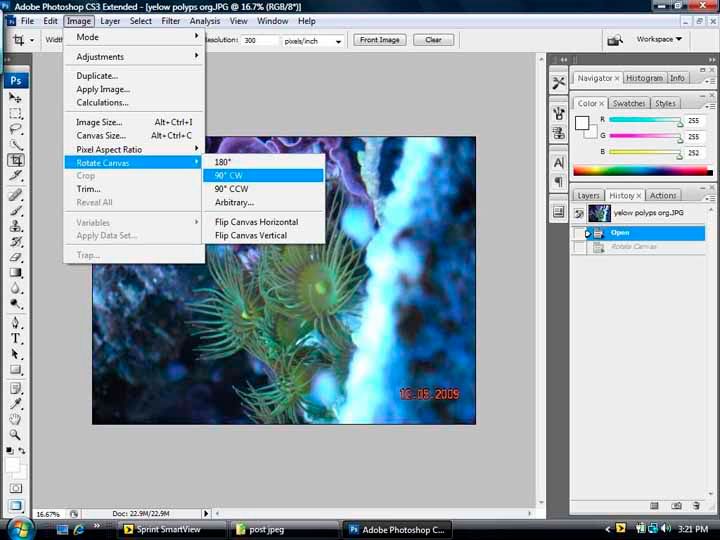
In the Menu bar under the “image” tab is where you will find most of your “adjustments” and also “image resizing”. Under the “filter” tab you will find all of your digital filters such as “Gaussian Blur” and “Unsharp Mask”. I am sure you are familiar with the File and Edit tabs. The Edit tab also has your image transformation tools which include:
Rotate, Skew, Scale, etc…
The File tab also has your automation tools such as
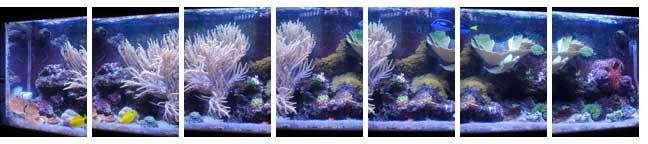
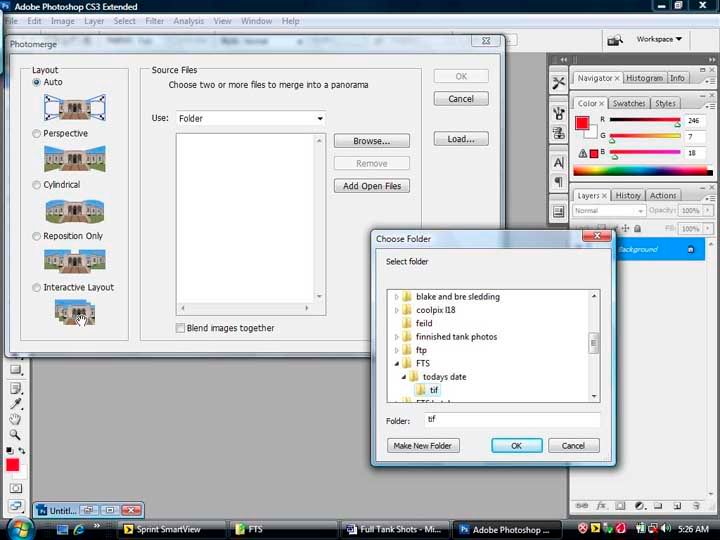
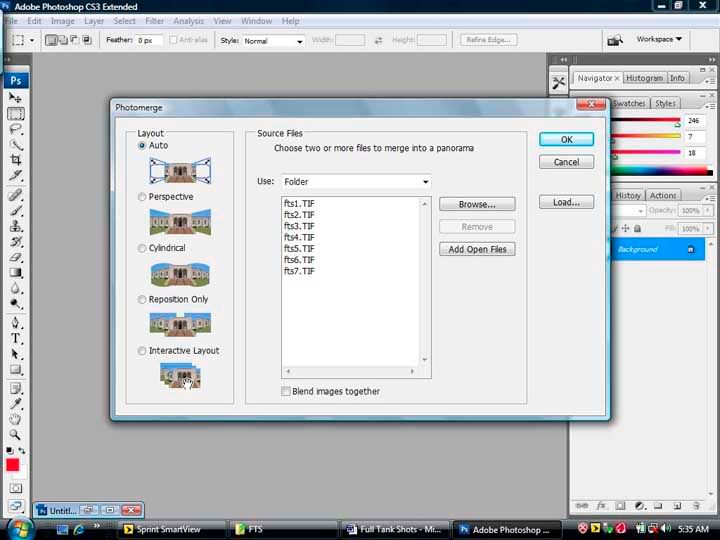
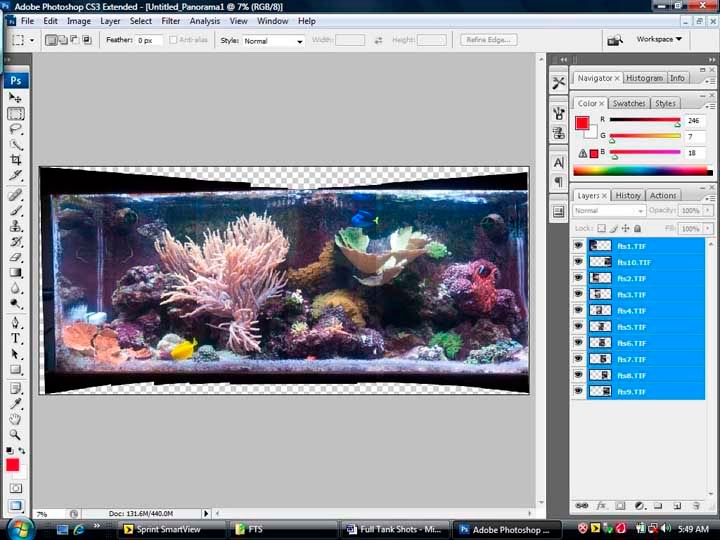
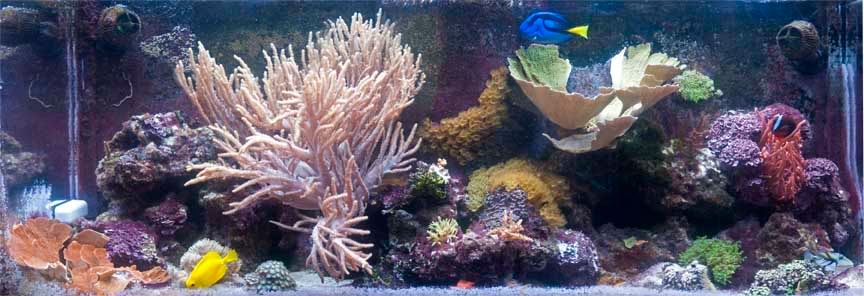
Photo merge, which we will use in creating our FTS’s.
Ok so let’s fine tune this image!!
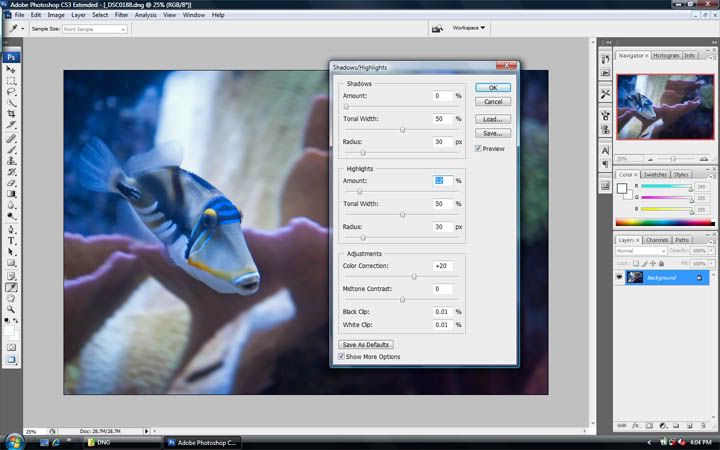
Our image is still a bit “flat”. Go to the menu bar and select:
Image-adjustments-shadow/highlight.
Check the box “show more options”.
Starting at the top of the box under
Shadows: Set amount to 0%, Tonal width to 50% and Radius to 30px.
Highlights: Set amount to 12%, Tonal width to 50% and Radius to 30px.
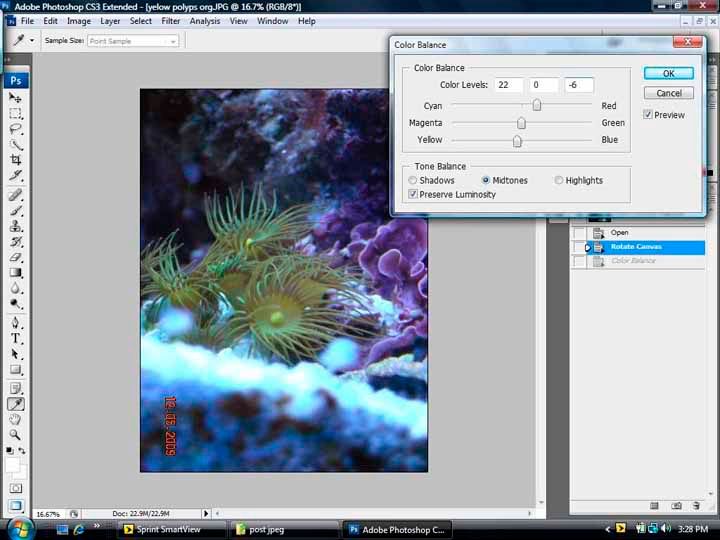
Color Correction to +20.
Black Clip and White Clip to 0.01%
Click
OK.
The reason we did this was to burn down the highlights a little.
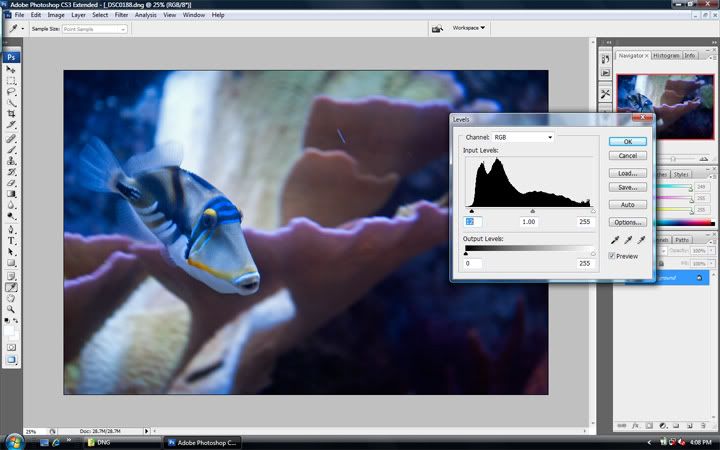
Now go to
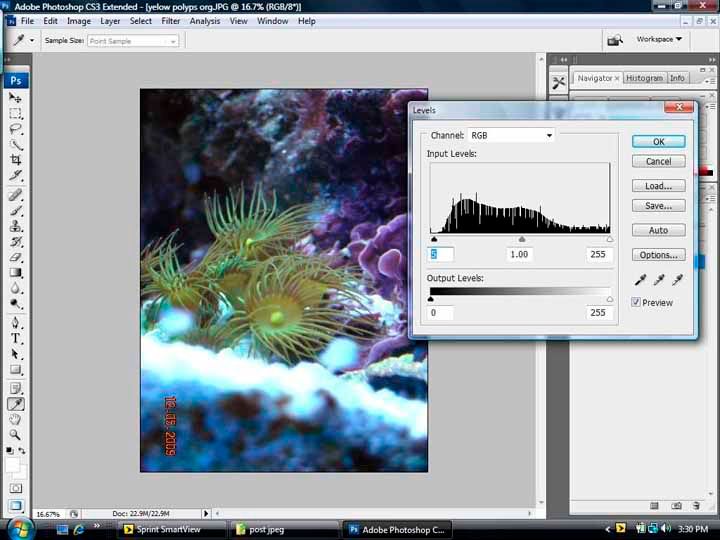
Image-adjustments-levels.
Move the black triangle under the histogram until it is at 12. The gray triangle should be at 1.00 and the white one should be at 255.
This adjusts your black point, midtones and highlights prospectively.
We moved the back under the taller hump to make the blacks a little darker.
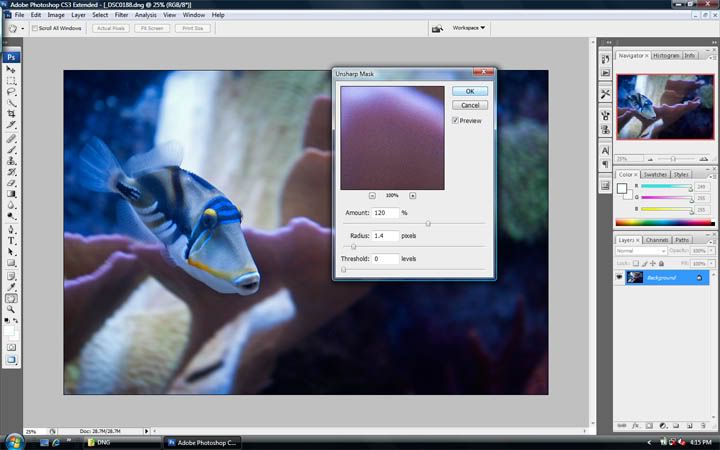
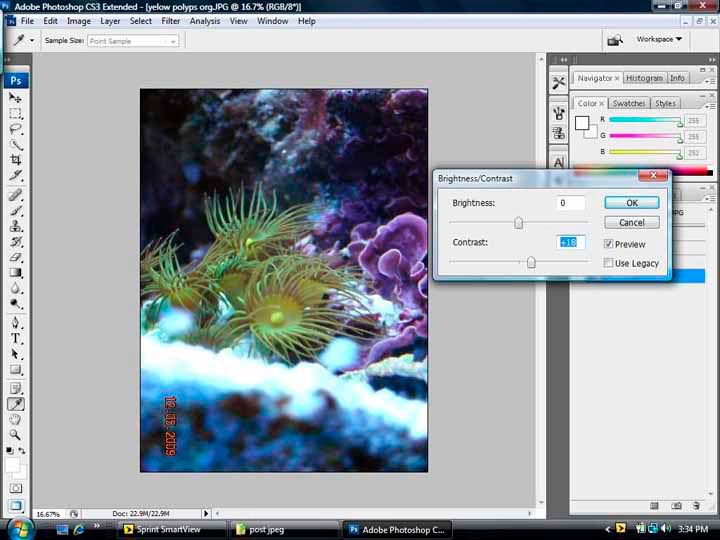
Now we will sharpen this image a bit.
Go to
filter-sharpen-unsharp mask.
We will set the
amount to 120%,
Radius at 1.4 and the
threshold will remain at 0.
Click
OK.
Do not be fooled with this filter. It will not “sharpen” a blurred image. In reality it only adds a little contrast to neighboring pixels to make the image appear to be “sharper”.
Now that we are done and our image is close to what we see. We will now make the image a little more appealing to the eye. We’ll do this by
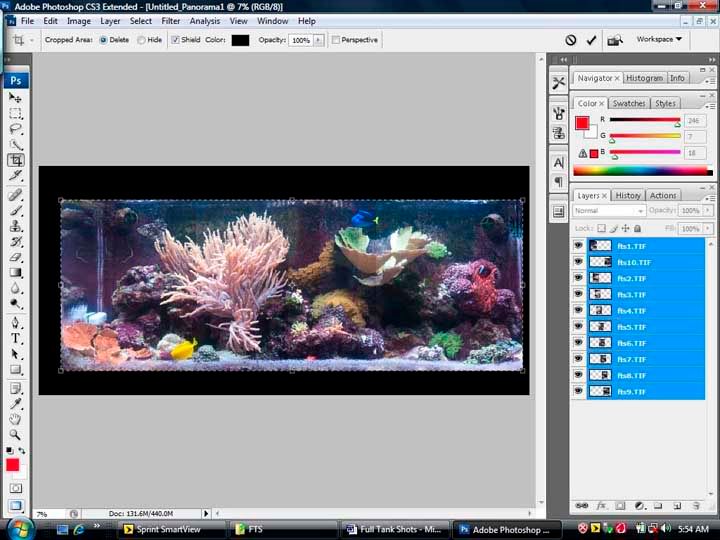
Cropping the image.
Select the crop tool from the tool bar. Now look under the menu bar and you will see the crop tool settings. Lets set the width and the height to 8 in. and the resolution to 300 px/in.
Click and drag on the image to crop. The crop tool will maintain an 8” x 8” crop. Frame the tail in the upper left corner of the crop and extend the crop down to the bottom of the image, release the mouse and press Enter.
Some tips on Cropping.
1). The rule of thirds. Weather you are cropping through the viewfinder or in software we try to keep our subject in 1/3rd of the frame, the upper, lower, left or right thirds. A subject or horizon that is centered usually produces a static photo.
2). Motion. When a subject is in motion we again try to keep the subject in a 1/3rd of the frame with the remaining 2/3rds empty ahead of the subject. This gives us a little dimension. It helps show us that the subject is moving into that empty space.
3). Composition. The composition of your image is everything together. Shapes, lines and movement all placed correctly will guide the viewers eyes through the photo starting at the focal point.
Now let’s save this image. We will save two images, one will be a
TIF and the other will be a
JPEG.
First let’s save the TIF. Select
File-save as, select folder,
Desktop/photo class/huma/tif. Rename file,
Huma 9k done, change the file extension to
TIF/TIFF and save. (click OK through the remaining windows).
The TIF file is a large file and has a resolution of 300ppi (cause we set it in the crop). This type of file is usually used for printing and if you need to re-edit you can because it is a lossless file type, meaning that you will lose no information upon saving because it is not compressed. As compared to the compressed JPEG file which throws away info during compression and upon reopening, makes up the lost info.
Which we will now save. This file is useful for sharing photos though e-mail or of course on our forums. Because it is a compressed file it is smaller than the TIF and will load faster for the viewer.
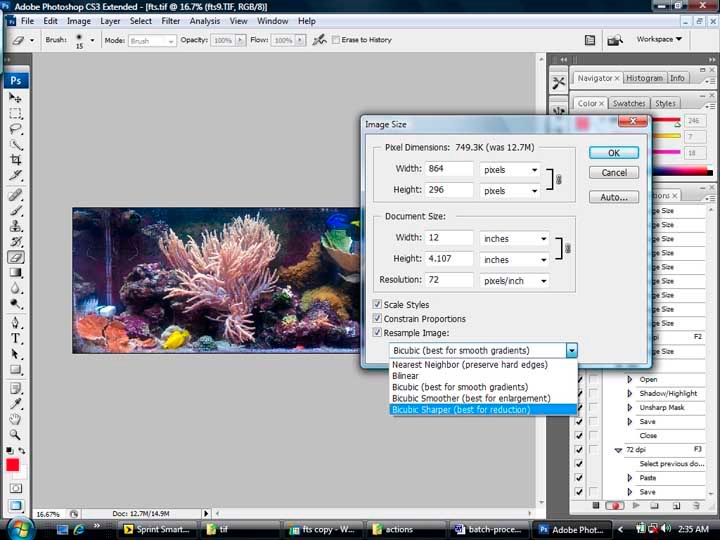
Select
Image-image size.
Change the
resolution to
72 and click
OK.
Select
File-save as, Select folder,
Desktop/photo class/huma/jpeg. File name should still be
Huma 9k done, if not, change it. Change the file extension to
JPEG and Click Save. The next window will be Image options. We will change the “quality” to a level that gives us a file size of around
100k. And click
OK.
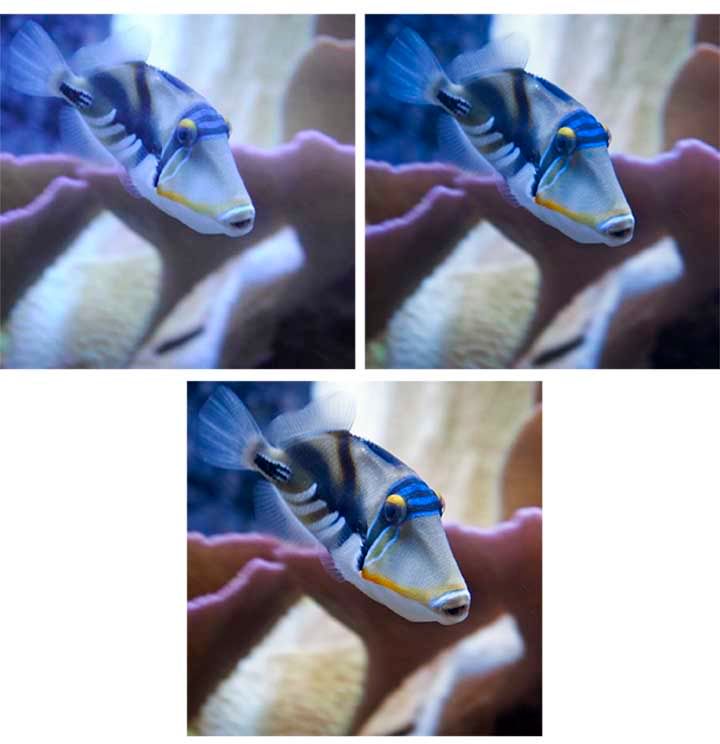
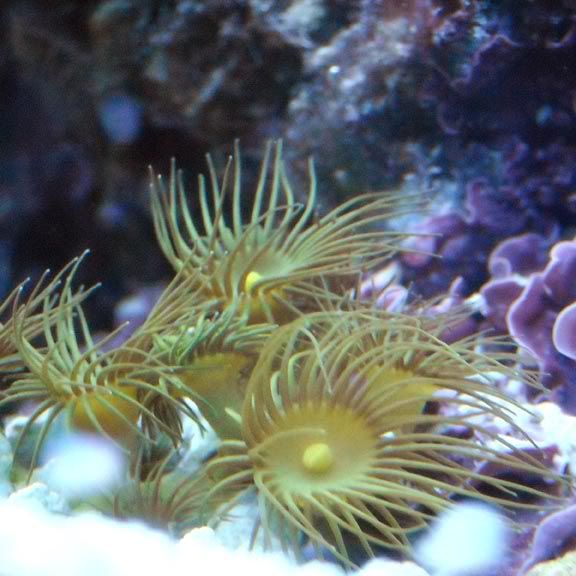
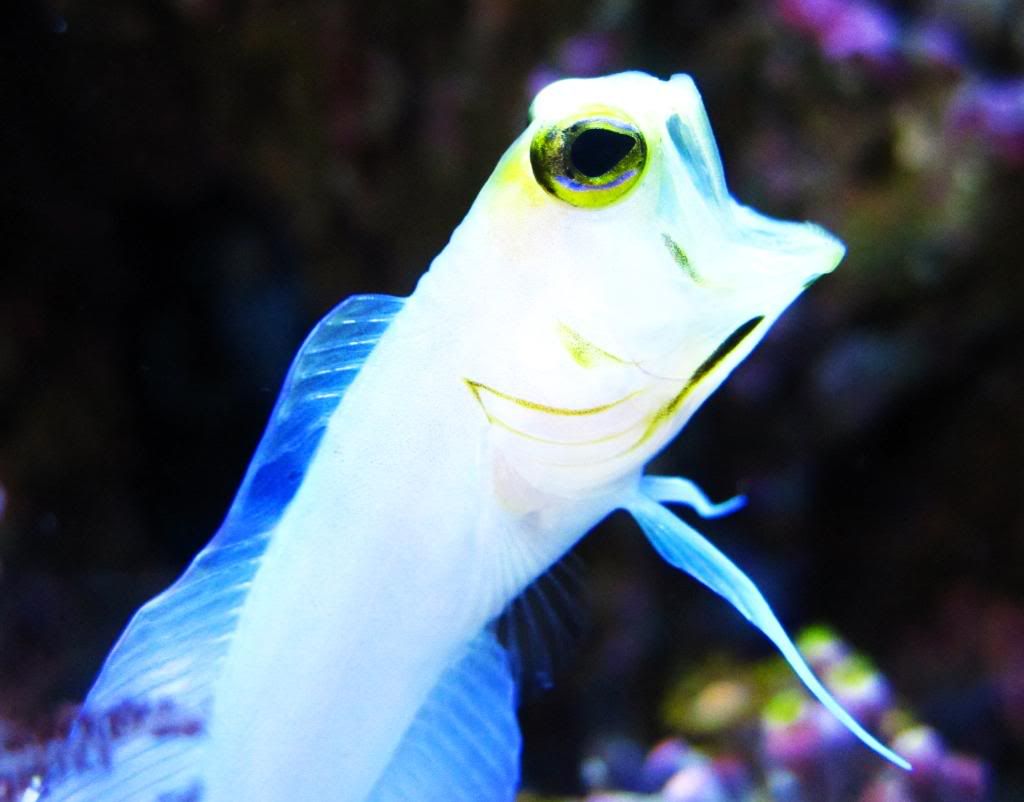
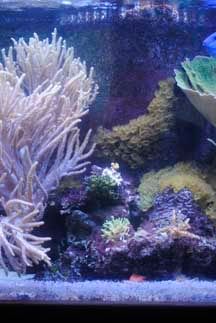
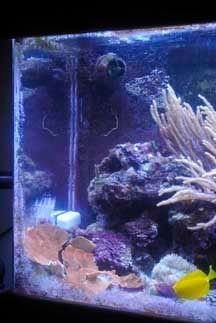
I have also corrected the same image to 16,000K which shows more of the actual color of the fish. I have below three images; Unedited, 9k and 16k. The only difference between the 9k and 16k, is the color temp. all other adjustments remained the same.