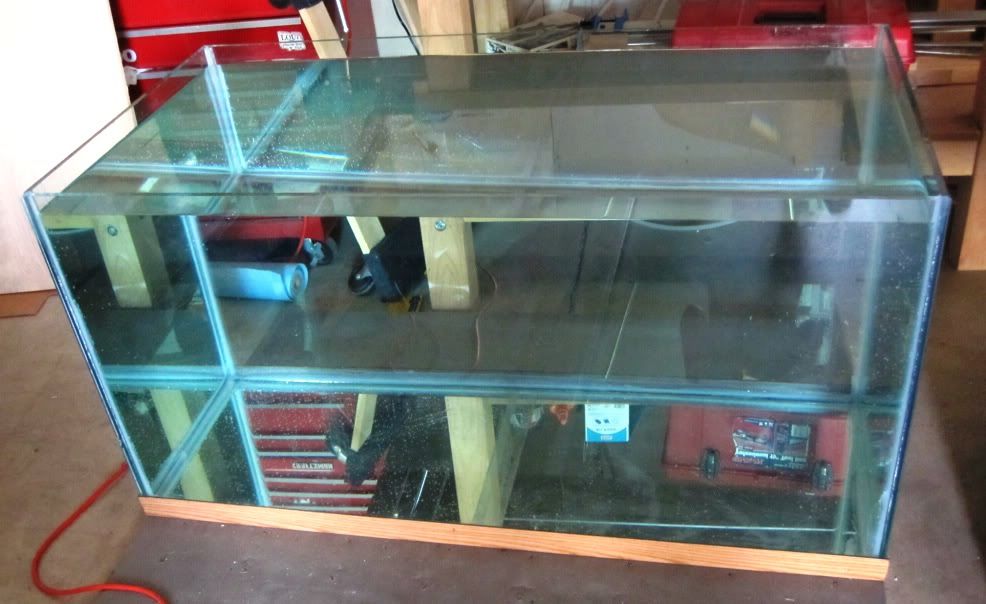
Landshark 120g build

landshark

Member
Well I decide to create a build thread for this 120g tank because it’s going to be slow because of my work. I pick up this tank a month ago and have been working on it in my spare time. The dimension are 48” x 24” x 24” which was what I wanted for the space that I have to work with. I am sure that I will have a tone of question as I get to the actual build.

So this is what I have gotten done so far:

Purchase 120g tank
Remove and reseal tanks:fingerx:
Order pluming parts for the bean animal (still have question but that can wait):bouncer:
Order glass for the cost to cost

Picture to follow as soon as if figure that part out.:colorful:
 

engineer goby

Has been struck by the ban stick
I look forward to your build. I want to upgrade my 90 to atleast a 120 because of the depth. 24 inches gives you so much more room to be creative with your rockwork. As someone said you always want to go bigger in this hobby
 

dmatt88

Has been struck by the ban stick
Hey. These tank chronicles usually get pics. Hint hint. Welcome.

........milli's hate me.
 

landshark

Member
Sad day today not one box was delivered :waa:, oh well I guess I should get supply for the tank stand.
Here are the pictures as promised


159.jpg


160.jpg


164.jpg


166.jpg


169.jpg


172.jpg


Cleaning up the tank stage 1
Required tools for the job
197.jpg


194.jpg


186.jpg


187.jpg


188.jpg


I need to find some way to buff the glass to get out these marks, I can’t feel them with my finger nail, I check
191.jpg


192.jpg


193.jpg


194.jpg


198.jpg


199.jpg


200.jpg


201.jpg


202.jpg


203.jpg


209.jpg


210.jpg


211.jpg


Stage 2 time to reseal
213.jpg


212.jpg


214.jpg


215.jpg


216.jpg


218.jpg


219.jpg


220.jpg


221.jpg


223.jpg


All done with sealing the tank the moment of truth water test, no leaks but the top bowed a bit so I had to brace it with a clamp.
IMG_1527.jpg
 
Last edited:
Top