Ecotech Radion's Ordered ( for RSM 250)

I guess velcro could work, and I'm considering all options. There'd be no need to remove in order to program, so long as the USB cable could squeeze in. I'm taking the view that the mod's permanent and and would like to see if there's a way to incorporate the lights into the hood as if they were meant to be there.
 
Ecotech Radion's succesfully fitted to the stock hood. About 9 hours worth of work but it was worth it. A little fine tuning to do tomorrow but otherwise happy with the install!
 
Pics Coming. We had a heavy storm the night before last which seems to have taken out our internet. I'm sending this through a mobile internet connection, which for cost reasons is a little impractical to upload the pictures. Was also pretty late last night when I'd finished up.

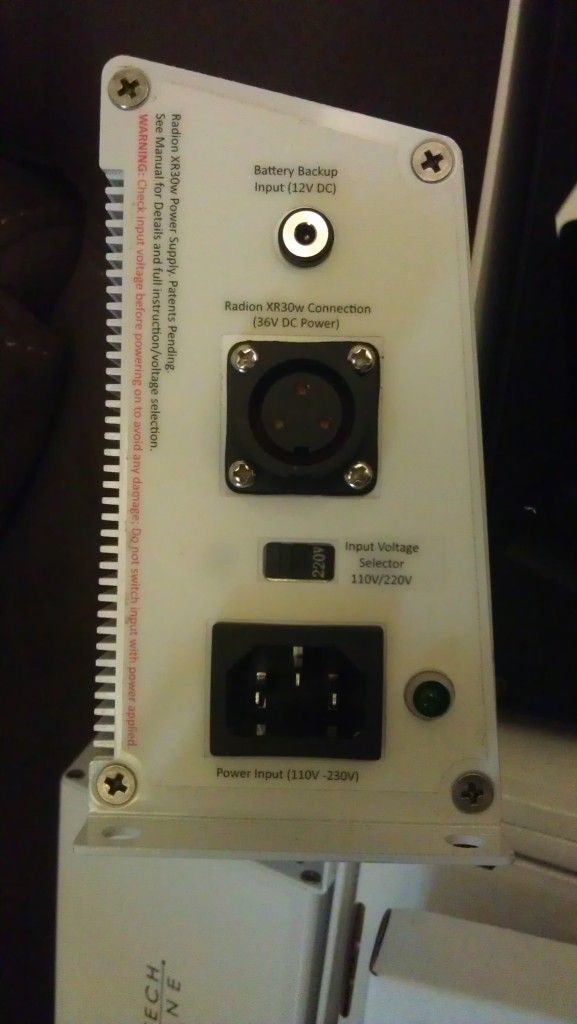
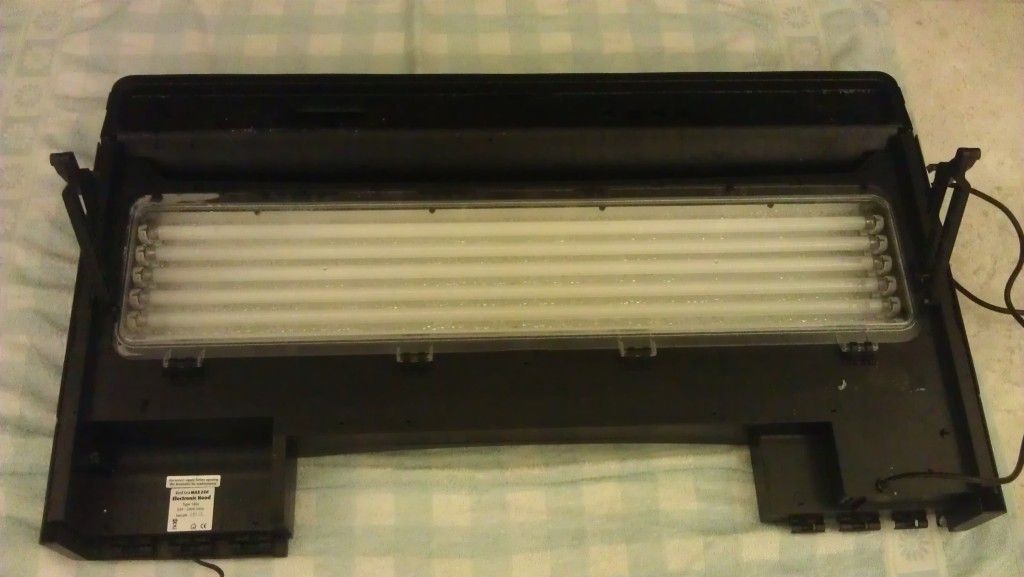
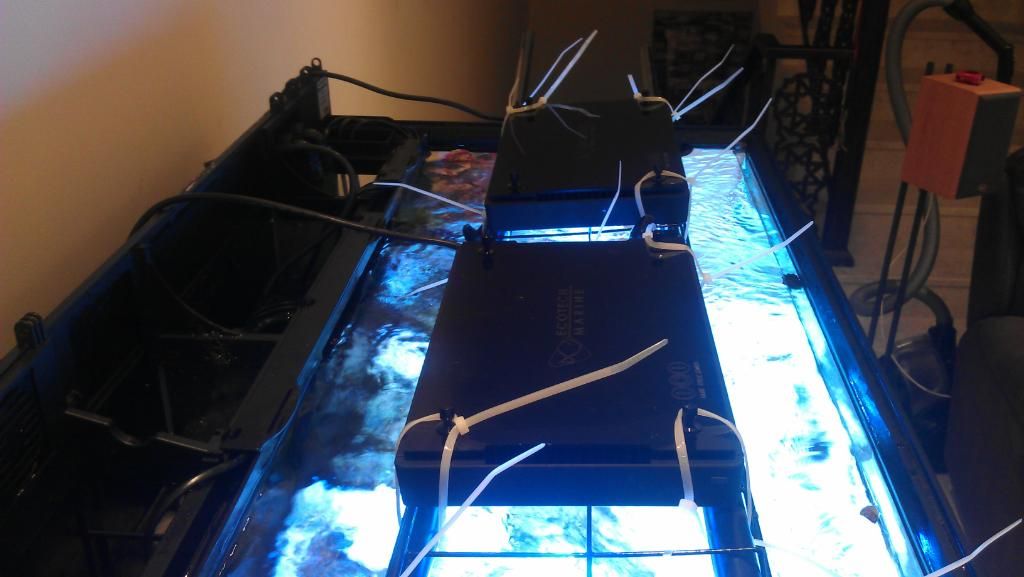
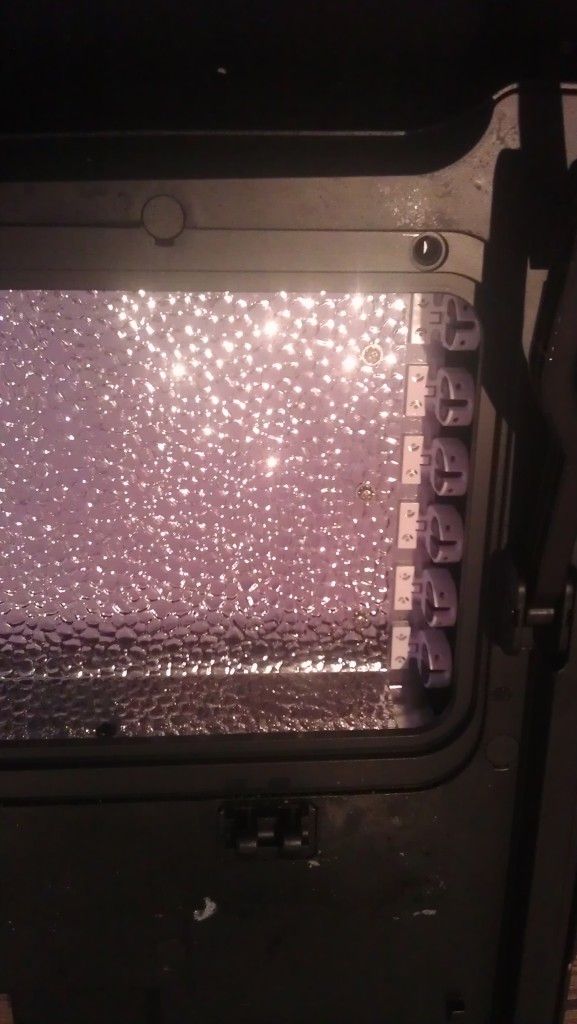
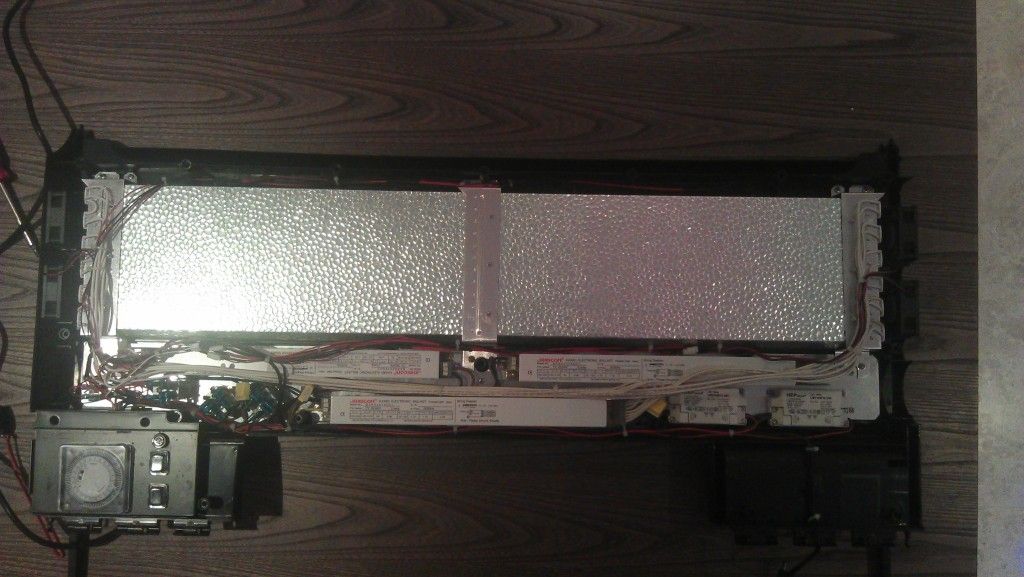
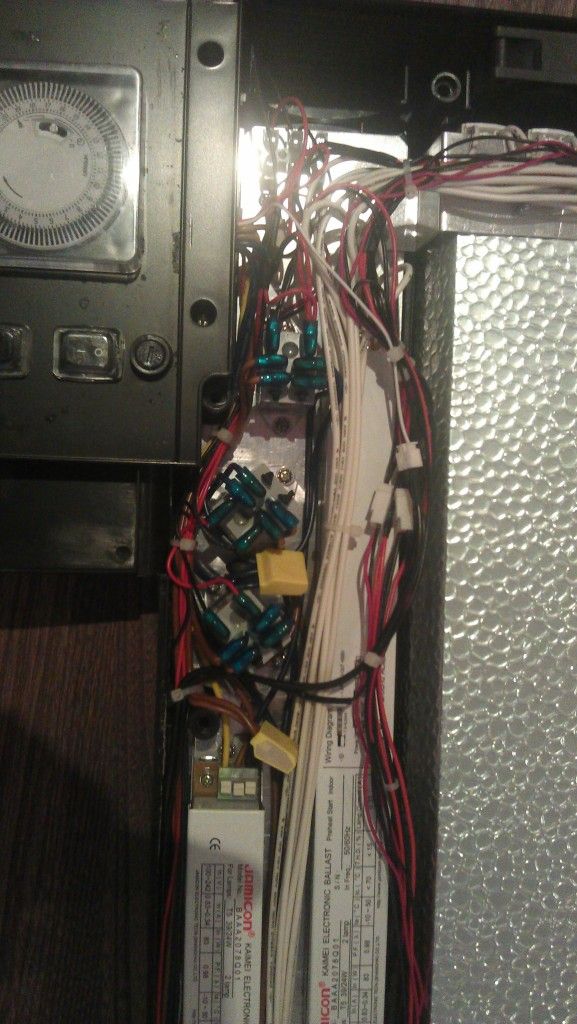
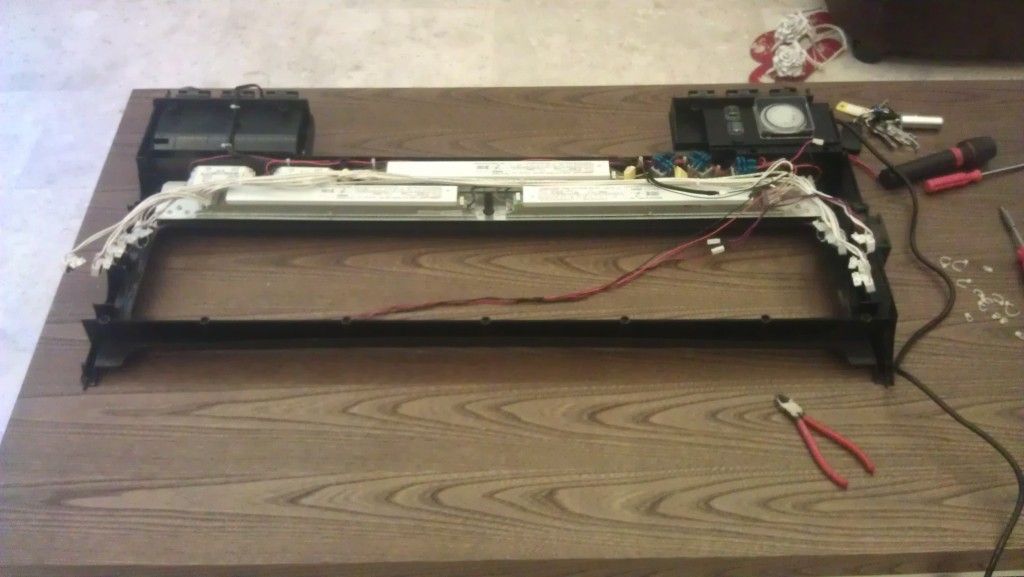
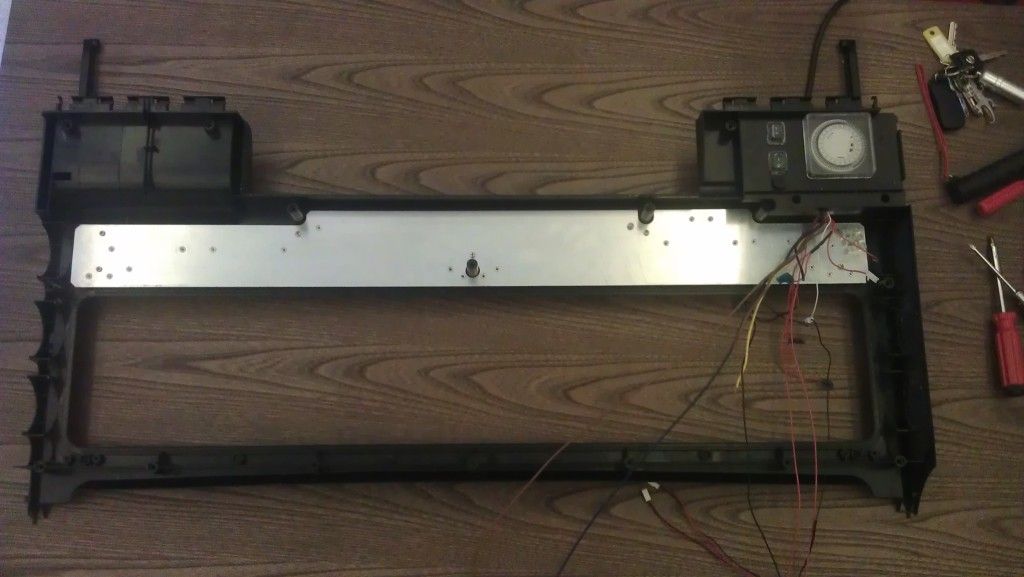
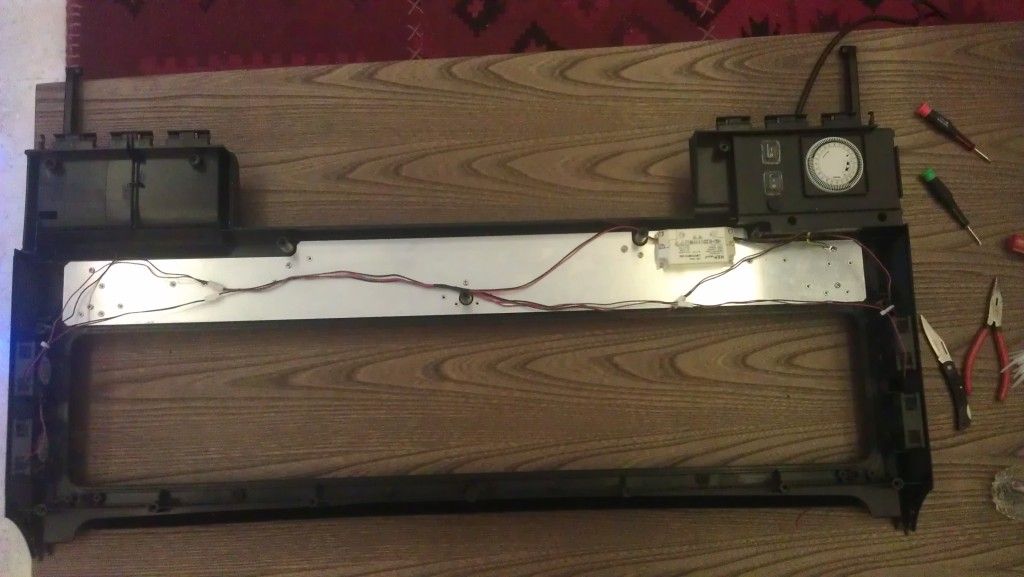
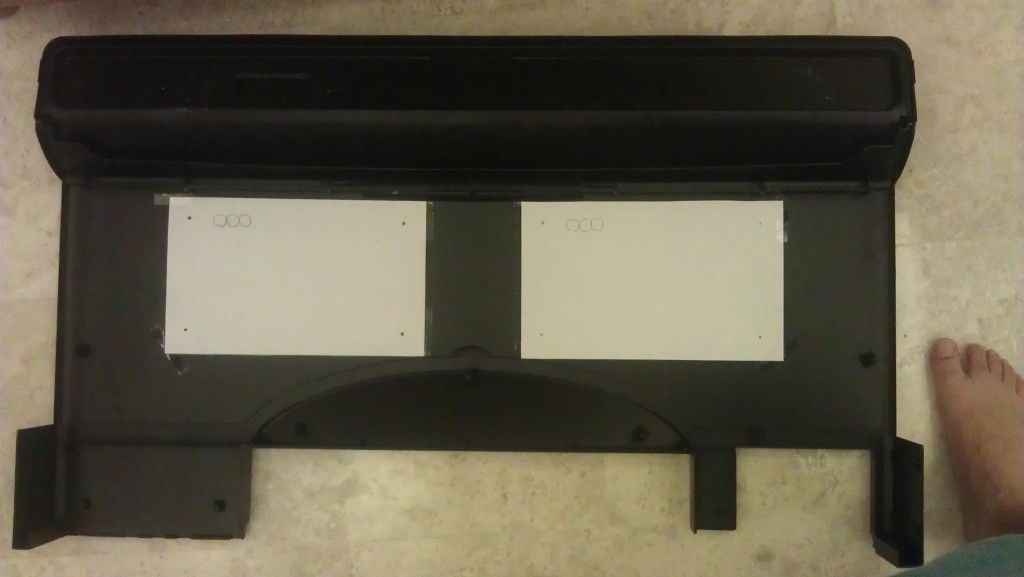
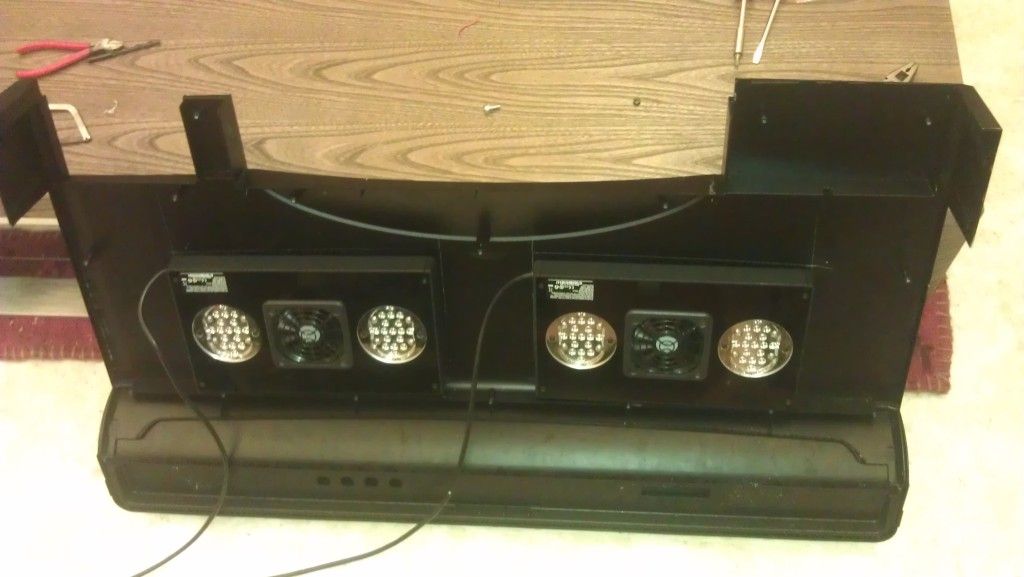
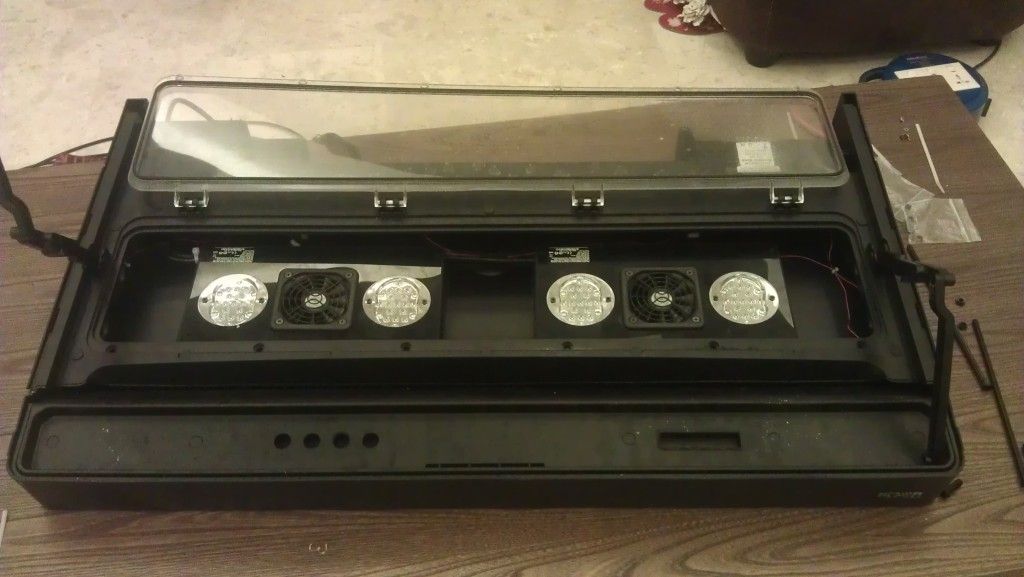
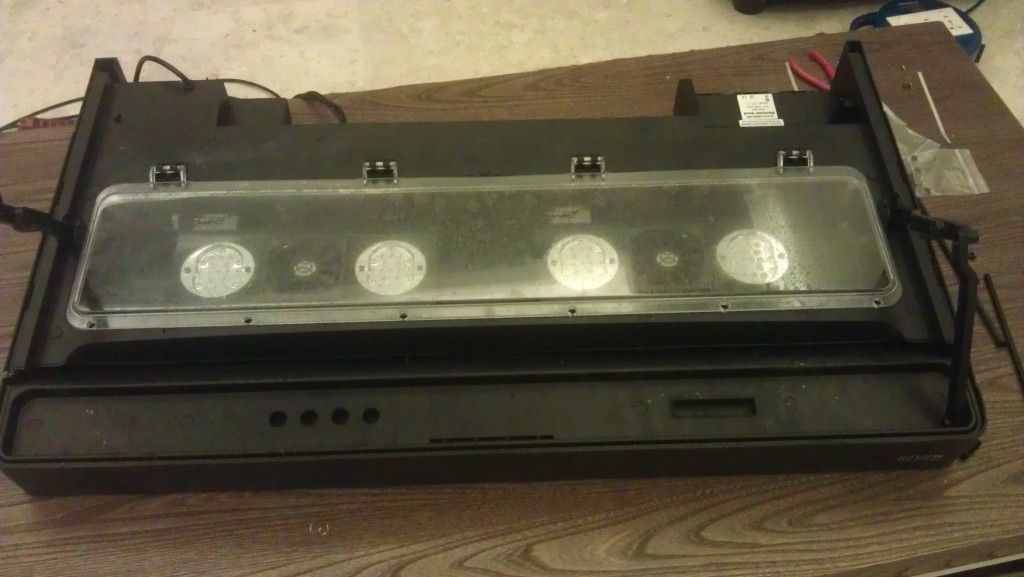
In short I dismantled the hood, removed ALL of the electrics and the reflector. Reinstalled one of the 2 x LED drivers (the stock blue night light driver), powered via the timer for the fans. Drilled 14 holes in the top of the hood, 4(x2) for the light, 3(x2) for the Ecotech Manual controllers. The holes are a little small but can be accessed by a capacitive mobile phone stylus. Drilled a hole in the rear for the power leads. Reassembled the hood, fixed the clear plastic light cover and that's it.

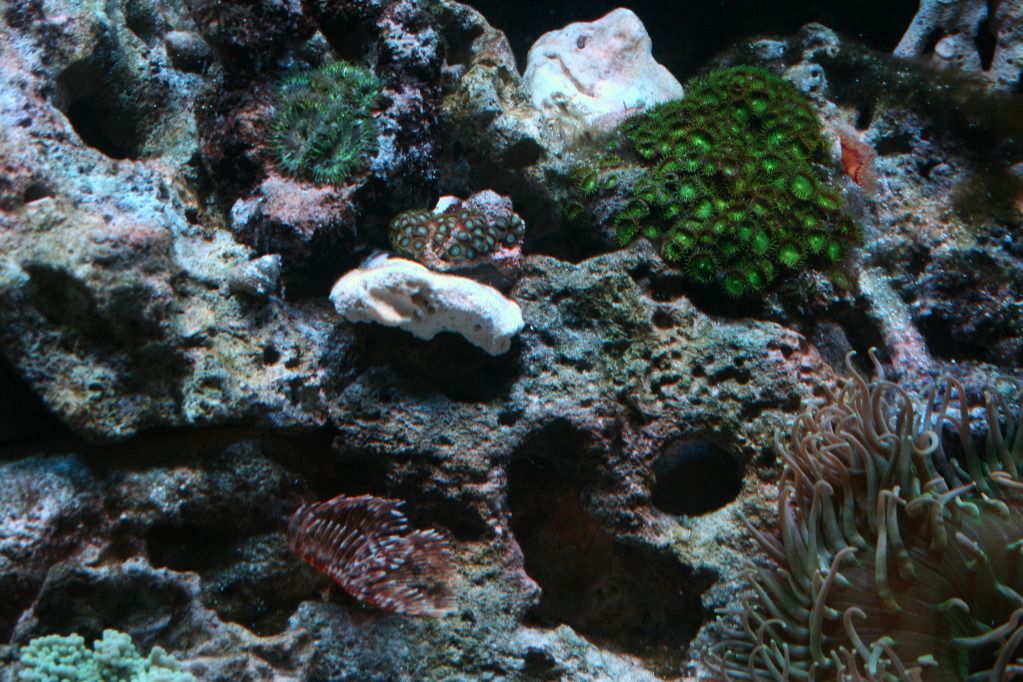
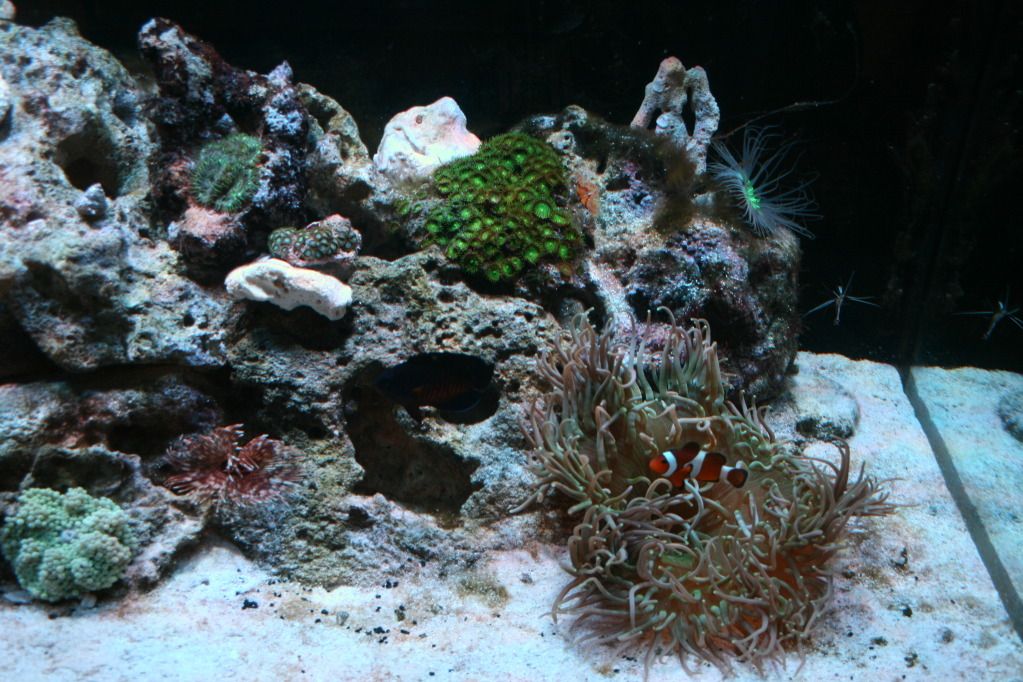
I need to check it out tonight (and tidy the mess up..) and make a few small adjustments but it all seems pretty good. Dissasembling the hood gave me a bit of respect for the designers of this tank. A lot of thought's gone into it.

Soooo, as soon as the internet connection's back up I'll pop a few pics up.

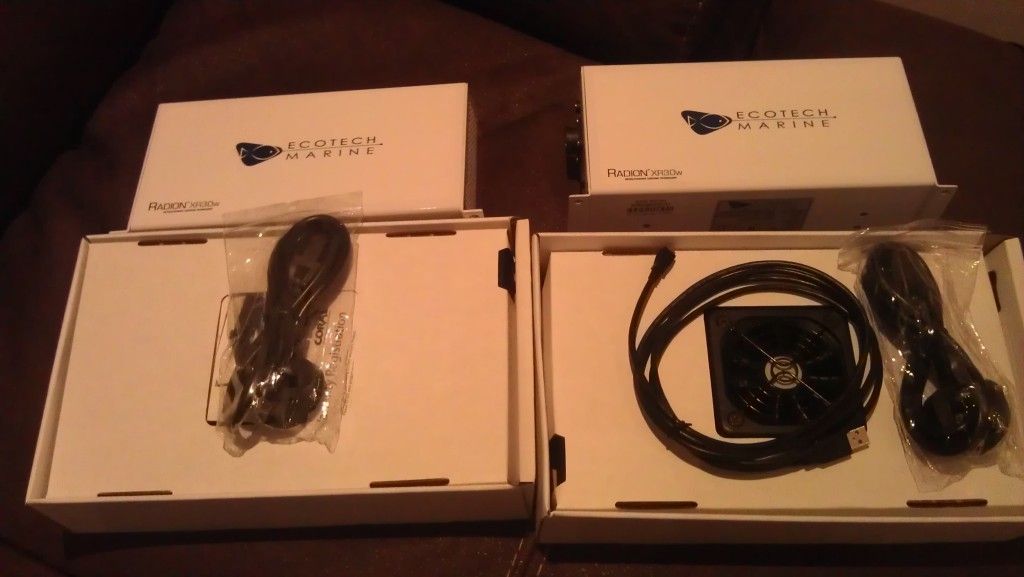
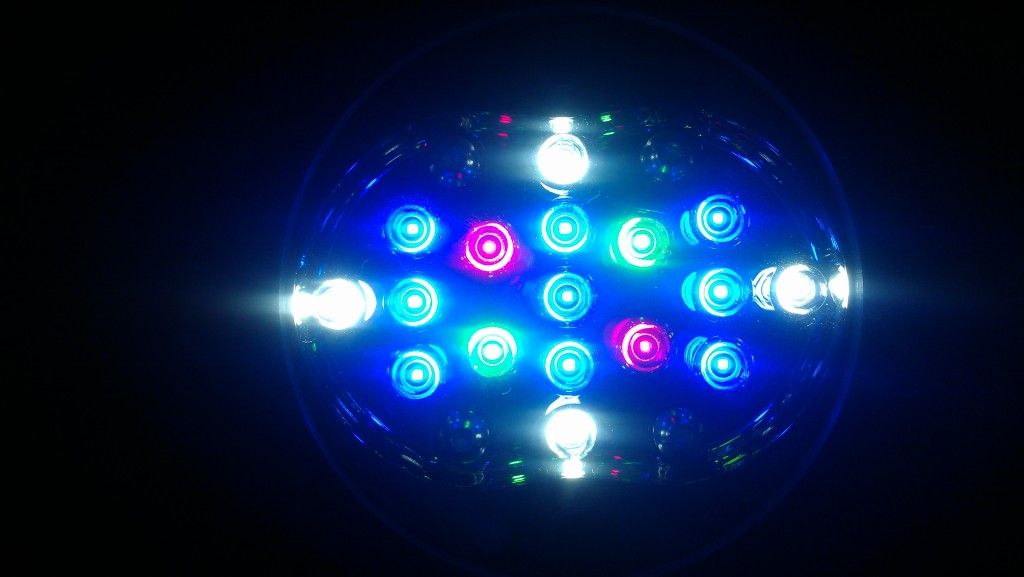
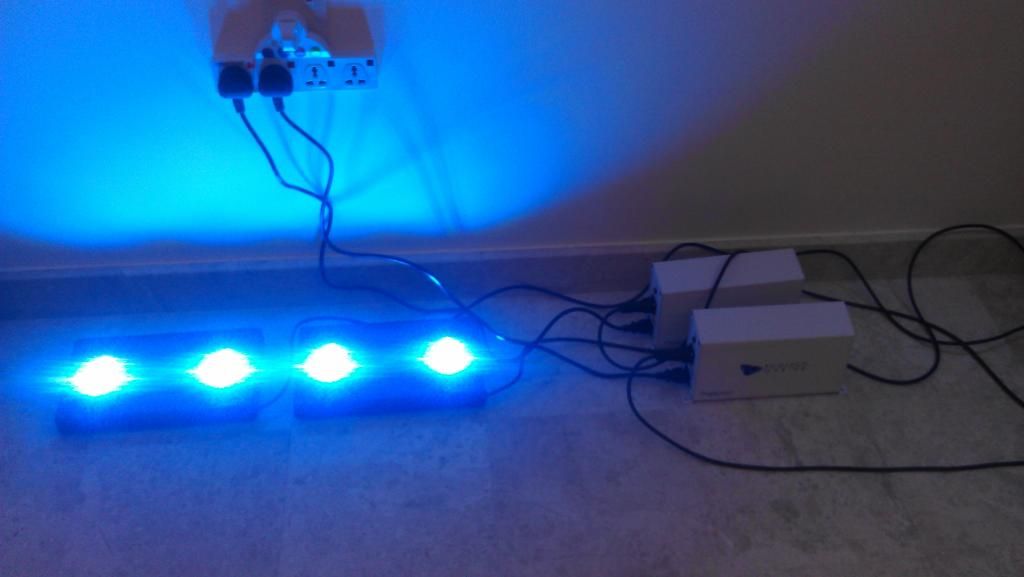
I'm really happy with the lights.
 
Until my home internet's up and running I've dropped 37 pictures in dropbox from work (sneaking 5 minutes in during lunch break). It requires an email for sharing. For those who aren't keen on waiting for the internet to come back up, PM me and I'll share the folder.
 

BigAl07

Administrator
RS STAFF
Chris I'm tickled to see you're using DropBox! I LOVE it and use it daily in work and home. Talk bout being spoiled :)
 
Lights Finally Home:
1.jpg


Close up on 1 light:
3.jpg


Closeup on one cell:
3.jpg


Power Supplies:
5.jpg


One Cell under lowest power setting:
6.jpg


Both lights under test:
8.jpg


Hood Removed:
10.jpg


Temporary installation over RSM while hood's under modification:
9.jpg


And so it begins:
10.jpg


Unclipping the T5's:
12.jpg


Stripping the electrics:
15.jpg

17.jpg


22.jpg


Stripped:
26.jpg


Fans + LED Driver reinstalled via timer (requires electrical knowledge)
30.jpg


Templates prepared and located:
32.jpg


Mounted:
34.jpg


Almost there:
36.jpg


Done!!
37.jpg
 

BigAl07

Administrator
RS STAFF
That should work buddy :) When you're copying the URL to paste into the thread select the IMG section and it will do the work for you :)
 

tnwillia

Well-Known Member
Great build Chris, you had a lot more room to work in there than I thought you would. I'm glad your keeping the splash screen, I can picture a $1600 light failure from an over active splashing fish or two. Have fun!
 
Thanks. The install was easier than I thought it would be. Just took a bit of patience and planning, if done a second time around would probably take half the time.

The difference in lighting is amazing. The corals and anemone flouresce, alot. I'll make a few more adjustments to the spectrum over our weekend so fine tune it and am keen to see if it makes any difference to the coral growth (not that I have much in the tank yet) or coraline algae growth.

I took a few pictures of the tank last night with a white balance adjusted DSLR. They came out pretty good. Just need to get this internet connection back up before I can post them.
 
Top