**Brian and Stacy's Reef Experience**

brikeibur

Member
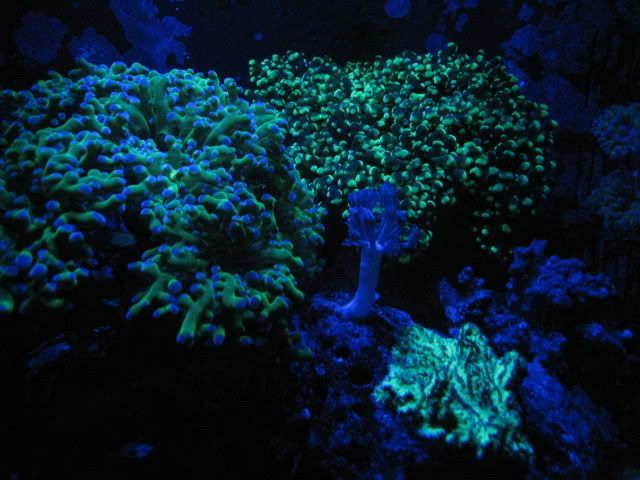
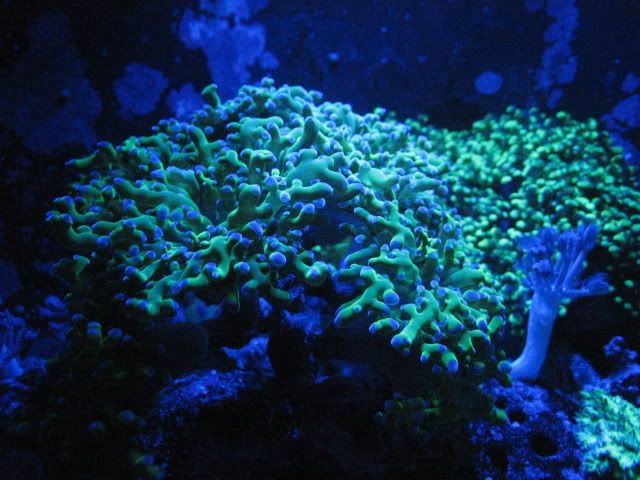
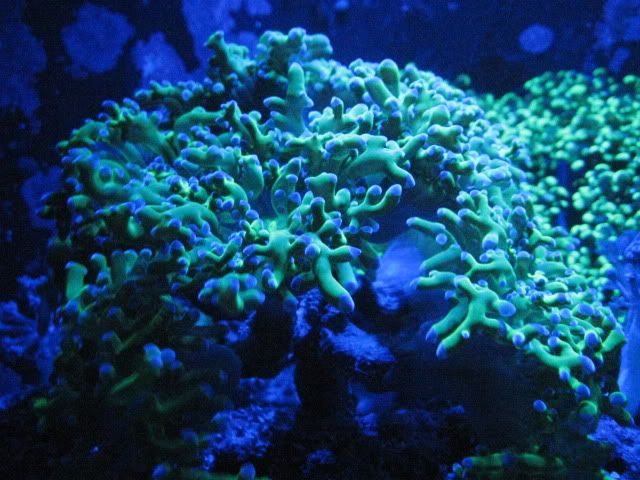
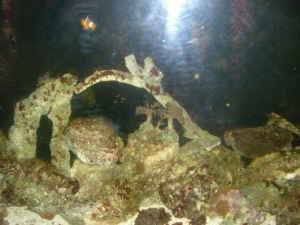
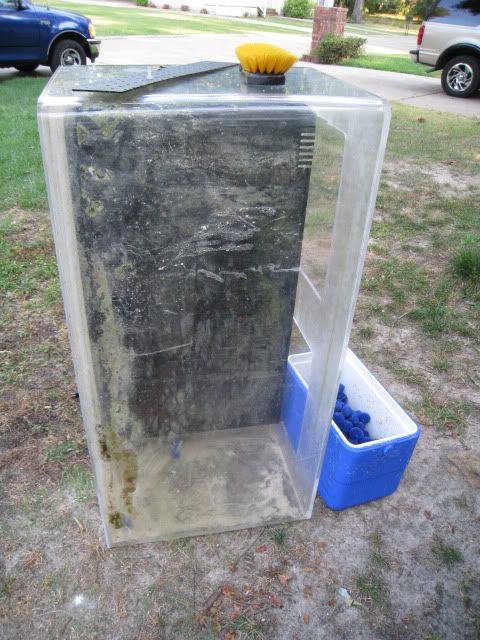
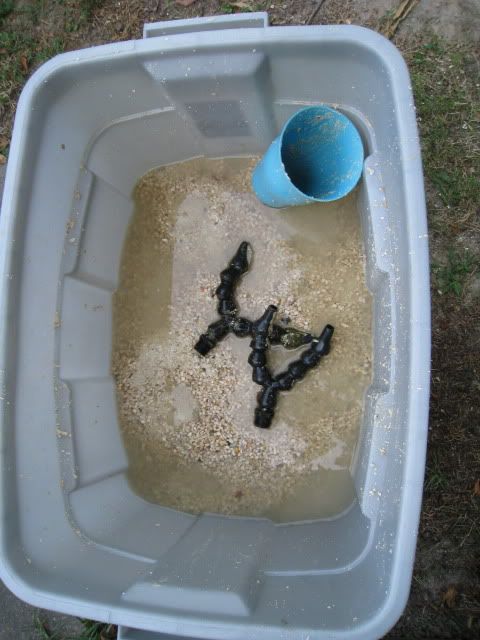
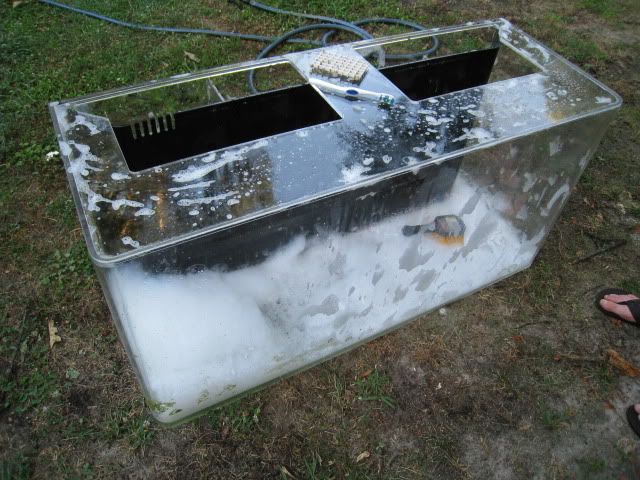
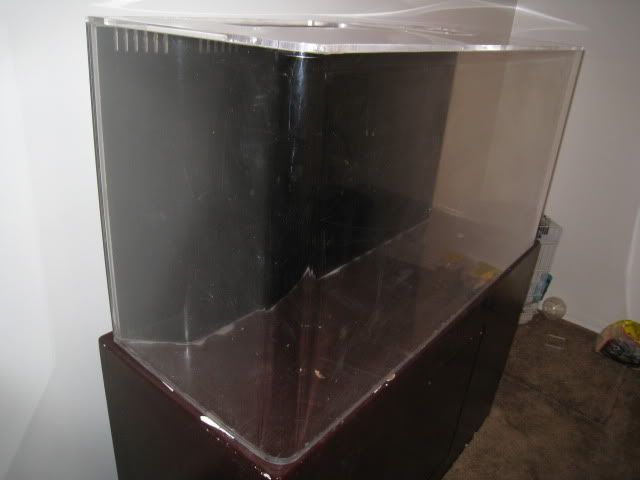
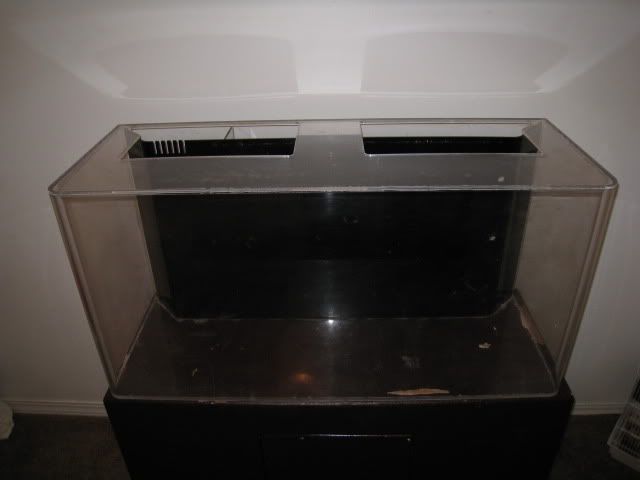
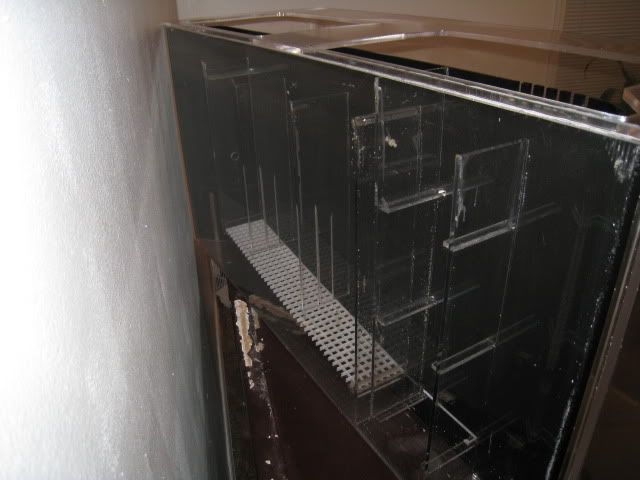
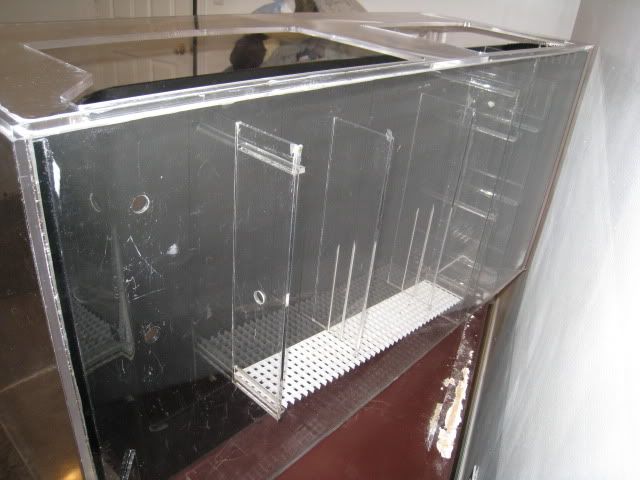
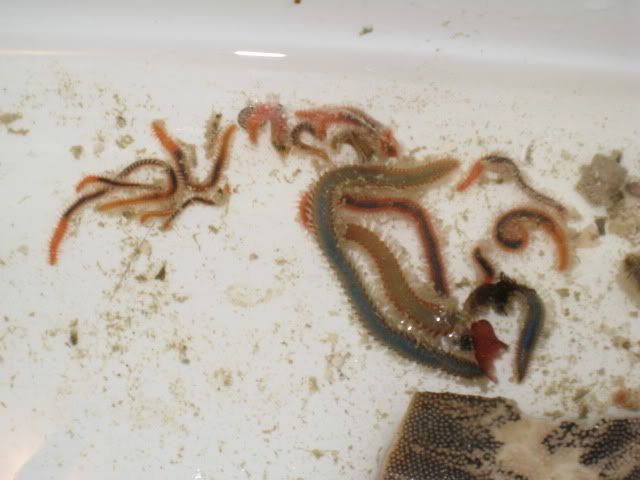
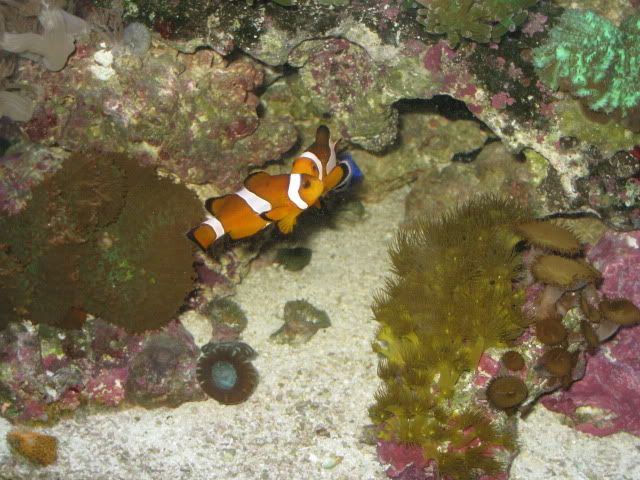
And now for happier times (but by all means please let me know what you guys think about the 'coral eating hermits').....

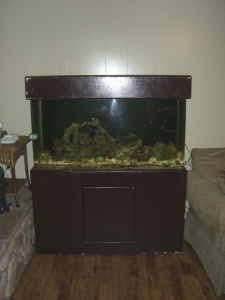
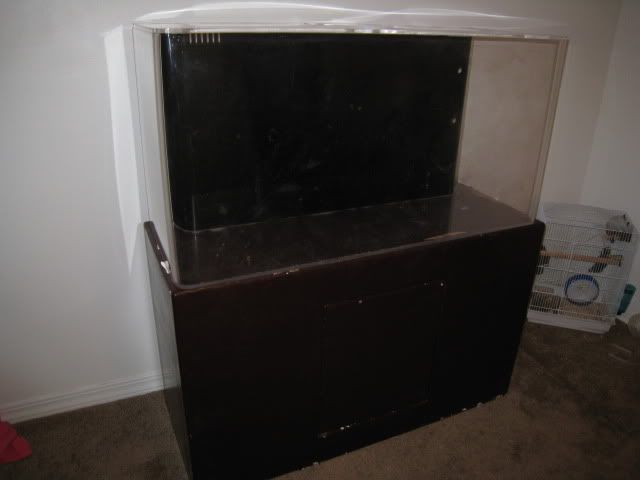
Stand and Canopy Udate for the 76 Gallon!!

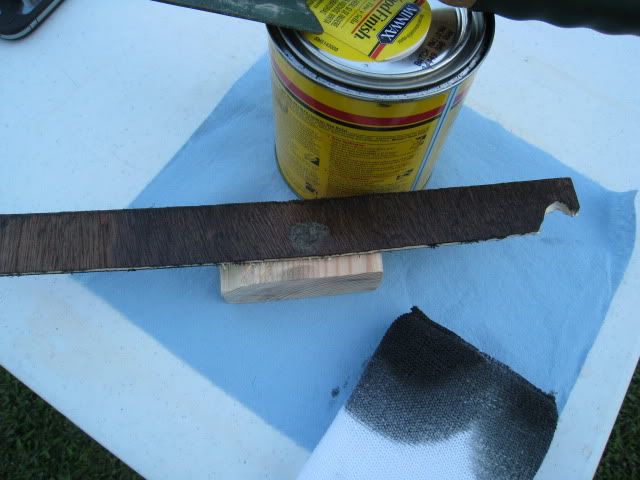
Ok, so I tested a small area on a scrap piece of wood to see what staining wood putty would look like....and the verdict is, if this doesn't drastically improve by the next coat of stain, I am going to paint it.... It does not stain the same color at all. :tears: We'll see....

IMG_1618.jpg


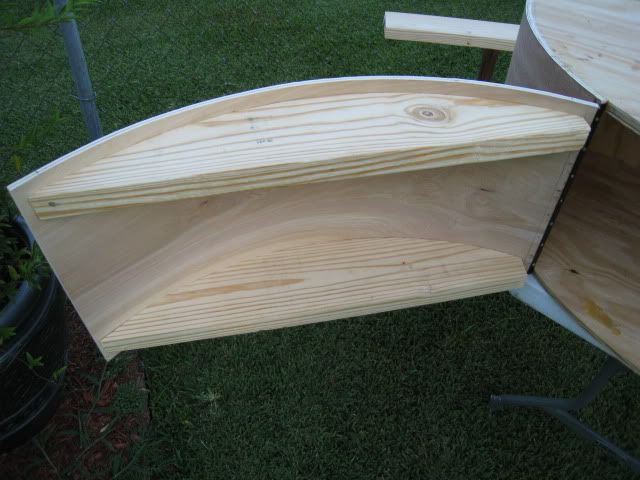
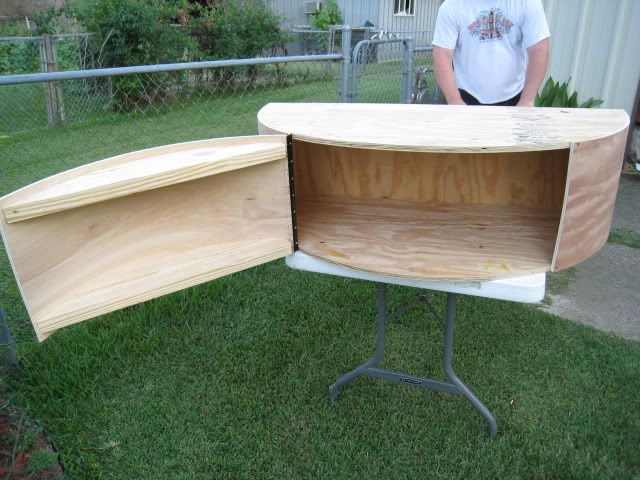
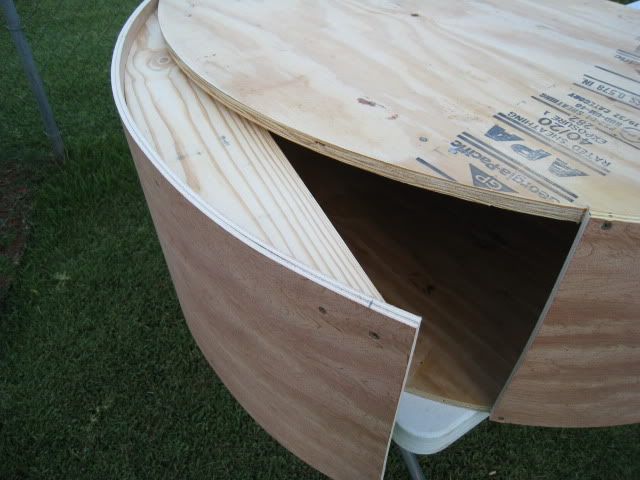
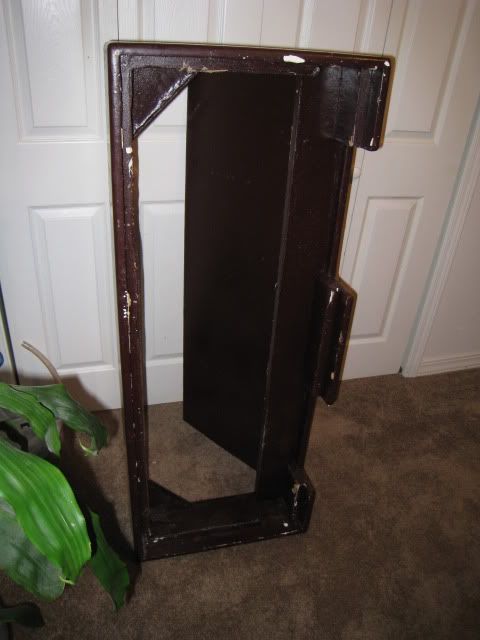
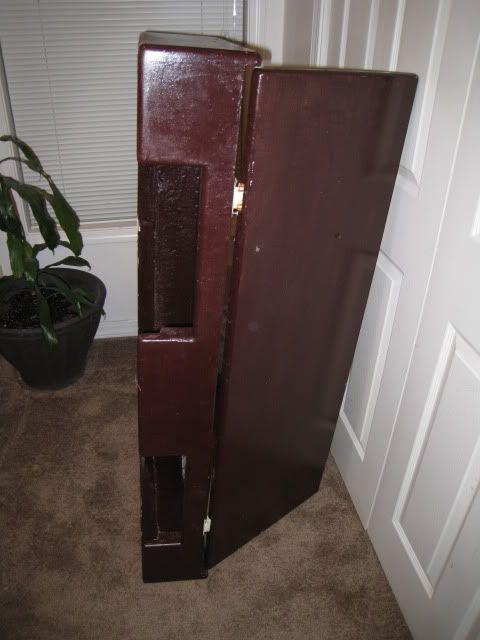
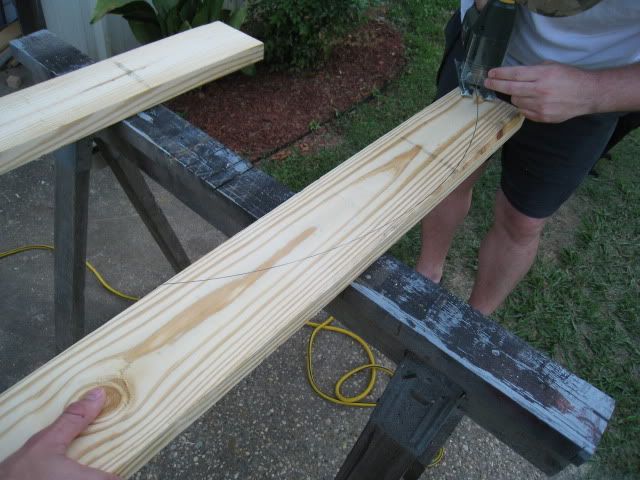
Here we are making our 'braces' for the back of our doors so they do not lose their 'circular' shape. We are cutting the braces out of 2x6's.

IMG_1620.jpg


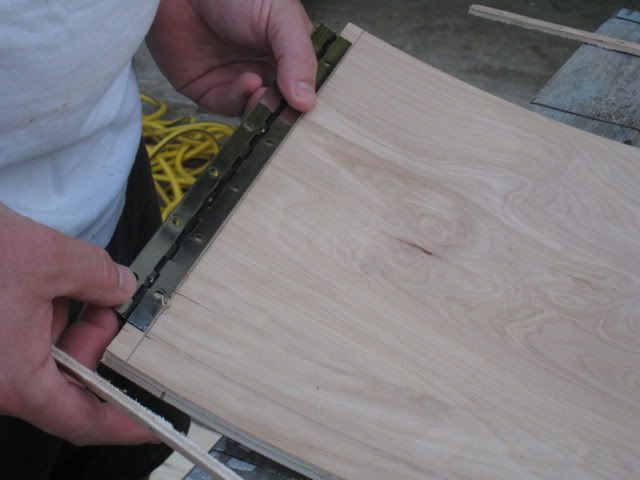
...and here we are putting the piano hinges on the door (but we later discovered that our hinges were too small for the thickness of our door, so the door will not open far enough, so now we have to buy and paint larger piano hinges....:rolleyes: ).

IMG_1622.jpg


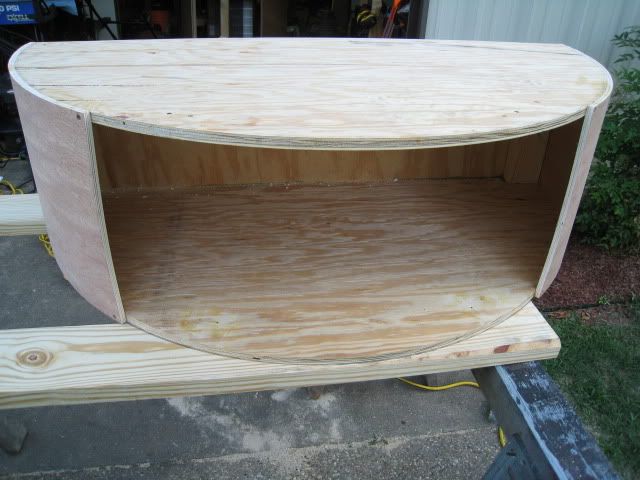
We also decided to remove the front 2x4's from the canopy (we are going to move them further over now that they have provided support where needed when stretching the cover, we can move them out of the way of the front door). Here is the canopy without the front supports:

IMG_1619.jpg


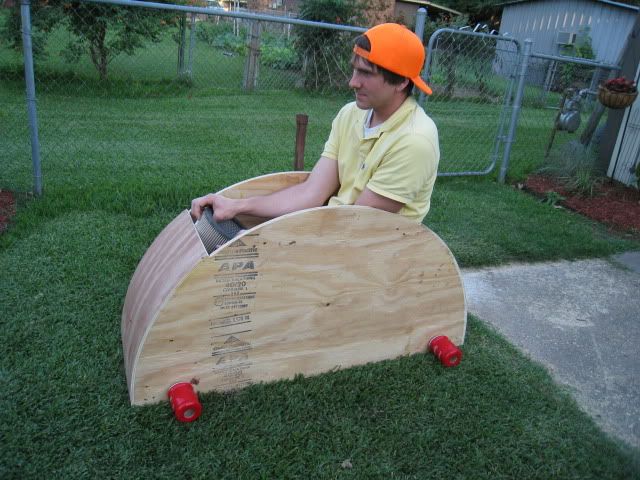
And finally, after removing the front braces....Brian got the brilliant idea to make the canopy into his own personal racer (this is actually a pretty amazing feat since Brian is 6'4")!!! VROOM, VROOM!!! :redcar:

IMG_1621.jpg


Later All!!!

:tongue:

Stacy
 

jgking21

Member
Brian/Stacy,
Sorry, but I can't really help with the hermit/coral problem. But if the coral was dead, I don't see why the hermits would not eat it. They always eat my dead snails and things, so why not the torch coral. I've never had a torch so I really have no idea, just my thought.
As for the staining, since you have a dark stain try not using putty. Do another test and see what happens. I'd keep playing as much as you can, I really think the stain will look better than the paint. I'll give my dad a call tonight to see if he has any suggestion for you. But in the end a black stand is not that bad, it will make the tank's colors pop more. Good Luck!
 

brikeibur

Member
Brian/Stacy,
Sorry, but I can't really help with the hermit/coral problem. But if the coral was dead, I don't see why the hermits would not eat it. They always eat my dead snails and things, so why not the torch coral. I've never had a torch so I really have no idea, just my thought.
As for the staining, since you have a dark stain try not using putty. Do another test and see what happens. I'd keep playing as much as you can, I really think the stain will look better than the paint. I'll give my dad a call tonight to see if he has any suggestion for you. But in the end a black stand is not that bad, it will make the tank's colors pop more. Good Luck!

Well, I wouldn't say the coral was dead, but it wasn't doing well. It was not 'inflated' and 'extended', but still alive. They may have known it had one foot in the grave, so took it out to get it out of it's misery! lol!! :guns:

Thank you for asking about the putty/stain also. I'll take any advice I can get. I am totally with you though, I prefer staining big time over painting, so really hope I can figure something out. :ponder2:

Oh yeah, nice race car!!! Wheels look a bit small though!

Yeah...LOL. Those are recycled tires.....who would have thought that beer huggies could double as wheels!!! ...learn something new every day! :whstlr:
 

lcstorc

Well-Known Member
Stand looks great!
As much as I hate crabs, I have never heard of them eating a coral like that. Generally they are going after some food that is in the coral. It is certainly possible they were cleaning up dead parts of the coral and perhaps killed the live parts as a result. I wouldn't worry about them eating the corals. I hate them for their snail snacks.
 

jgking21

Member
Brian/Stacy,
I talked with my father tonight, he said that if you go to home depot/lowes, by the wood stain there is something called minwax wood putty, comes in like a 2" jar. You will need to match the color of the minwax putty to the stain you are going for. He said to stain the stand, then try to get two coats of varnish on there, then apply the minwax putty over the screw heads. If you try to use the stuff before the varnish then a small amount will get into the wood grain, that is why you do it after varnishing. I'm sure if you asked at the store someone would hopefully know what you are talking about. I really hope this helps!!!
Justin
 

brikeibur

Member
Thank you soooo much jgking!!!

I bought minwax for the stand, so it makes since they would have a putty to match.

I will definitely try that. I already have the varnish as well.

Thank you sooo much for your help, and tell your dad thanks too!!

Stacy
 

brikeibur

Member
Here are some more shots of the tank with the new moonlights. Again, these aren't with my good camera, but at least they are 'night' pics, so you won't have the light coming in the window.... :shades:

IMG_1628.jpg

IMG_1634.jpg

IMG_1637.jpg

IMG_1641.jpg


Thanks for looking guys.

I hope to have more building pics soon, but Brian's mom is in the hospital right now, so we have been up there with her. I think she is getting to come home today, maybe tomorrow, so after that....IT'S ON!! :clink: ....she is super excited to be released as well (she broke her arm and had a rod put in it). Sounds painful, but she is doing really well.

Later!!

Stacy
 

brikeibur

Member
Stand looks great!
As much as I hate crabs, I have never heard of them eating a coral like that. Generally they are going after some food that is in the coral. It is certainly possible they were cleaning up dead parts of the coral and perhaps killed the live parts as a result. I wouldn't worry about them eating the corals. I hate them for their snail snacks.

Thank you...we are really hoping to finish the stand/canopy soon. We are trying to hold off on our liverock a little longer, but god it's so tempting!!!:spinner:

As for our torch, We moved it back onto our frag rack, just in case there is a small portion of it still alive. We hope it makes a comeback, but it does't look too great.

I had never heard of them eating corals either, but hey, it sure looked like they were....and loving it!! LOL.

Thanks for the input Ics!!!
 

jgking21

Member
Those pictures are awesome!!!

Yep, the stuff comes in different colors, so you just try to match as best you can. Sorry I couldn't get the specific name, but it should be close to the minwax stain. Good Luck!
 

brikeibur

Member
I do...I do....

So sorry!!! It has been sooo busy lately. I need a vacation! :cool:

Ok, so I do have a small update, nothing major, but at least I have some new pics for you guys!

We finally got all of our 'braces' cut and we installed them on the canopy door and attached the door using our piano hinges. It really really helped, because the door was trying to relax a little and it was losing the curve slightly, which I'm sure would have only gotten worse with time.

The braces installed on the door:

IMG_1696.jpg


A more distant view so you can see more of the canopy:

IMG_1695.jpg


We still have to cut out the bottom of the canopy and install some type of 'braces' or 'pegs' to hold the canopy in place and keep it from sliding. We also have to drill four openings in the back to install our fans.

Here is one of the door closing...we put the braces just far enough down to slide under the top and bottom edges to keep it from swinging open and assist the magnets in keeping it closed:

IMG_1697.jpg


And finally here is a pic of our piano hinge from the outside (we had a time with the hinges....but only because we were installing them incorrectly!! :grind: ). Once we realized what were doing wrong...it was a breeze!

IMG_1676.jpg


Thanks guys!!

I think we have set a deadline to be done with this in one week, so hopefully we will have more pics very soon...pics of the final product very soon I am hoping!! :yup:

Later!
Stacy
 

brikeibur

Member
Oh, other good news.

We checked Craig's list the other day and there was this posting listed in our area:

90 gallon acrylic salt water aquarium - $350

90 gallon acrylic saltwater tank (20inx50inx60in), up and running. Includes approx 100 lbs of live rock, 75 lbs of live sand, various corals and mushroom, lights, built-in filter system with two power jets, two fish, hood and stand. Can email more pictures. Open to possible trades for items of equal value or furniture.

90gtank.jpg
90gLR.jpg

So...we emailed the guy because we still have to buy liverock, sand, and some jets. No reply at first, then this morning he emails us back that he still has the tank and that we can come check it out anytime this weekend. So...we are about to call to set up a time this afternoon after work so we can go see it and if all looks ok, it shall be OURS!!

We will probably just re-sell the actual tank, but either way I think it's a great deal! I have no clue what kind of lighting, but we already have lights so no biggie. I just know that it is going to cost us around $200 for LR anyway, and probably another $100 for sand, so we are paying $50 for the rest of it basically. I just hope it's all in decent condition!! ;)

I'll let you guys know what happens....Later!!

Stacy
 

brikeibur

Member
I am now the proud owner of a 90 gallon Tenecor seamless-side Acrylic Aquarium, ~90 lbs of live rock, ~100 lbs of sand/crushed coral, a stand and canopy, some powerheads and pumps, one coralife powercompact, some random supplies, a few shrooms and what looks like colt corals, a royal gramma, and a small false percula clownfish named Magneto aka Maggie.

:clink:

We checked online and found out the acrylic alone on the tank normally sells for over $500, yet we got all that for $350. It is really a nice tank.

It was quite an ordeal draining all the water out, scooping out most of the sand and packing up the fish and live rock, but I think in the end it was well worth the effort!! Our only problem now is that the tank is no nice, we want to keep it!! NOOOOO...what are we going to do with a 90g high and a 76g half circle!!!

Here are some photos of the 'cleaning' process and all....

So here is the tank once we got it home and put it out in the yard to get it all cleaned up:

IMG_1713.jpg


We immediately removed the one trillion bio balls that were in the back, the tank was soooo dirty!!

IMG_1702.jpg
IMG_1703.jpg

IMG_1704.jpg


Here is the sand/crushed coral we removed (I just wished the sand was a lot finer...this stuff is so coarse I wouldn't even want to walk on it at the beach...):

IMG_1705.jpg


Next, we began the cleaning .... what a long and difficult job that was. This stuff was really really stuck on those sides....

IMG_1714.jpg
 

brikeibur

Member
After we got it all cleaned up and rinsed out really, really, really good, we dried it off and brought it in and set it back up on the stand. The stand needs some TLC...and lots of stripping and painting, but there is definitely potential to make it nice again!

IMG_1715.jpg


I love the seam-less corners on the tank, it looks really nice. The tank has a good bit of real small scratches, but the good news is that the ones on the inside are invisible once it has water in it and we have some acrylic scratch remover to doctor the outside with, not to mention when we were looking at the tank all set up, before we broke it down, we couldn't even notice any scratches at all.

IMG_1716.jpg


IMG_1719.jpg


And here is the canopy, it too needs a lot of TLC (aka paint):

IMG_1717.jpg
IMG_1718.jpg


The back of the tank is sort of like a built-in sump/overflow system. It is very cool. I really don't know how it all works, I just knew I wanted those bio-balls to come out. Now that they are out though, I need to add some new sponges and I'm not sure what to do with the center portion of the 'sump':

IMG_1723.jpg

IMG_1724.jpg


The light also needs a lot of CLEANING. There is dried salt all in it...I have no clue how that much got INTO the light...it looks like it had been soaking IN the tank!! :confused:

IMG_1733.jpg


Even more disturbing than the saltiness of the light, was what I removed while looking over the liverock before we put it all back in the tank. I was checking the rock for sponges to scrub them off and removing a few aptasia we saw.....then I discovered there was a pretty big bristle worm population living in the rock. I then went on a mission inspecting each piece EXTREMELY carefully to remove these guys. I know most folks say they are beneficial and not really harmful, but they are friggin nasty, can get huge, and are ugly as hell...so they are coming out. Here are a few of the ones I removed during my inspection:

IMG_1727.jpg

IMG_1729.jpg


Finally, here is the tank with the sand and LR put back in it. The sand was pretty filthy and we didn't clean it so it really stirred up big time when we put water in it. We saved this water from when we siphoned the tank originally, and we are making some fresh saltwater to top it off...kind of like doing a small water change to it.

IMG_1730.jpg


I will try and take some more pics tomorrow if it clears up any. The tank doesn't have enough water in it right now to run it through the back and filter it, so it will probably not be much cleaner by tomorrow, but the water we are making will be ready by then and we can then put the sponges in and start filtering it.
 

brikeibur

Member
Oh and I almost forgot, here are a few shots of the new clown, Magneto aka Maggie - because 'she' is smaller than our clown Squishy, so we think she will be the girl (Brian wanted to name it Magneto because he jokes that it was being kept in a plastic prison...I dunno..LOL).

We were worried about adding them to the tank, especially another clown, because our clown, Squishy, can really be a bully, but so far they seem to be good buddies. They follow each other around the tank, so funny.

The royal gramma immediately went into hiding, so I don't have a pic of it yet, but the good news is that she did come out to eat when we fed them, so that is a real good sign.

We are going to have to keep a close eye on our parameters for a while since we now have 5 fish, that is too many fish for our tank, but we really didn't have a choice at the time. If it gets too bad in there we can add some to the 90g when it clears out, just until we get things up and running and stable in our 76 gallon.

So, here's the pics...(sorry they are crappy quality, it was with my little point and shoot and not the good camera, so I had to use the flash):

Checking each other out:

IMG_1707.jpg


and so the butt-sniffing commences!!

IMG_1710.jpg


It has been at about 6 hours that they have been together now, and all is well so far, so we are pretty stoked about that!

Now I am off to bed, so I'll catch you guys later!

Hope you enjoyed the pics and the update...GOODNIGHT!!!

Stacy
 
Top