Building a water cooled LED fixture

Paul B

Well-Known Member
A friend gave me fifty lenses for my new water cooled LED fixture. They made a big difference and now I don't go blind when I open the front of the tank. They also cut down on the scattered light that was going all over the place as I hate to see the back of the tank. I still need about 20 more lenses and I did drop some in the water, they don't float and I can't find them. I will eventually.
The lenses didn't push on like they are supposed to because I didn't wire them the way they were meant to be wired. They came off a printed circuit board and I have wires soldered to them that does not allow the lens to fit. I solved the problem by cutting off the sides of the lens to make room for the wires. That allowed the lens to fit but they were very loose so I had to epoxy them to the LEDs which was easy.
Here is the cut lenses along with one that is not cut.


The lenses once again let the back of the tank go dark as I like it. I still need more lenses but all of the front and rear LEDs have lenses on them


Paul B

Well-Known Member
It is different anyway. I love it for that reason and am designing a light for my algae trough. I am not quite sure if it will be water, air or a combination of the two but it should be interesting. :celebrate:
 

Squatch XXL

Well-Known Member
I love building something backward OR with a non-typical purpose. You took the idea of LED lights over a fish tank, and made the heat removal the primary focus of the build. LED will always look good, but will they get too hot? Problem solved.

I would imagine that IF your circulatory pump failed, there is still more than enough fluid and copper to transfer the heat to your radiator.

Did you do anything to the fluid inside of the cooler to denature it, and I am simply curious to what you did use. Personally, I am a huge fan of dex coolant because of the color....In a liquid cooled PC the color with lights looks neat.....better than the boring old slimer green.

This entire thread has me re-thinking LEDs. I would have preferred to buy them because to me they are too futuristic, and I don't know anything about them. I still think that power compact lights are new. Now after seeing the simplicity of this, I guarantee that I will use it for a template for my first LED setup.

Thanks again Paul for the fantastic writeup. I am new here, but I really enjoy seeing more experienced DIY....Especially lighting from an electrician. If anyone makes lighting DIY simple, its a sparky.
 

Paul B

Well-Known Member
Squatch, I used plain tap water with a tiny bit of Clorox. I will explain the Clorox. If the pump fails there is a plunger in the valve I built that will descend due to lack of pressure. The plunger contains a magnet which is in proximity to a magnetic switch which will disconnect the LEDs from the circuit turning them off so they don't over heat. The plunger is in a clear acrylic tube and the Clorox prevents algae from growing in the tube. There is no reason to use any type of antifreeze or lubricant because the entire system is copper and in no threat of freezing or overheating like a car.
Here is a drawing of that plunger/water flow valve


You can see it here, The plunger with the magnet is at the top by the yellow tie wrap.


I want to build a tiny LED system for my algae scrubber with only 9 LEDs on it. If I can find a small enough pump, I will make it water cooled, just because I like to build and anyone can build an air cooled one. :yup:

Thanks Sparky.
 

Paul B

Well-Known Member
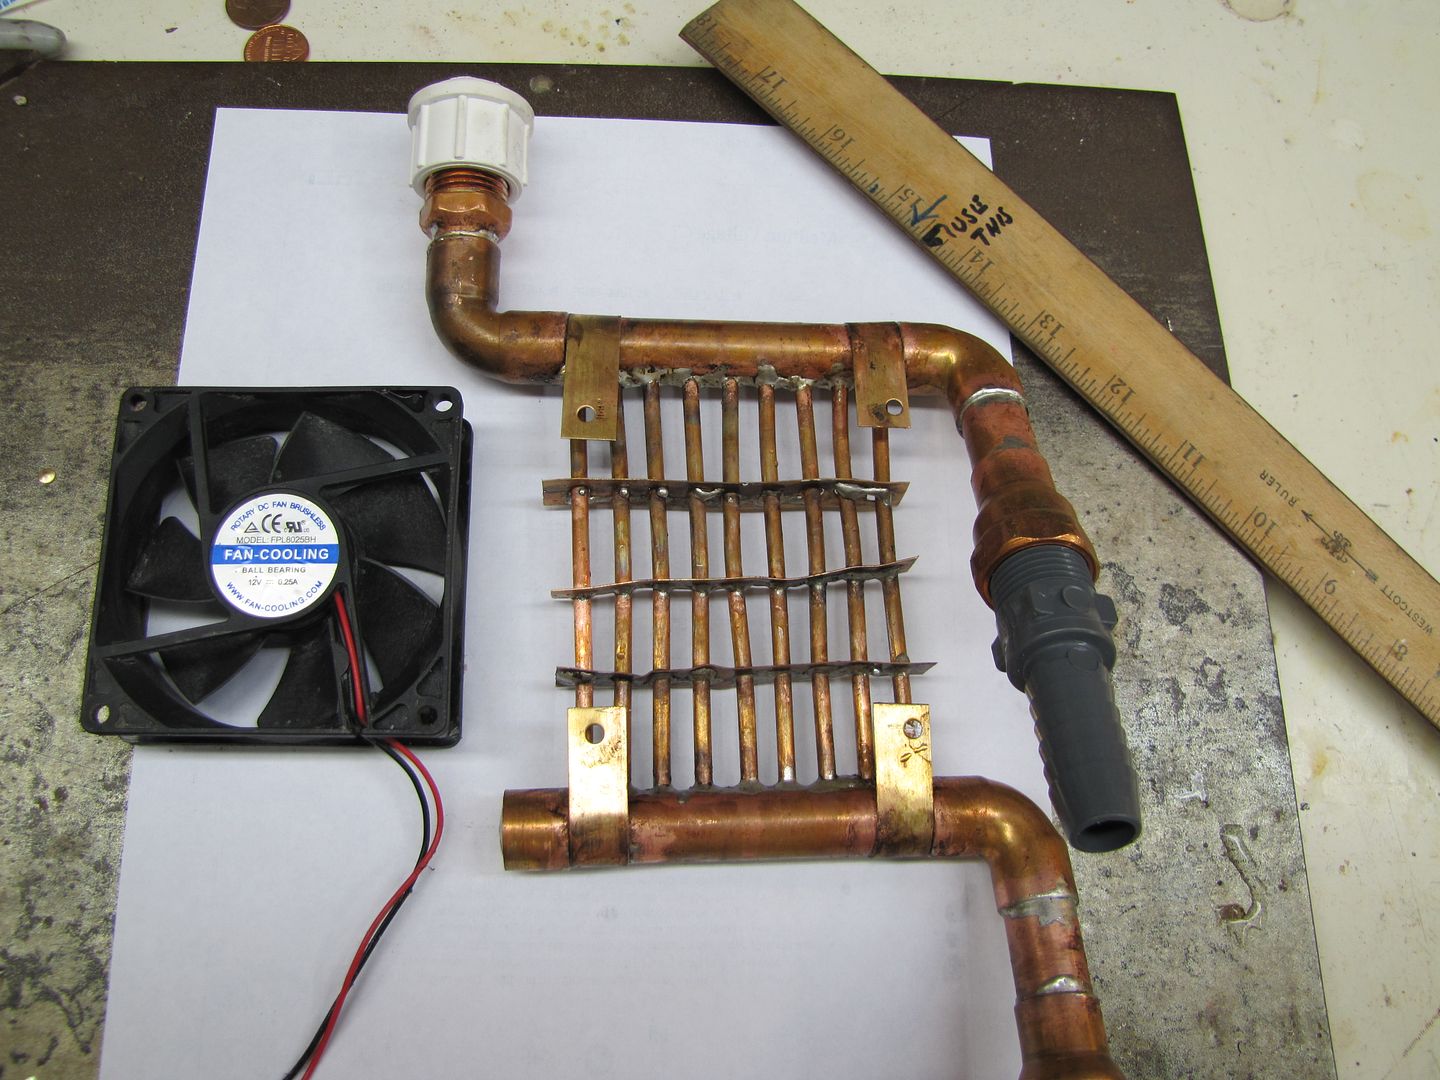
I started Building the heat exchanger for my water cooled algae scrubber LED light. Of course I could have bought one for half the price, but anyone could do that.
 

Paul B

Well-Known Member
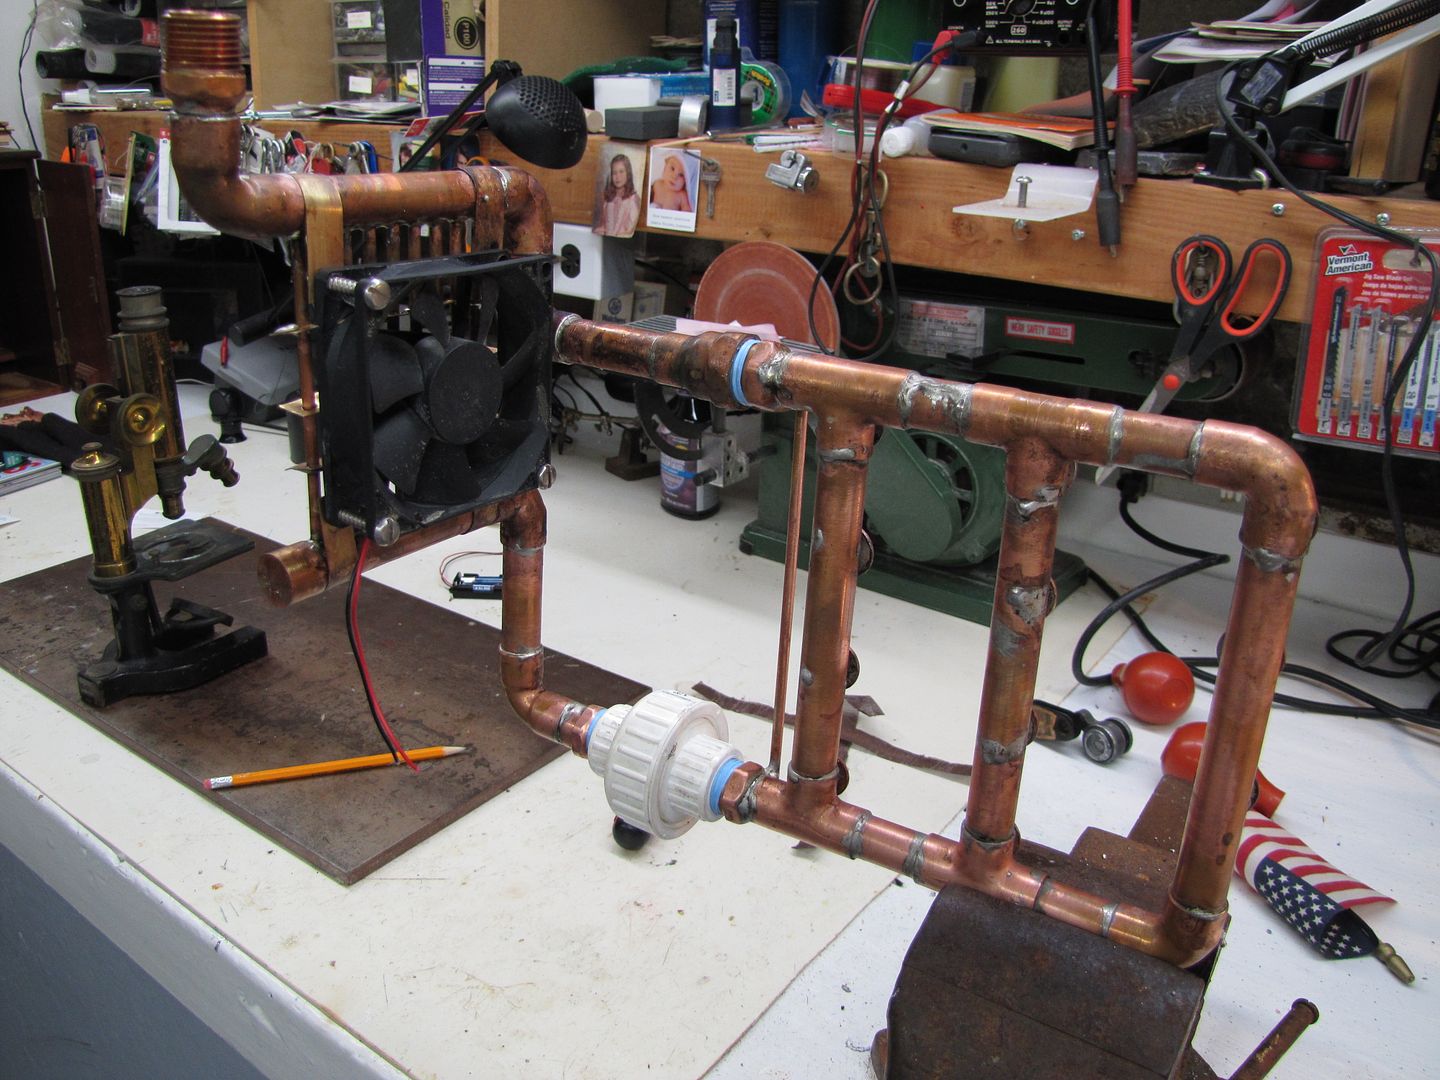
I realize it is hard to tell what this thing is, but it is my water cooled LED fixture for my algae scrubber. The red LEDs will be mounted on the back side on copper disks and the thing will transfer heat passively to the fan operated radiator through convection. It is in this shape because I only have 2" of space in front of the scrubber so the radiator needed to be mounted off to one side and slightly above in order for the heated water to rise to the heat exchanger. After I get it wired and installed I will take another picture which hopefully will clarify how it works. (If it works)
 

Squatch XXL

Well-Known Member
By god that looks good. Your water cooler looks good too, but I wouldn't dare eat it.....I hate the way copper tastes.
 

Paul B

Well-Known Member
I am happy to report the water cooled LED fixture has worked "almost" flawlessly. I did have to replace two (I think) LEDs but I did get them from an old fixture and I don't know how old it was but I know many of the LEDs on it didn't work. I still have a bunch of them left over and they are not to difficult to change.
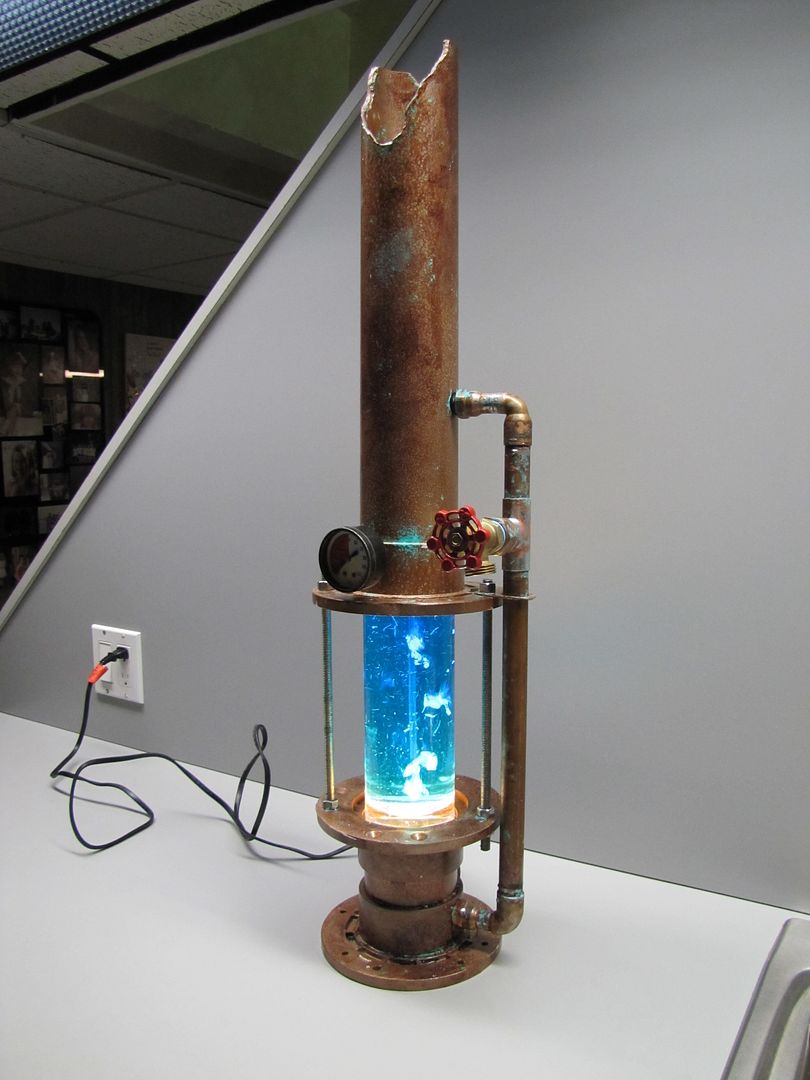
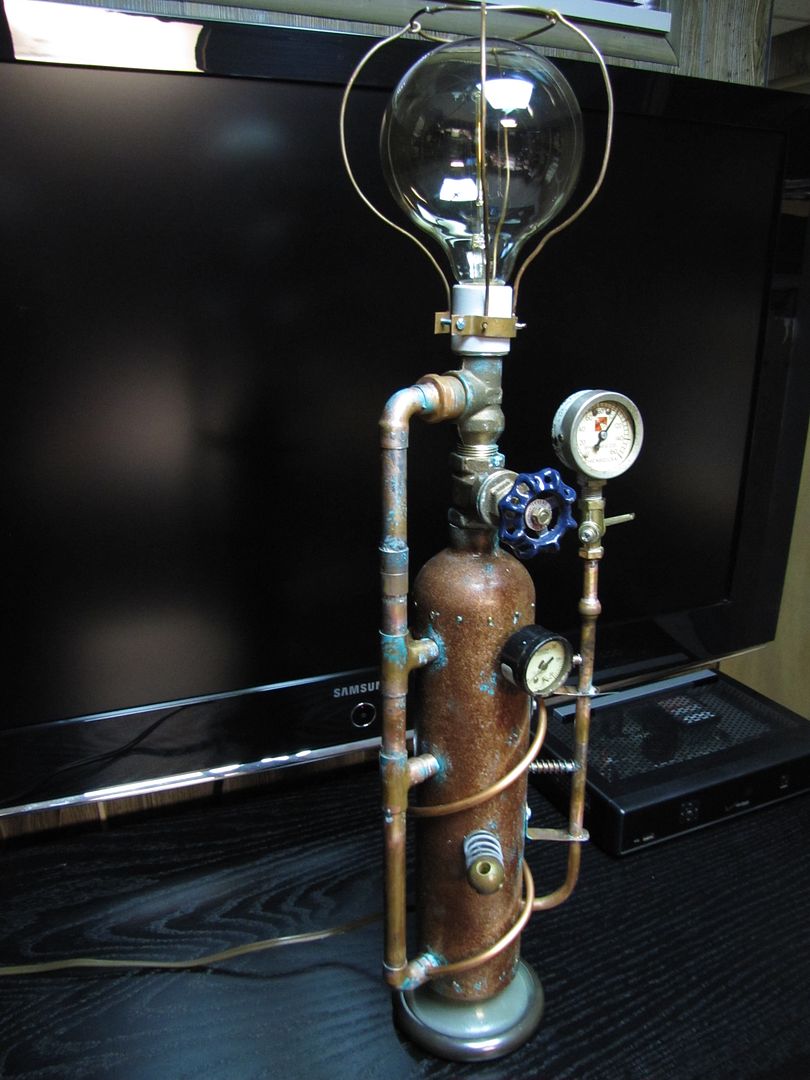
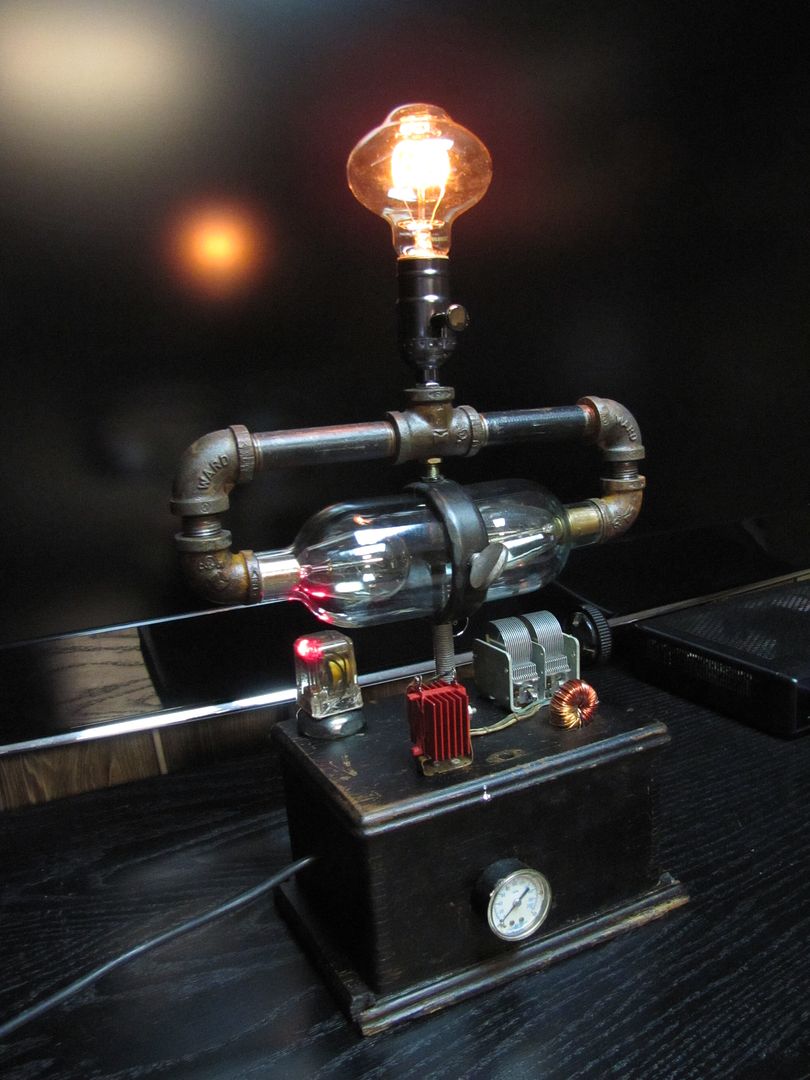
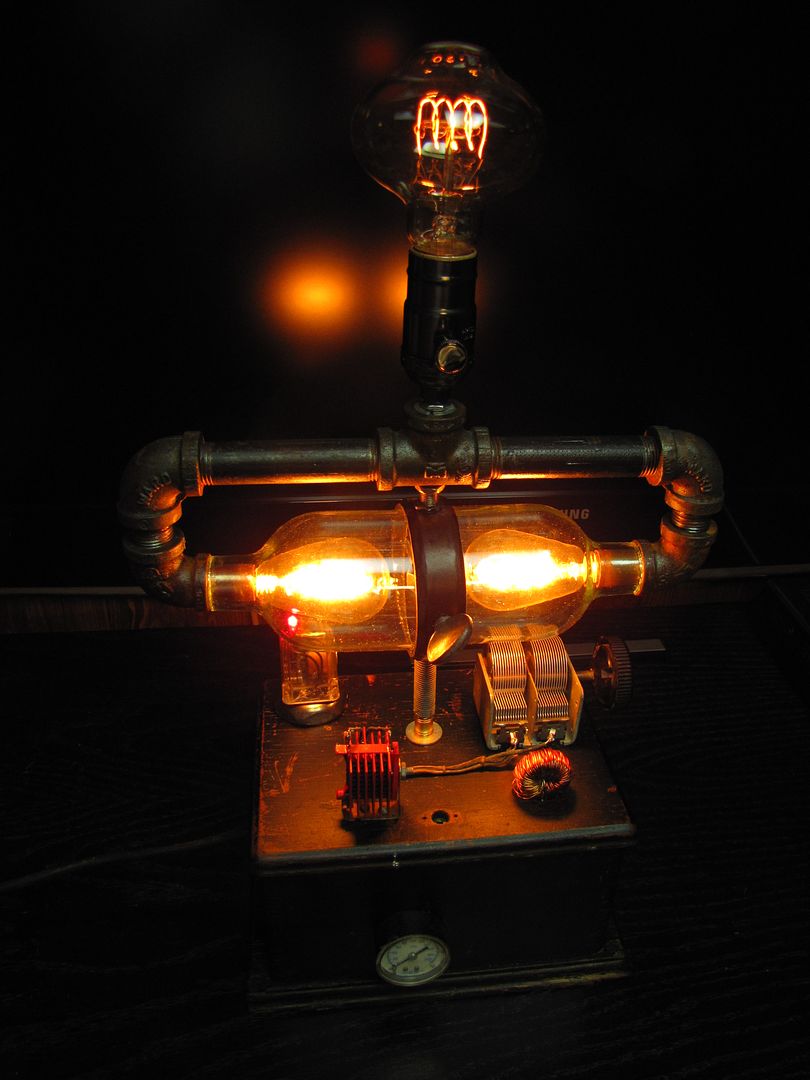
I have also been building other Steampunk stuff since then as I am in Steampunk Mode lately. I love anything metal, especially copper or brass. This first light is PVC and painted to look like aged brass. The second one was a red fire extinguisher. In both lamps the valve turns them on and the first one has bubbles generated in the water.


Top