You are using an out of date browser. It may not display this or other websites correctly.
You should upgrade or use an alternative browser.
You should upgrade or use an alternative browser.
Building a water cooled LED fixture
- Thread starter Paul B
- Start date
Paul B
Well-Known Member
That would work, but I don't have an external oil cooler. I am not up to getting the radiator yet. I won't be up to that until the LEDs are mounted and tested. Just in case the thing doesn't work, I don't want to have another piece of a car laying around waiting for some project to put it in.
StirCrayzy
Well-Known Member
cooling needs are also dependant on what type of led, and how much power is being put to them. passive may work well, in fact I think passive should be the ultimate goal from an efficiency standpoint.
My aluminum LED structure can cool itself until the XML whites turn on, then I have fan cooling.
Paul, I would bet that you could simply add another heater core if one isnt enough for passive. They dont take up much space after all.
My aluminum LED structure can cool itself until the XML whites turn on, then I have fan cooling.
Paul, I would bet that you could simply add another heater core if one isnt enough for passive. They dont take up much space after all.
frisbee
Well-Known Member
I've always thought that one of the benefits/draws of LED's was the fact that they didn't run hot? Are you sure your not just spinning your wheels? If money is no object, what's the difference between MH & your LED's? If they need to be cooled then they need to be cooled. That's just my take, but I'm sure you've got an explanation. (bored?) GL. ")
Paul B
Well-Known Member
Actually I do have an explanation. Led's get very hot but that heat is emitted from the heat sink on the back of the LED and it is not transferred into the water like a MH lamp will do. Each LED doesn't make that much heat but being the "bulb" is so tiny, all that heat is in a very small place. Less than a quarter of an inch so that heat must be dissipated. If you just glue an LED to a small piece of metal to distribute the heat, it will be fine. But each LED doesn't put out that much light so you need many of them together. In that configuration there isn't enough space between them to dissipate the heat and they will over heat. An entire LED fixture probably makes as much heat as an LED of the same wattage, but it is spread out in a much larger space compared to a MH fixture where all that heat is in the bulb and ballast.
Paul B
Well-Known Member
I decided not to use thermal switches for this project because I have a better idea. Today I built a water flow cut off switch that also allows me to see if the water is flowing visually. What I am planning to do is have the timer that turns on the lights, turn on the water pump instead of the lights. When the water starts flowing through the pipe, The water flow will raise a magnet encased in a glass cylinder that is in a vertical acrylic tube. When the magnet gets near the top of the cylinder, it trips the magnetic switch that turns on the LEDs. When the pump goes off, the magnet will drop, breaking the circuit to the lights. I would like to take credit for this, but I didn't invent it. I saw a very similar switch on the net. With this installed, the LEDs can't go on unless there is water flowing and if water is flowing, the fixture will stay cool. Even if the water leaks out of the system, the lights will not turn on whish is what I want. By looking at the position of the magnet, I can determine if water is flowing.


Paul B
Well-Known Member
I just soldered the wire management system on the water cooled fixture. It's those small copper rings that will support the wires around the frame. I installed about 20 of them. Next I want to clean it up, make it nice and shiny, then shoot it with some clear coat to keep it from tarnishing. The next step after that is to glue on the 72 LEDs and solder them together. I doubt I will finish this for a while because of some hand surgery this week, but I will try,


Squatch XXL
Well-Known Member
Any time you want to clean up copper, just wipe it down with a flux coated rag WHILE the copper is still hot, but after the solder set. it will sizzle every bit of dirt and tarnish right off. it can be done after the fact, but you have to be careful to not melt the solder.
From my personal experience with painting clear to avoid tarnish....it will eventually get under the finish. It is next to impossible to get all the flux off, and that is always the point that I see it get in.
A thick coat of black paint would make it look sharp for sure, and save all that time spent making it look pretty. If you like the copper look, get some copper colored spray paint.
For a fluid, your best bet for info is to compare this to CPU cooling. Most of what I got from it for air temp cooling was using fluids that killed molds/fungus/algae as well as helped with galvanic corrosion. For my cpu loop I used a shot glass of antifreeze as a basic mold/fungi/algae killer. It worked great for years that way without any issues.
Last edited:
Paul B
Well-Known Member
I am going to add some alcohol to this system, but there won't be any galvanic corrosion as the only metal in it is copper. I am going to leave it copper colored. I have some copper bowls I made as a kid and sprayed with clearcoat that still look like new. But I know what you mean about getting all the flux off. I just don't want the green from the solder and copper flaking off. It will be fine and look good. The main thing is that it works because all of this is behind a wall.
Paul B
Well-Known Member
I finished soldering the 72 LEDs on the copper and tried the thing out. I can't believe it works. I had my doubts because the terminals on the LEDs are meant for a robot to install them on a circuit board so the terminals are the size of a pin head or smaller.
Now to make the enclosure for the drivers and get a heater core.
Now to make the enclosure for the drivers and get a heater core.

Squatch XXL
Well-Known Member
That is looking splendid!
Paul B
Well-Known Member
I ordered the small tubing to make the heat exchanger. I decided to build one instead of buying a heater core even though a heater core is less than what I paid for the small copper tubing to build the thing. I just like to build things, what can I tell you.
I built the flow/ cutoff switch and ordered a pump. When the pump arrives I can test and adjust the switch. I also started building the driver housing. When the rest of the material arrives I just need a day or two to put it together. It will be a quest because in the morning I am getting my hand and knee surgery so I will have to try to solder with my left hand. But it makes it more challenging.
I built the flow/ cutoff switch and ordered a pump. When the pump arrives I can test and adjust the switch. I also started building the driver housing. When the rest of the material arrives I just need a day or two to put it together. It will be a quest because in the morning I am getting my hand and knee surgery so I will have to try to solder with my left hand. But it makes it more challenging.
Squatch XXL
Well-Known Member
Its like soldering with a stranger.I will have to try to solder with my left hand.
Hope everything goes well and you heal up better than ever!
StirCrayzy
Well-Known Member
Don't forget to specify location
Paul B
Well-Known Member
I just got home from the hospital for some knee and hand surgery and was surprised to see my circulating pump for my water cooled fixture arrived. It is smaller than I thought. I figured I would post it before the anesthesia wears off and I start screaming. This little pump is very cool but I hope it will run continousely.
I am tryng to type with two fingers from my left hand and not having much luck
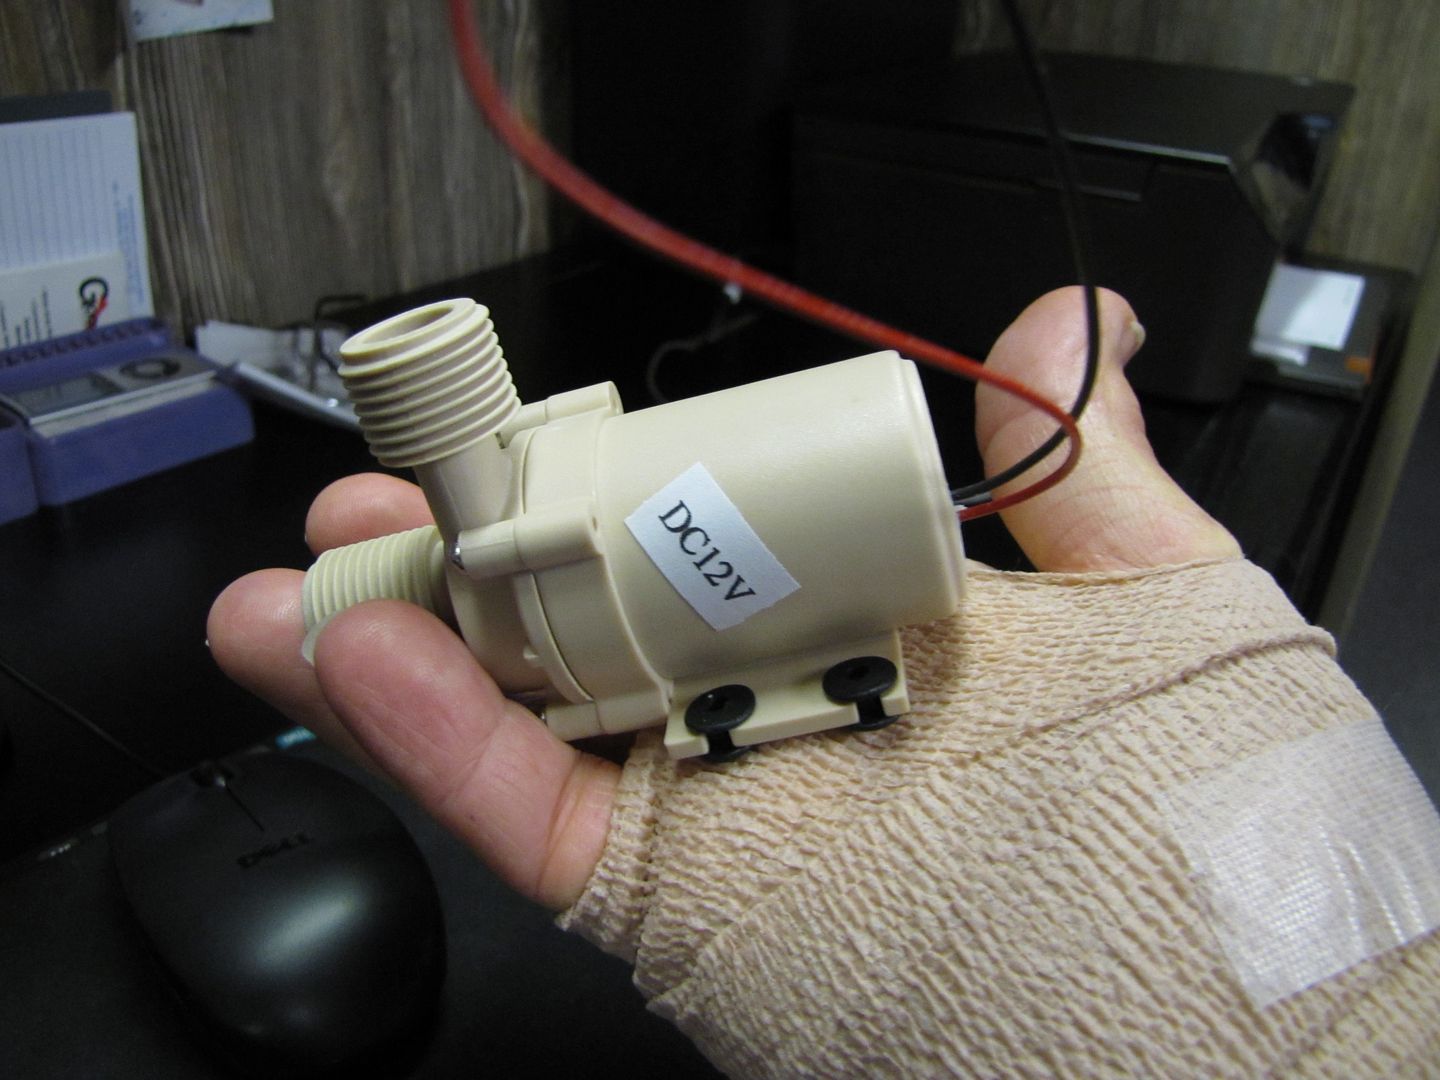
I am tryng to type with two fingers from my left hand and not having much luck
